
New: Nano Banana 2 & GPT Image 2

Try it

Updated 2026-11-16

Old Photo Restoration Online Free with AI

Old photo restoration online free to start: scan or photograph a damaged print, upload it, and EditPic repairs scratches, creases, stains and fading in one pass. The AI rebuilds lost detail, so always compare faces with the original.

Old photo restoration examples

Creased, faded, cracked and stained prints, each brought back with one old photo restoration prompt; most of them also asked for natural color. Drag the slider to compare and look closely at the faces.

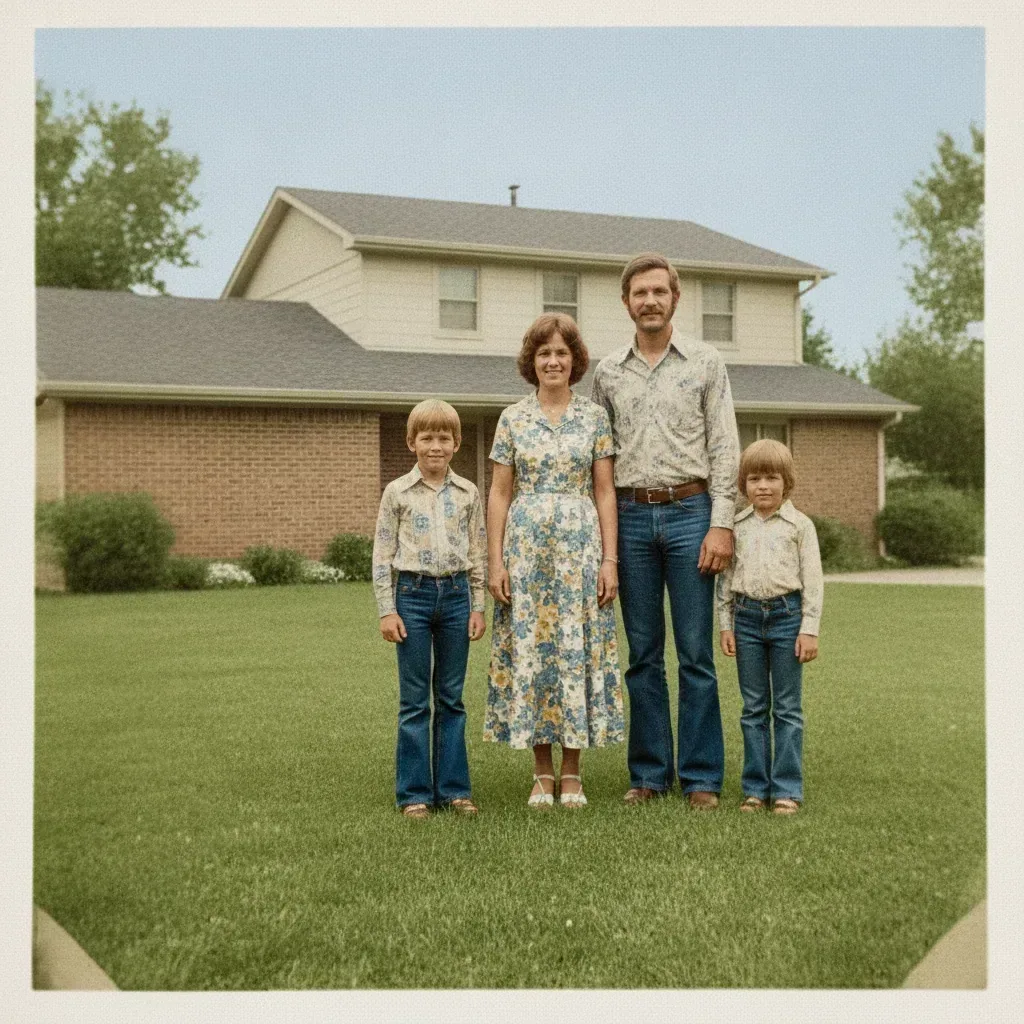
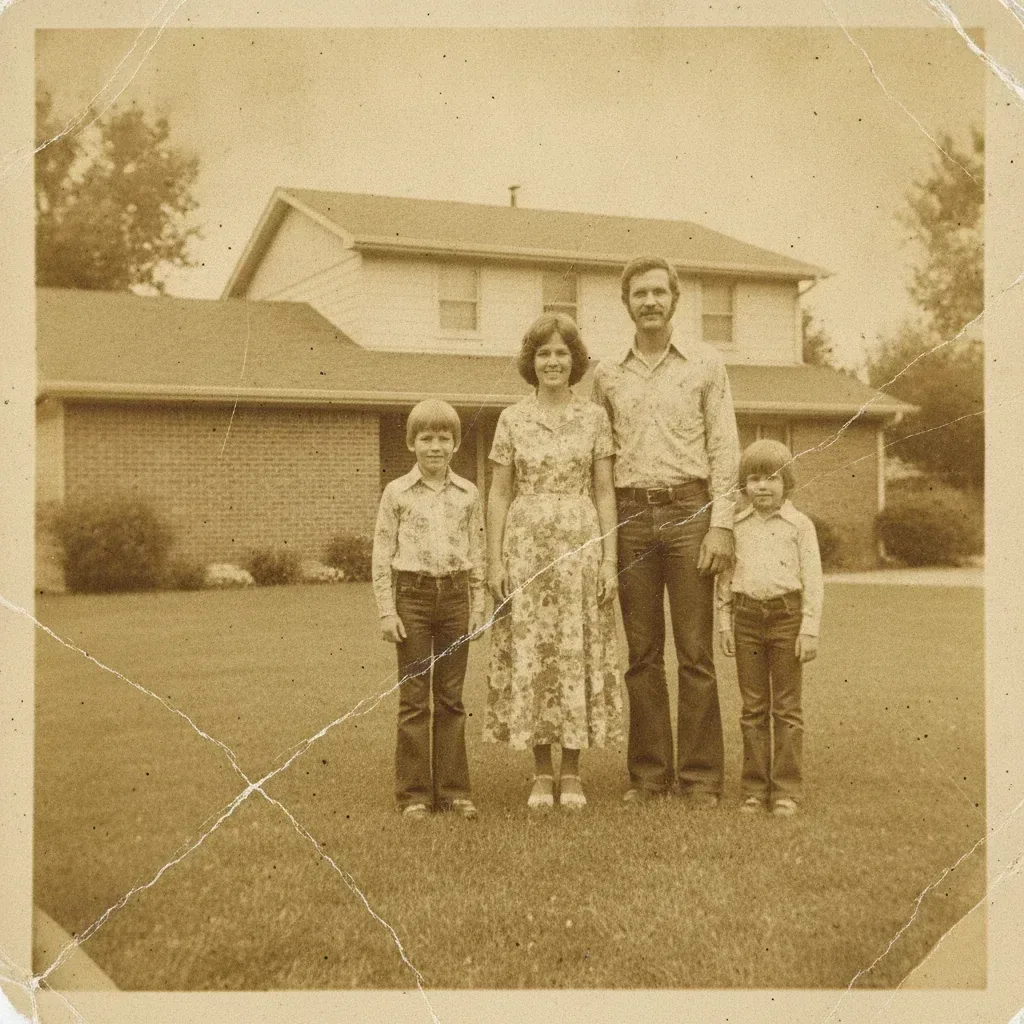
  • Family of four in front of a house, creased and faded before, restored after — AfterFamily of four in front of a house, creased and faded before, restored after — Before

    Creased family snapshot by the house

    “Restore this creased snapshot: repair the deep creases and the worn corners, remove the yellow cast, and add natural color to the lawn, house and clothes. Keep all four faces as they are.”

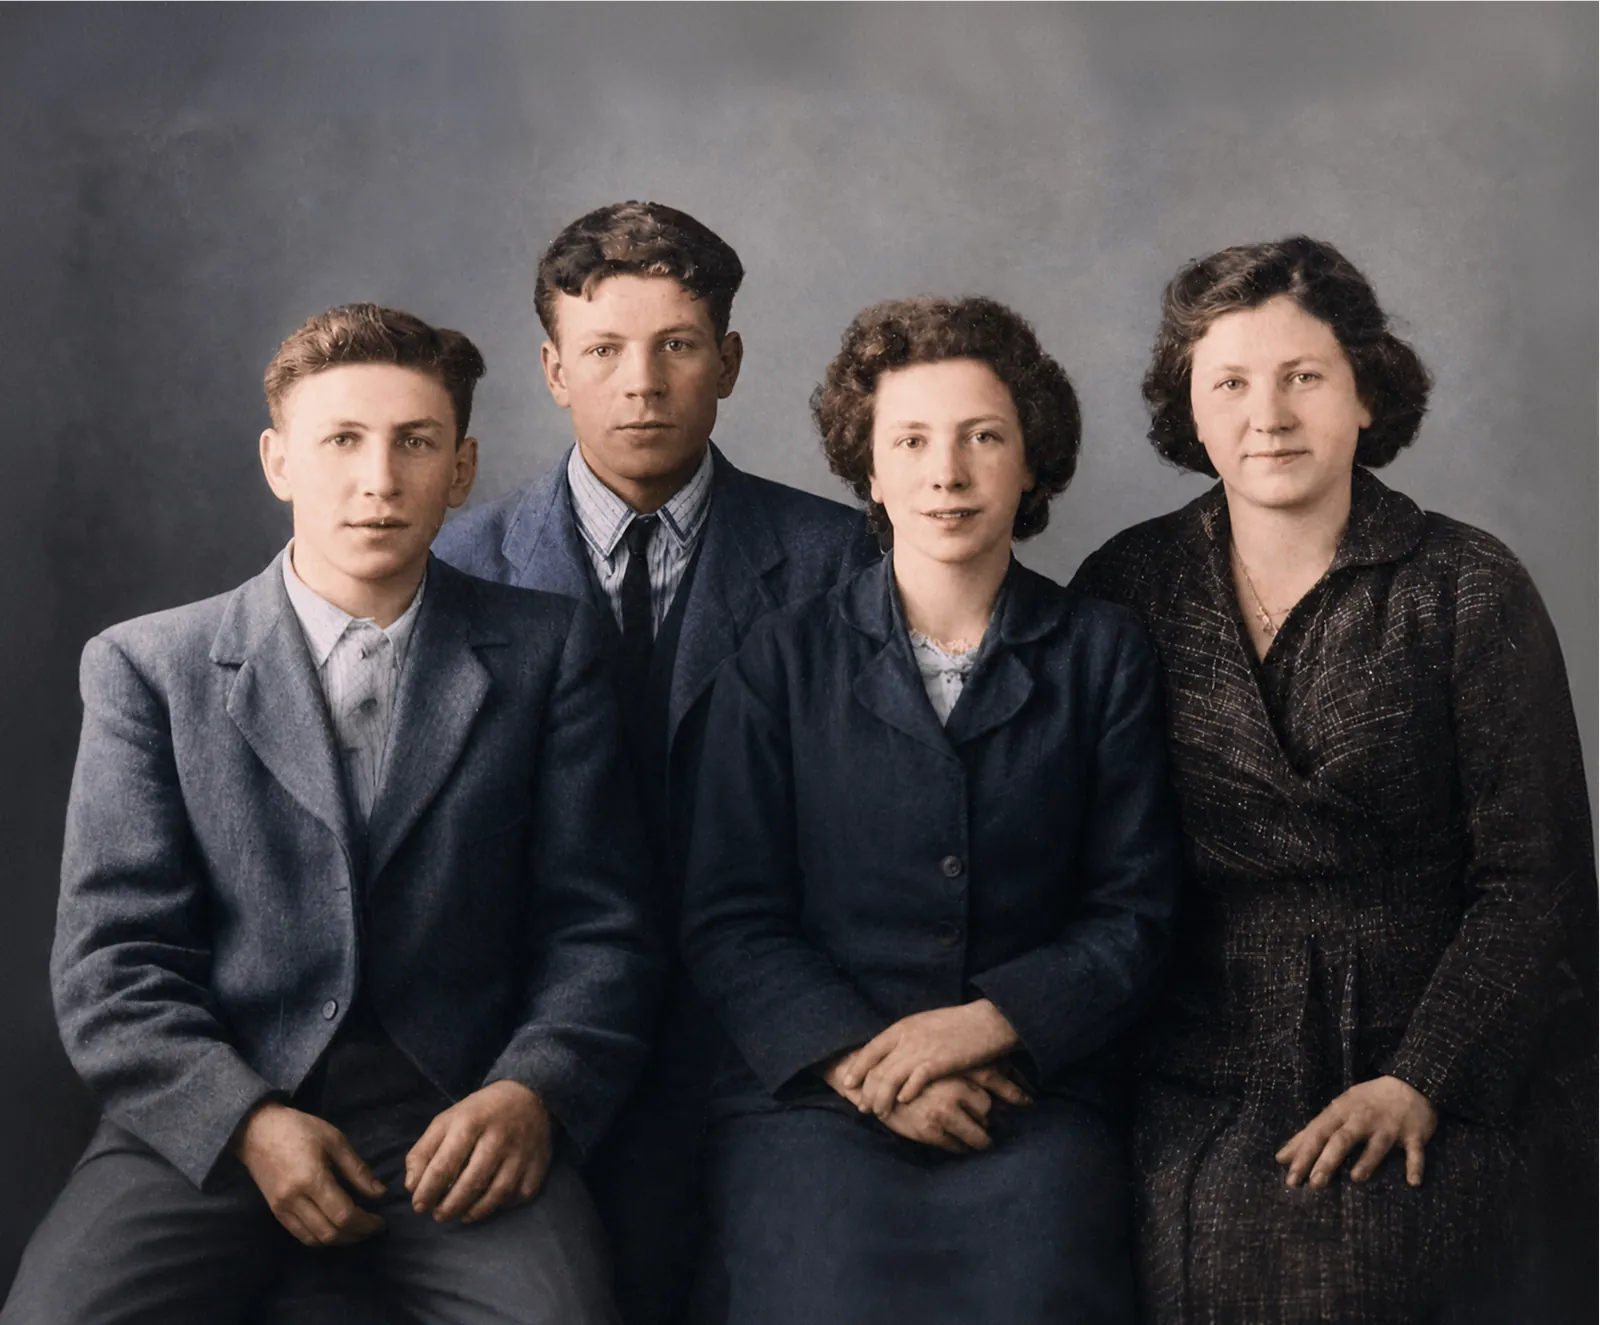
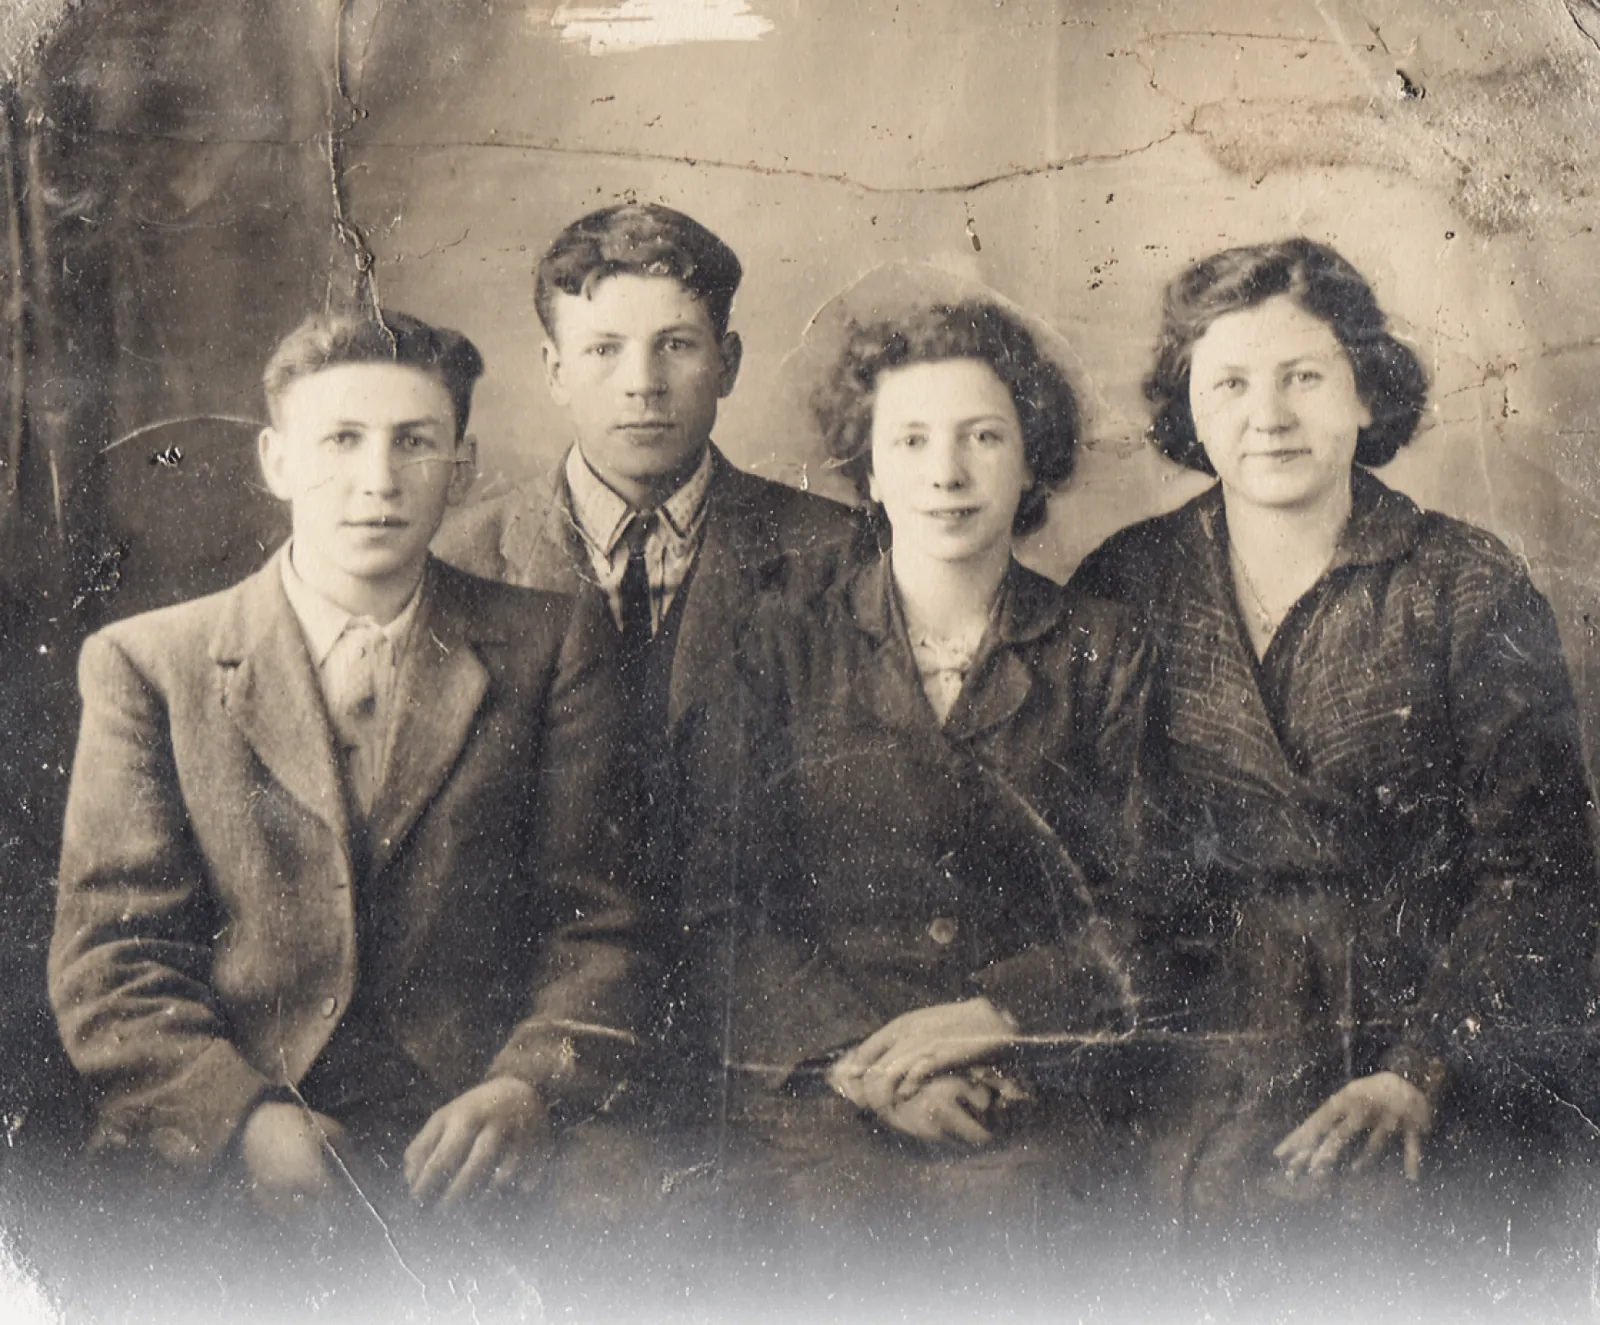
  • Four young adults seated for a studio portrait, stained sepia before and restored in clean color after — AfterFour young adults seated for a studio portrait, stained sepia before and restored in clean color after — Before

    Stained studio group of four in full color

    “Restore this damaged group portrait: remove the stains, cracks and the faded white patch at the bottom, sharpen all four faces evenly and add natural color to the suits and dresses.”

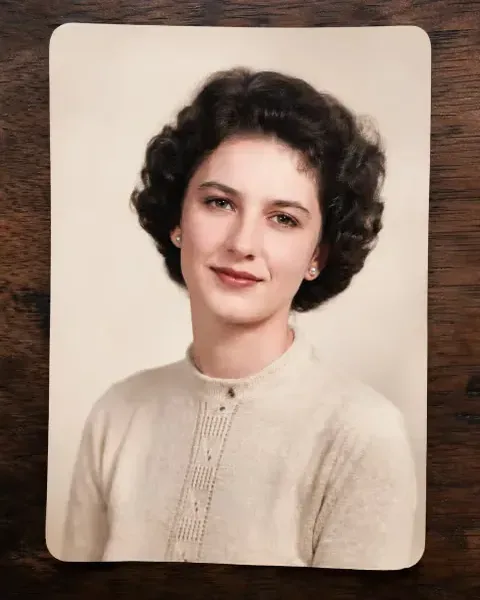
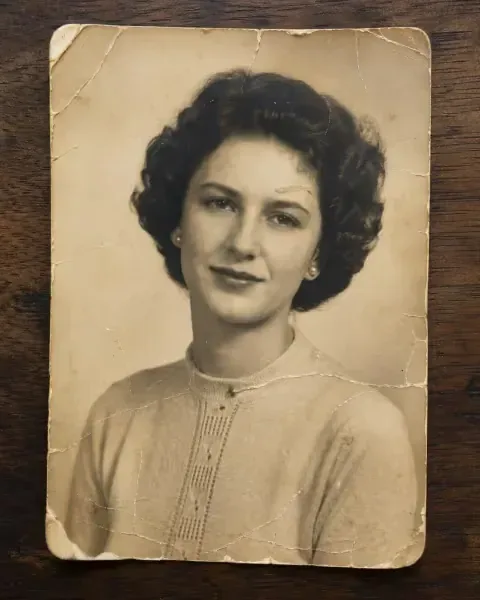
  • Vintage portrait of a young woman restored from a cracked sepia print — AfterVintage portrait of a young woman restored from a cracked sepia print — Before

    Cracked studio portrait restored

    “Restore this cracked portrait: fix the edges and worn corners, clean the stains, and give the skin and sweater soft, natural tones without changing her features.”

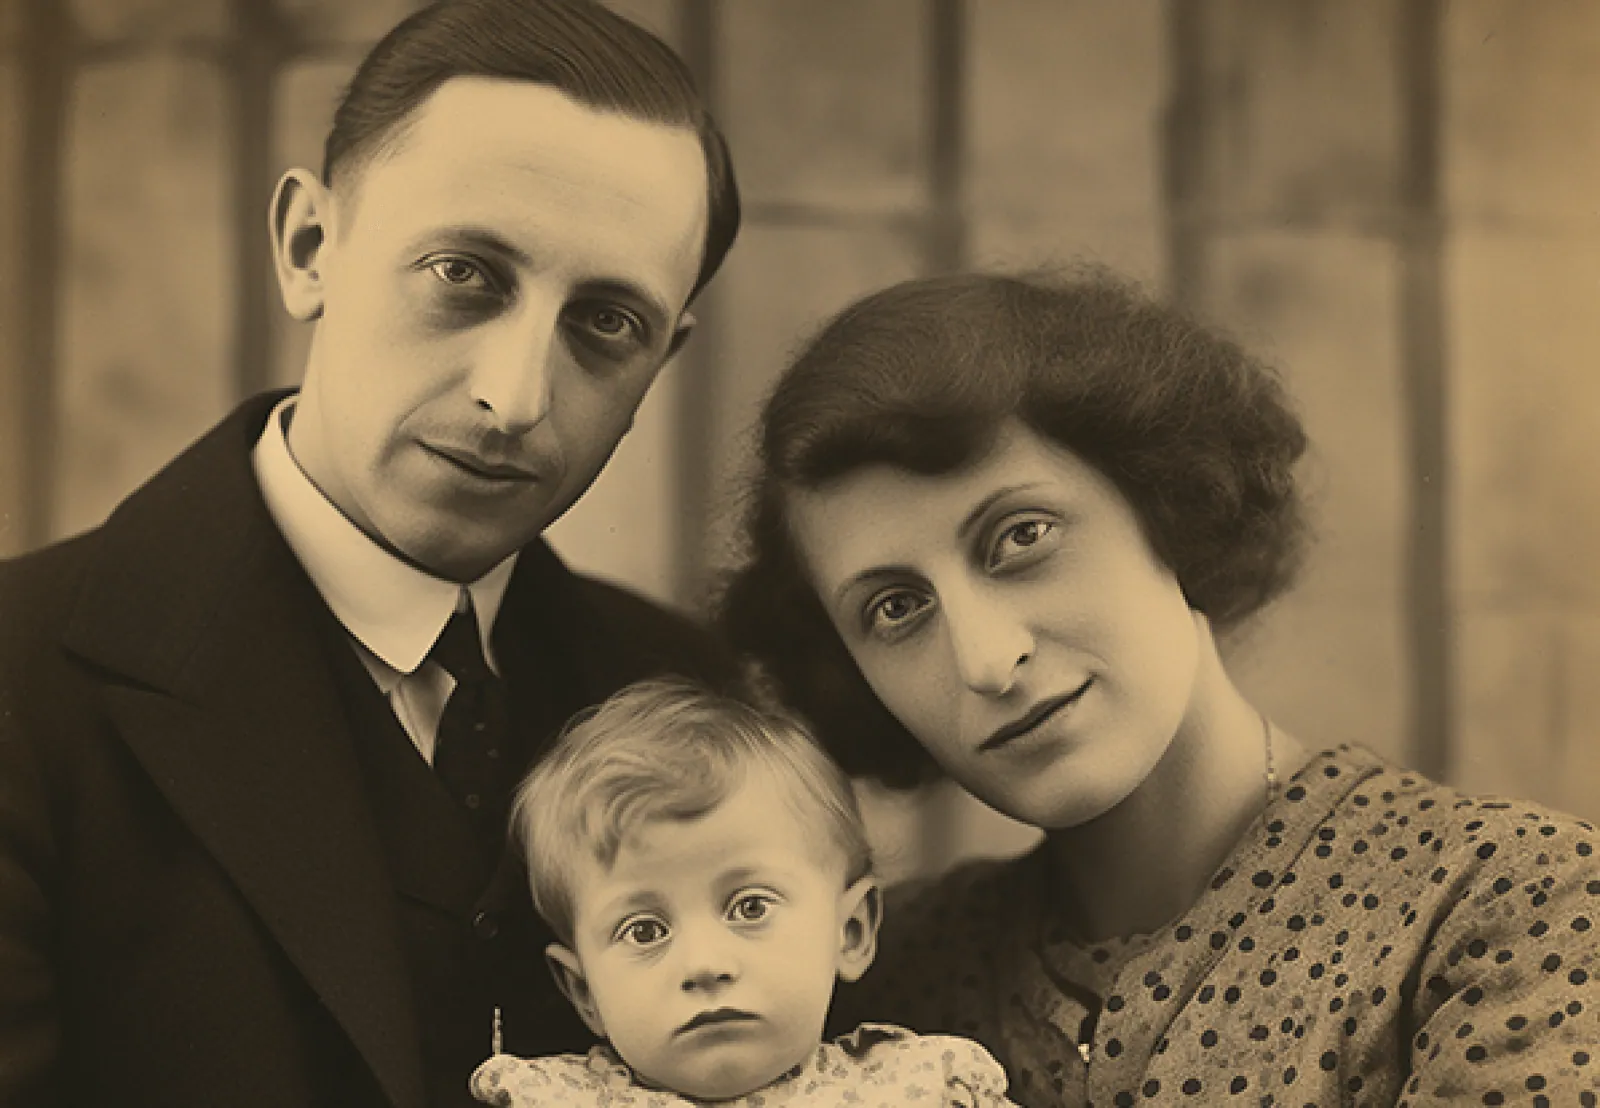
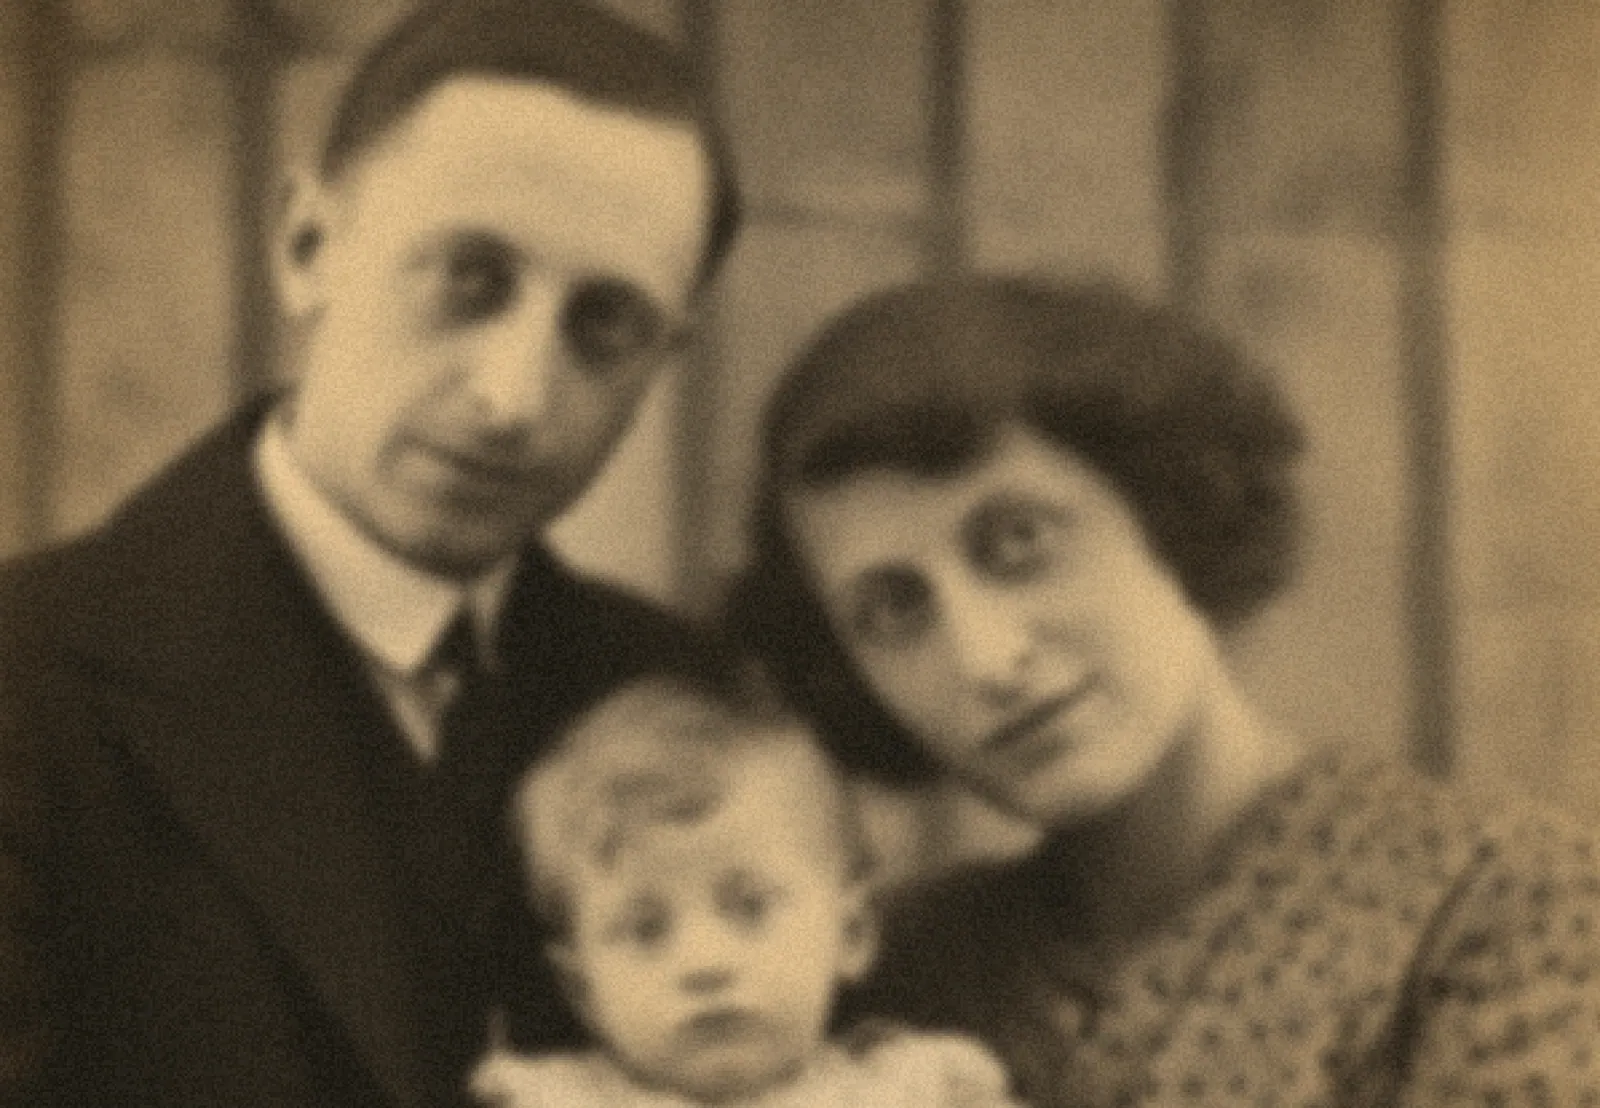
  • Father, mother and baby in a sepia portrait, blurry and faded before and sharply restored after — AfterFather, mother and baby in a sepia portrait, blurry and faded before and sharply restored after — Before

    Soft sepia portrait of parents and their baby

    “Restore this soft, faded sepia family portrait: sharpen the faces of the father, the mother and the baby, clean the grain and keep the warm sepia tone and their pose.”

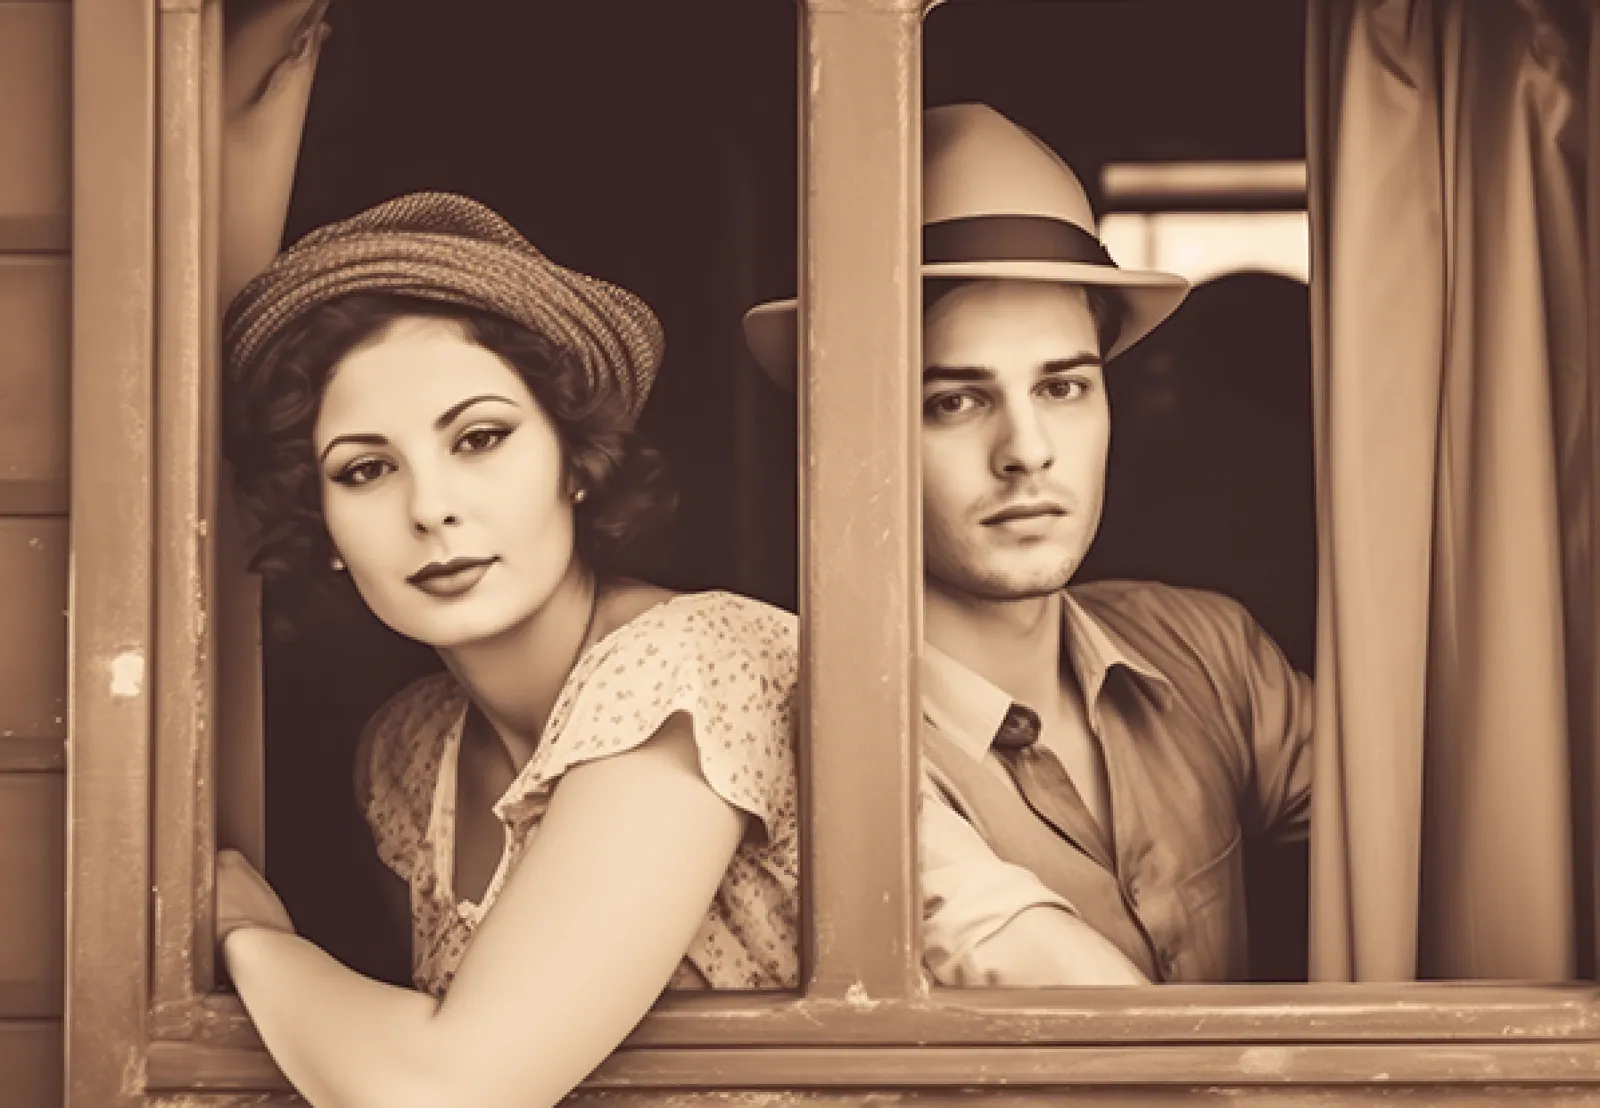
  • Woman and man in hats leaning out of a wooden window, out-of-focus sepia before and crisp after restoration — AfterWoman and man in hats leaning out of a wooden window, out-of-focus sepia before and crisp after restoration — Before

    Blurry couple at a wooden window, restored in sepia

    “Restore this blurry sepia photo of a couple leaning out of a window: bring back their eyes, the hat brims and the wood grain of the frame, and keep the sepia look.”

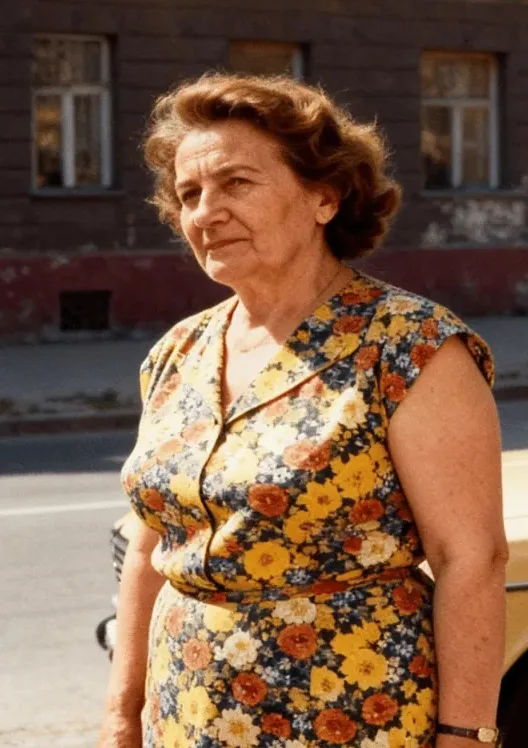
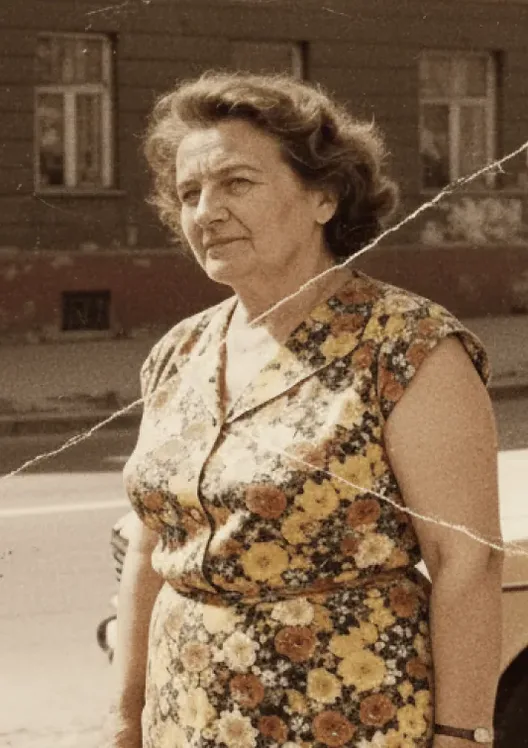
  • Older woman in a floral dress on a city street, a crack across the print before and restored after — AfterOlder woman in a floral dress on a city street, a crack across the print before and restored after — Before

    Torn street snapshot with the crack removed

    “Restore this torn street snapshot: remove the long crack running across it, clean the dust and grain, and bring back the warm colors of her floral dress and the street. Keep her face and pose unchanged.”

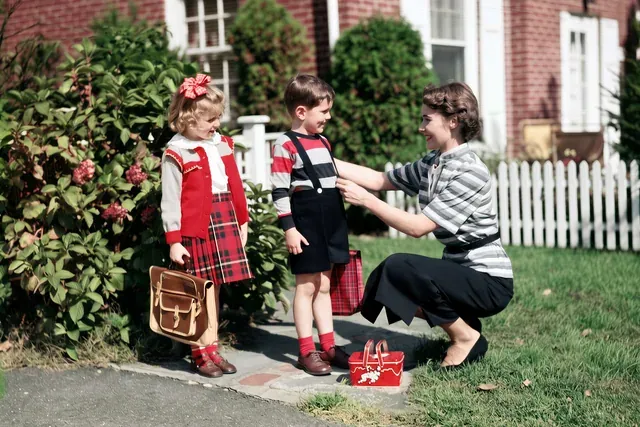
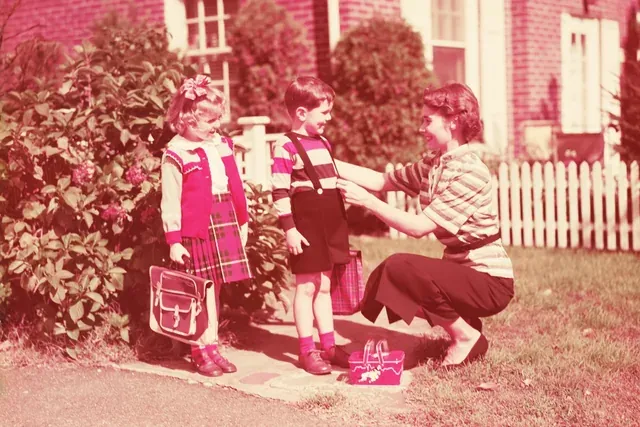
  • Mother kneeling beside two children with school satchels, faded pink before and restored to natural color after — AfterMother kneeling beside two children with school satchels, faded pink before and restored to natural color after — Before

    Magenta-faded family snapshot back to true color

    “Restore this old color snapshot: fix the strong magenta fade, recover the green lawn and hedges, and keep the plaid dresses, the satchels and the mother kneeling beside the children.”

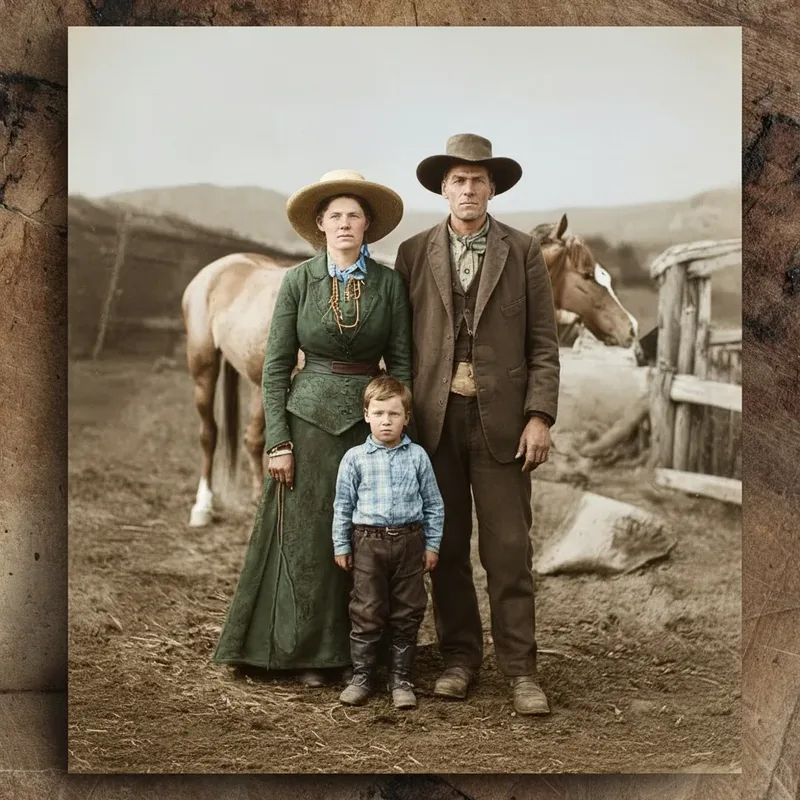
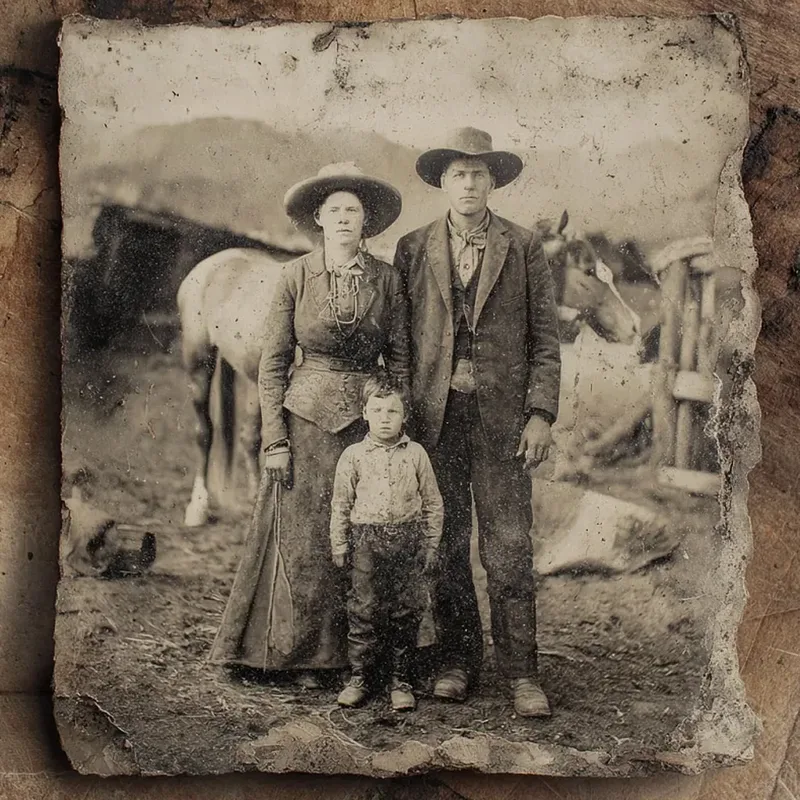
  • Farm family of three beside a horse, on a damaged tintype plate before and in restored color after — AfterFarm family of three beside a horse, on a damaged tintype plate before and in restored color after — Before

    Worn tintype of a farm family

    “Restore this worn tintype: clean the dark stains and flaking edges, recover the faces of the parents and the boy, and add soft, believable color to their clothes, the horse and the fence.”

Example images are for illustration only. Each prompt is a starting point for a similar edit on your own photo.

Old photo restoration online in three steps

  1. Step 1

    Scan or photograph the print

    For old photo restoration, scan at 300 dpi or more, or photograph the print flat in soft daylight without glare. Then upload the JPG, PNG or WebP (up to 20 MB) to the editor above.

  2. Step 2

    Describe the damage

    The old photo restoration prompt already covers scratches, creases and fading. Add what is specific to your photo, such as “water stain on the left” or “keep it black and white”.

  3. Step 3

    Restore and compare

    Press Edit Image to run the old photo restoration, then look at the faces next to the original. If someone looks different, run it again with “keep facial features exactly the same”.

Old photo restoration prompts for different kinds of damage

Each prompt targets one problem common in family prints; send it to the editor, adjust the people and colors, and restore your photo.

  1. 01

    Water-damaged wedding portrait

    Restore this water-damaged wedding portrait. Remove the brown tide marks and the rippled patches on the dress, rebuild the lace and the bouquet, and keep the couple’s faces and the black-and-white tones.

  2. 02

    1970s color print gone orange

    Restore this 1970s color print of a family picnic: correct the heavy orange shift and bring back blue sky, green grass and natural skin, and keep the soft film grain and the period clothing.

  3. 03

    Faded instant photo from a party

    Restore this faded instant photo from a birthday party. Recover the washed-out colors and the dark areas, keep the white instant-photo frame, and keep every child’s face and the balloons as they are.

  4. 04

    Print torn in half and taped back

    Restore this portrait that was torn in half and taped back together. Remove the tear line and the yellowed tape, rebuild the shoulder along the tear, and do not change the man’s face or suit.

  5. 05

    Mold spots on a grandmother’s portrait

    Restore this black-and-white portrait of a grandmother and remove the grey mold spots and specks covering it. Keep her hair, the lace collar and the soft studio background, and keep the photo monochrome.

  6. 06

    Silvery sheen on an old print

    Restore this old photograph with a metallic silver sheen across the dark areas. Remove the mirror-like haze, bring back true blacks in the hair and coat, and keep the face and the sepia warmth.

  7. 07

    School class photo with tiny faces

    Restore this faded school class photo with three rows of children. Clean the scratches and dust, sharpen the faces gently without changing any of them, and keep the uniforms and the black-and-white look.

  8. 08

    Garden snapshot with a missing corner

    Rebuild the missing top-right corner of this old garden photo from the hedge and sky around it, remove the crease across the middle, and keep the two women and their dresses unchanged.

  9. 09

    Cracked hand-tinted portrait

    Restore this hand-tinted portrait of a young man in uniform and repair the fine cracks across it. Keep the soft painted pink on his cheeks and the pale blue background, and do not make it look like a modern photo.

  10. 10

    Dusty scan of a color slide

    Clean the dust spots, hairs and scratches from this scanned color slide of a seaside town. Keep the rich slide colors, the boats in the harbor and the sharp line of the horizon.

Why people turn to old photo restoration

  • Hands sorting a pile of old black-and-white and sepia family photos on a table

    Family archive projects

    Scan a shoebox of prints and restore old photos free of dust, creases and color casts before you share a digital album with relatives.

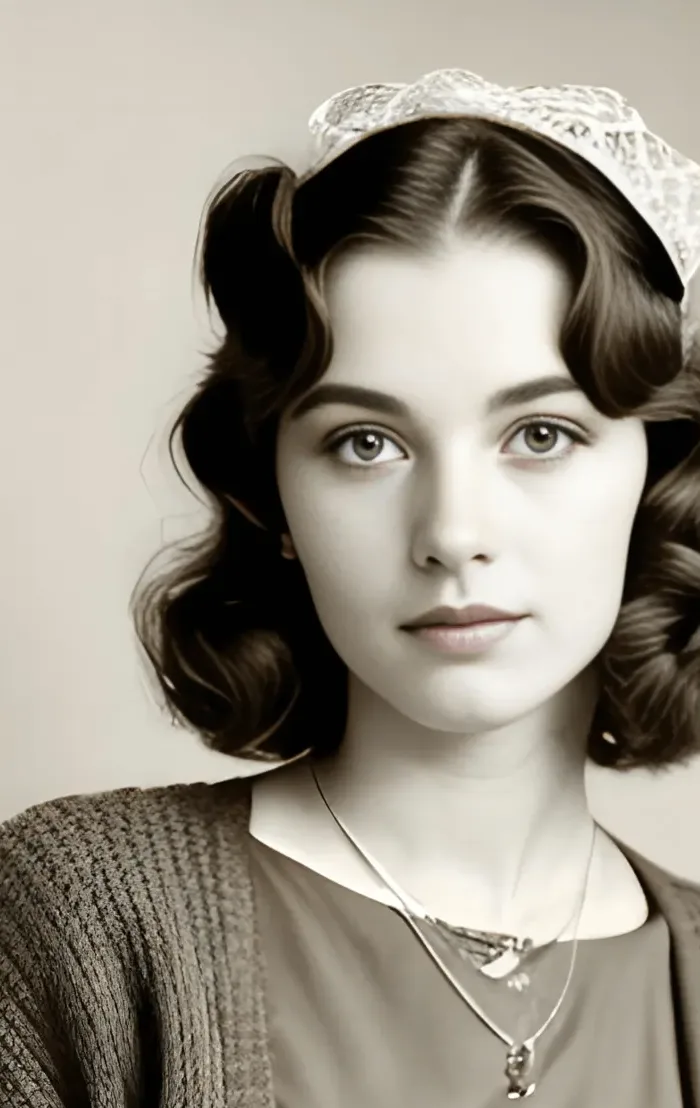
  • Sepia portrait of a smiling young woman with curled hair resting her head on her arms

    Memorials and anniversaries

    Use old photo restoration to prepare a clear portrait of a grandparent for a memorial board, a service program or an anniversary slideshow when the only copy is worn.

  • Old photograph tucked into an open book next to handwritten notes

    Genealogy research

    Old photo restoration makes faded faces and backgrounds easier to read for family tree records, and keep the untouched scan stored next to the restored copy.

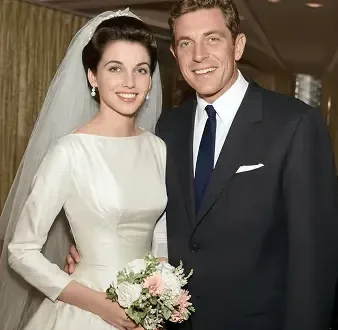
  • Restored color wedding portrait of a smiling bride and groom with a bouquet

    Reprints and gifts

    Give a restored print to parents or siblings as a framed gift, a calendar page or a spread in a family photo book.

Tips for better old photo restoration

  • Use a flatbed scanner when you can; a flat, glare-free scan gives old photo restoration far more real detail than a quick phone snap.
  • Crop away the album page and the table around the print before you restore it, but keep the white border if you like the vintage look.
  • Say whether the restored photo should stay black and white or get color. If the print is undamaged and you only want color, Colorize Photo is the better fit.
  • Very small faces in group shots are the hardest part of old photo restoration. Restore a cropped section around one person, then compare.
  • Always keep the original scan. Old photo restoration fills in missing detail, so the restored version is an interpretation, not a record.

Which model to use for old photo restoration

All six can repair a print; these three suit old photo restoration best, starting with the most versatile.

  • Nano Banana 2

    Google

    The default and a strong first try for most family prints. It keeps the same person consistent, which matters most in old photo restoration, and handles scratches, creases and fading quickly. Re-run from the original if a face drifts.

    About Nano Banana 2
  • Nano Banana Pro

    Google

    For restoring prints with fine texture or busy scenes: lace, wool, hair and group photos with many people. It is the most careful with detail and light, so faces in a crowd tend to come out more believable.

    About Nano Banana Pro
  • Flux

    Black Forest Labs

    Choose Flux when only the damage should change. It works on what you describe, such as “the tear line” or “the mold spots”, and leaves the rest of the print, faces included, closest to the scan.

    About Flux

Old photo restoration done well: what to know first

What restoration with AI really produces, how to capture the print, how to handle heavy damage in stages, how to spot a face that changed and how to plan old photo restoration for a whole album.

A restored photo is a reconstruction

Old photo restoration in EditPic is generative. The model does not peel the damage off to reveal what was underneath; it paints a new image that matches the scan as closely as it can. Where the print is intact, the result stays close. Where a crack crosses an eye, or a face has faded to a pale shape, the AI decides what should be there, and it may reinterpret features, hair or the pattern of a dress.

So compare every face with the original before you share or print, and keep the untouched scan in the same folder. When you send the restored version to relatives, it is fair to mention that it was restored with AI.
Capturing the print for old photo restoration

Take the print out of its frame or album sleeve if you can do so without tearing it; glass and plastic add glare and scratches of their own. On a flatbed scanner, 300 dpi suits normal prints and 600 dpi helps small wallet-size ones. Wipe the scanner glass first, because fresh dust is easy to mistake for old damage.

With a phone, lay the print flat near a window in indirect daylight, hold the phone parallel to it and turn the flash off. Fill the frame with the photo, then crop away the table. A slightly larger, evenly lit capture gives old photo restoration more of the real face to keep.

Heavy damage: restore in stages

Asking for everything at once, such as “fix the tears, remove the stains, sharpen and colorize”, often gives a restored result that looks finished but drifts away from the people in it. For badly damaged prints, split the work into separate restoration passes.

First pass: repair only the physical damage and keep the original tones, with “keep it black and white” or “keep the sepia”. Check the faces. Second pass: add color, here or with Colorize Photo, starting from the repaired file. Last, if you need a bigger file for printing, run the AI Image Upscaler. Download each version along the way, so you can step back if a later pass goes wrong.

How to tell a restored face has changed

After every old photo restoration, check the same features at full size, with the original beside the result. Eye shape and the distance between the eyes change most often. Teeth come out too even and too white. Hairlines move, ears change shape and wrinkles vanish, which can make an older relative look years younger. Clothing patterns and jewelry may be simplified or invented.

When something is off, go back to the original scan instead of editing the restored copy. Add a line that names the problem, like “keep his deep forehead lines” or “keep her slightly crooked smile”, plus “do not modernize the face or the hairstyle”. If a person still looks wrong after two tries, a lighter restoration that only removes dust and scratches may be the more faithful one to keep.

Old photo restoration checklist for a whole shoebox

Restoring one print is quick; restoring a family archive needs a little order. Before you start, sort the prints into three piles: ones that only need dust and scratches cleaned, ones with real damage such as tears, mold or missing corners, and ones you may also want in color. Scan everything at the same resolution and put a year or a place in each file name, so the restored copies stay easy to find.

Work through the easy pile first with one prompt and one model; you learn how the AI treats your family’s prints before you try the harder ones. Keep each restored file next to its scan with a clear suffix such as “-restored”, and note the prompt that worked, so photos that relatives add later get the same look.

Old photo restoration with AI vs. a retouching service

A professional retoucher works by hand, in layers, which takes longer and costs more, but they can ask you questions, study other photos of the same person and stop short of guessing. AI old photo restoration gives you a result within one edit and handles common damage well, yet it decides on its own what a missing eye or a torn sleeve looked like.

A sensible split: restore everyday family prints yourself and check them against the scans as described above. For a single irreplaceable portrait with heavy damage to the face, or a print for a formal memorial, a retoucher can be worth it, and your AI-restored version makes a useful reference to bring along. Whichever route you take, keep the untouched scan.

Old photo restoration FAQ

  1. Is old photo restoration online free on EditPic?

    Sign up and you can try it free once on one of your own prints, with nothing to install. After that, each restoration uses credits; the amount depends on the model and is shown before the edit, and paid plans add credits if you have a whole album to work through.

  2. Will the restored faces look exactly like the real people?

    Not always. When a face is torn, blurred or badly faded, old photo restoration has to reconstruct missing detail, so eyes, teeth or hairlines can change slightly. Compare with the original and re-run with “keep facial features exactly the same” if needed.

  3. Can old photo restoration fix torn, cracked or water-damaged photos?

    Scratches, cracks, creases, stains, fading and small tears are what restoration handles best. Large missing pieces are rebuilt from the surrounding image, so the result in those spots is a best guess rather than a recovery.

  4. Does old photo restoration also add color?

    Only if you ask. Write “keep it black and white” to repair the tones alone, or “add natural color” to repair and colorize in a single edit. Any added color is an estimate, not a record of the original scene.

  5. What kind of file should I upload for old photo restoration?

    A JPG, PNG or WebP up to 20 MB. A scan of the print at 300–600 dpi works best; a phone photo is fine if the print lies flat, is in focus and shows no glare.

  6. Will old photo restoration remove the film grain and sepia tone?

    Only if you let it. Without a hint, the model often cleans grain away and neutralizes the color. Write “keep the film grain and the sepia tone” to repair damage while keeping the vintage look, or ask for “clean black and white” if you prefer a crisp, modern scan.

  7. Can I restore a photo of a relative who has passed away?

    Yes, as long as you have the right to edit the photo, which is usually the case for your own family prints. The AI may reinterpret their face slightly, so for a memorial compare carefully and ask relatives who knew them whether it looks right.

  8. How do I restore a group photo where the faces are tiny?

    Restore a crop around a few people at a time and compare it with the same area of the scan. Small faces have few pixels, so the AI invents more there. A higher-dpi scan helps most, and Nano Banana Pro copes best with crowded scenes.

  9. Can old photo restoration bring back a completely faded photo?

    Only partly. When a print has faded until the faces are pale outlines, the AI has very little to go on and will invent most of the features. Scan at a higher dpi, leave the contrast as scanned, and ask to “recover what is visible, do not invent details”. A faint result that still looks like the person beats a crisp stranger.

  10. Can I use old photo restoration on photos of other people?

    Restore photos you own or have the right to edit, such as your own family’s prints. Take care with pictures of living people who have not agreed to it, and never present a restored image with a changed face as a historical record. When you share a restored photo, saying that AI was used is the honest thing to do.

  11. Can I restore old photos from slides or an early digital camera?

    Yes. Old photo restoration works on scanned slides and early digital pictures as long as each one is a JPG, PNG or WebP up to 20 MB. Slides tend to carry dust and hairs, while early digital shots carry noise rather than physical damage, so name what you see: “clean the dust and hairs” or “reduce the noise, keep the faces”.

  12. What is the best way to restore old photos for printing?

    Pick 2K output, scan small prints at 600 dpi, and keep the old photo restoration gentle so the print does not look plastic. For anything larger than a small frame, run the AI Image Upscaler on the restored file, and order one test print before you print the whole set.

Restore an old photo now

Restore old photo online free to start: upload a scan, keep the prompt as it is and compare the restored result with the original.