










New: Nano Banana 2 & GPT Image 2

Try it

Updated 2026-11-16

Object Remover from Photo: Erase Clutter with AI

This object remover from photo editing works with words instead of brushes: name the object, whether a wire, a bin, a cable or a parked car, and EditPic fills the space with matching background. Your subject stays as it was.

Object remover from photo examples

Eight ways to remove objects from photos: toys on a rug, an apple on a plate, a sticker, a cable, a pair of earrings, living-room clutter, a hard shadow and a power pylon. Compare the versions and borrow the prompt that fits the object in your own picture.

  • Bright living room with toys on the rug and a bin bag, before and after both objects are removed — AfterBright living room with toys on the rug and a bin bag, before and after both objects are removed — Before

    Toys and a bin bag cleared from a living room

    “Remove the building blocks scattered on the rug and the black bin bag next to the armchair. Continue the rug and the wooden floor, and keep the furniture, plants and sea view unchanged.”

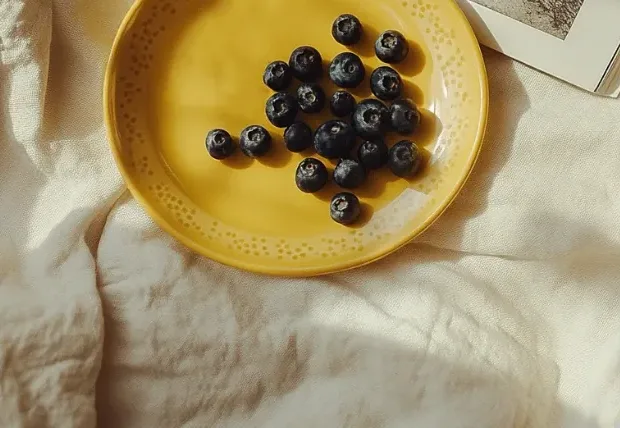
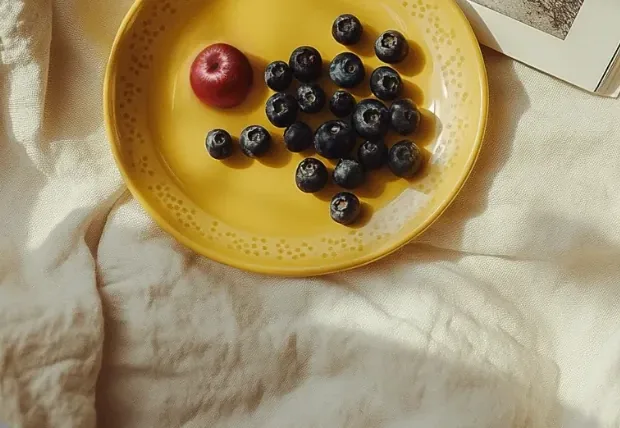
  • Yellow plate of blueberries on a linen sheet, before and after the red apple is removed — AfterYellow plate of blueberries on a linen sheet, before and after the red apple is removed — Before

    Apple lifted off a plate of blueberries

    “Remove the red apple on the left of the yellow plate. Fill the spot with the same glazed yellow surface and keep every blueberry, the plate rim and the linen unchanged.”

  • Woman at a café table with an emoji sticker beside her, before and after the sticker is removed — AfterWoman at a café table with an emoji sticker beside her, before and after the sticker is removed — Before

    Emoji sticker peeled off a café portrait

    “Remove the sunglasses emoji sticker next to her head. Rebuild the textured blue wall behind it and keep the woman, the cup and the table unchanged.”

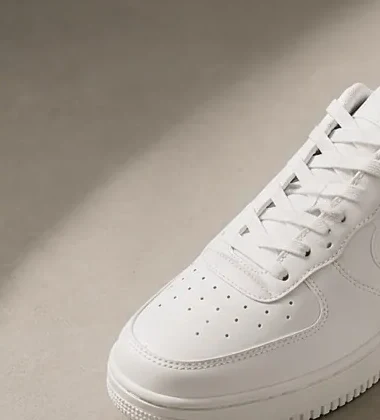
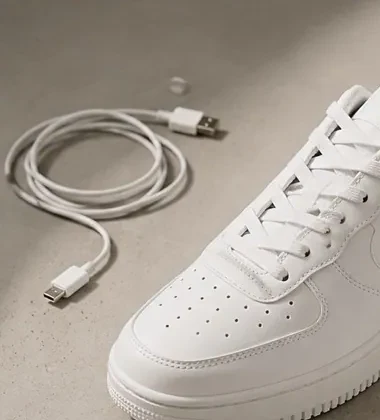
  • White sneaker on concrete with a charging cable beside it, before and after the cable is removed — AfterWhite sneaker on concrete with a charging cable beside it, before and after the cable is removed — Before

    Charging cable cleared from a product shot

    “Remove the white charging cable next to the sneaker. Fill the concrete surface with the same texture and keep the shoe and its shadow unchanged.”

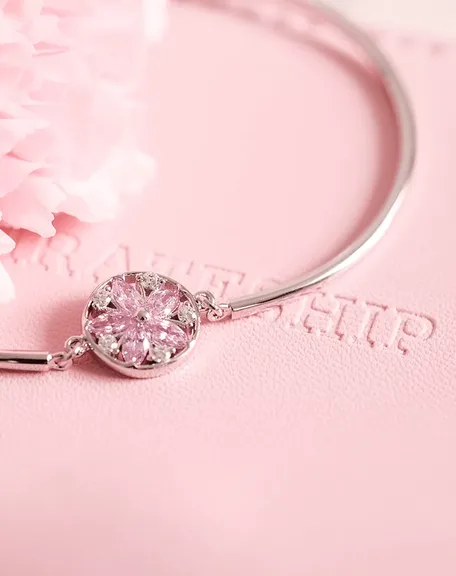
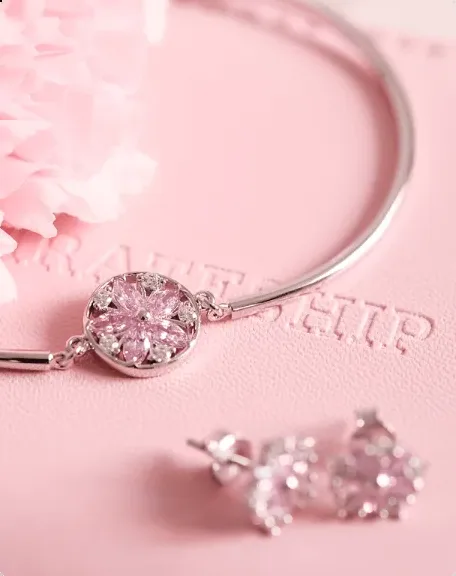
  • Silver bracelet with a pink crystal charm on pink leather, with and without the earrings beside it — AfterSilver bracelet with a pink crystal charm on pink leather, with and without the earrings beside it — Before

    Earrings removed from a bracelet listing

    “Remove the pair of pink earrings at the bottom right. Continue the pink leather surface and its soft light, and keep the bracelet and its charm exactly as they are.”

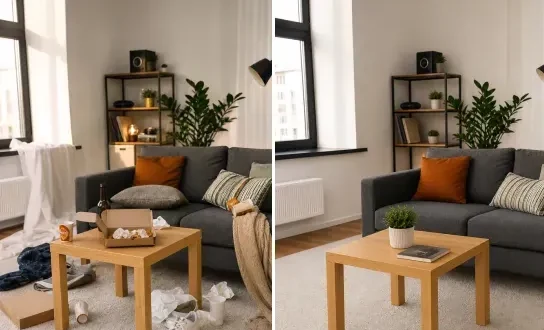
  • Side-by-side of a cluttered living room and the same room with every loose object removed

    Living room decluttered for a listing (left: before, right: after)

    “Remove every loose object from the floor, table and sofa: the boxes, cups, crumpled paper, blanket and clothes. Keep the furniture, plants and window light as they are.”

  • Woman in a floral dress against a gray wall, before and after her hard shadow is removed — AfterWoman in a floral dress against a gray wall, before and after her hard shadow is removed — Before

    Hard shadow lifted off a studio wall

    “Remove the dark shadow she casts on the wall behind her. Keep the wall an even pale gray and leave the woman, her dress and her bag unchanged.”

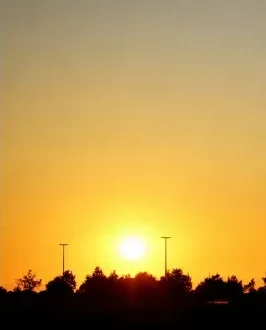
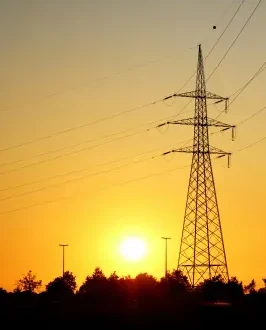
  • Orange sunset with a power pylon and wires, before and after they are removed — AfterOrange sunset with a power pylon and wires, before and after they are removed — Before

    Power pylon and wires erased from a sunset

    “Remove the electricity pylon and every power line crossing the sky. Keep the sun, the street lamps and the tree line along the bottom.”

Example images are for illustration only. Each prompt is a starting point for a similar edit on your own photo.

Remove objects from photos in three steps

  1. Step 1

    Bring in your picture

    Upload a JPG, PNG or WebP of up to 20 MB to the Object Remover. Photos with a few clear objects on a simple background give the most convincing fill.

  2. Step 2

    List each object to erase

    Name each object and where it sits, for example "the trash bin by the door" or "the wires above the roofline", and say what should show in its place.

  3. Step 3

    Run and refine

    Click Edit Image, compare it with the original and save it. Missed a small object? Send a follow-up prompt for just that spot instead of starting over.

Prompts to remove unwanted objects from photos

Nine more jobs for the object remover, from a kitchen counter to a zoo fence. Change the object names and positions to match your picture.

  1. 01

    Kitchen counter cleared for a rental listing

    Remove the three objects on the counter beside the sink: the dish rack, the sponge and the roll of paper towels. Continue the white quartz surface and the tiled backsplash, and keep the tap, the kettle and the window light unchanged.

  2. 02

    Parked car taken off the driveway

    Remove the silver hatchback parked in the driveway. Continue the gray block paving and the lawn edge where it stood, and keep the house, the garage door and the front steps exactly as they are.

  3. 03

    Construction barrier cleared from an old church

    Remove the yellow construction barrier and the two traffic cones in front of the church steps. Continue the cobblestones and the base of the stone wall, and keep the doors, the windows and the sky unchanged.

  4. 04

    Lint lifted off a sweater flat-lay

    Remove the lint, loose threads and pet hairs from the dark gray sweater laid flat on the bed. Keep the knit texture, the ribbed cuffs, the folds and the white sheet underneath unchanged.

  5. 05

    Crumbs and napkin cleared from a dinner shot

    Remove the small objects beside the plate of pasta: the bread crumbs, the crumpled napkin and the used fork. Continue the white marble table and its gray veins, and keep the pasta, the plate and the wine glass unchanged.

  6. 06

    Litter picked off a sandcastle beach

    Remove both objects on the sand in front of the sandcastle, the plastic bottle and the clump of seaweed. Continue the smooth damp sand and its small ripples, and keep the castle, the bucket and the shoreline unchanged.

  7. 07

    Sensor dust spots taken out of a blue sky

    Remove the small gray dust spots scattered across the blue sky in the top half of the photo. Keep the soft gradient of the sky, the thin clouds and the mountain ridge exactly as they are.

  8. 08

    Zoo fence mesh erased in front of a giraffe

    Remove the wire mesh of the fence in front of the giraffe so the animal and the acacia trees behind it look clear. Keep the giraffe’s coat pattern, the sky and the dry grass unchanged.

  9. 09

    Bicycle moved away from a blue front door

    Remove the bicycle leaning against the wall next to the blue front door. Continue the whitewashed wall, the stone step and the potted geranium, and keep the door, the lamp and the house number unchanged.

Why people remove unwanted objects from photos

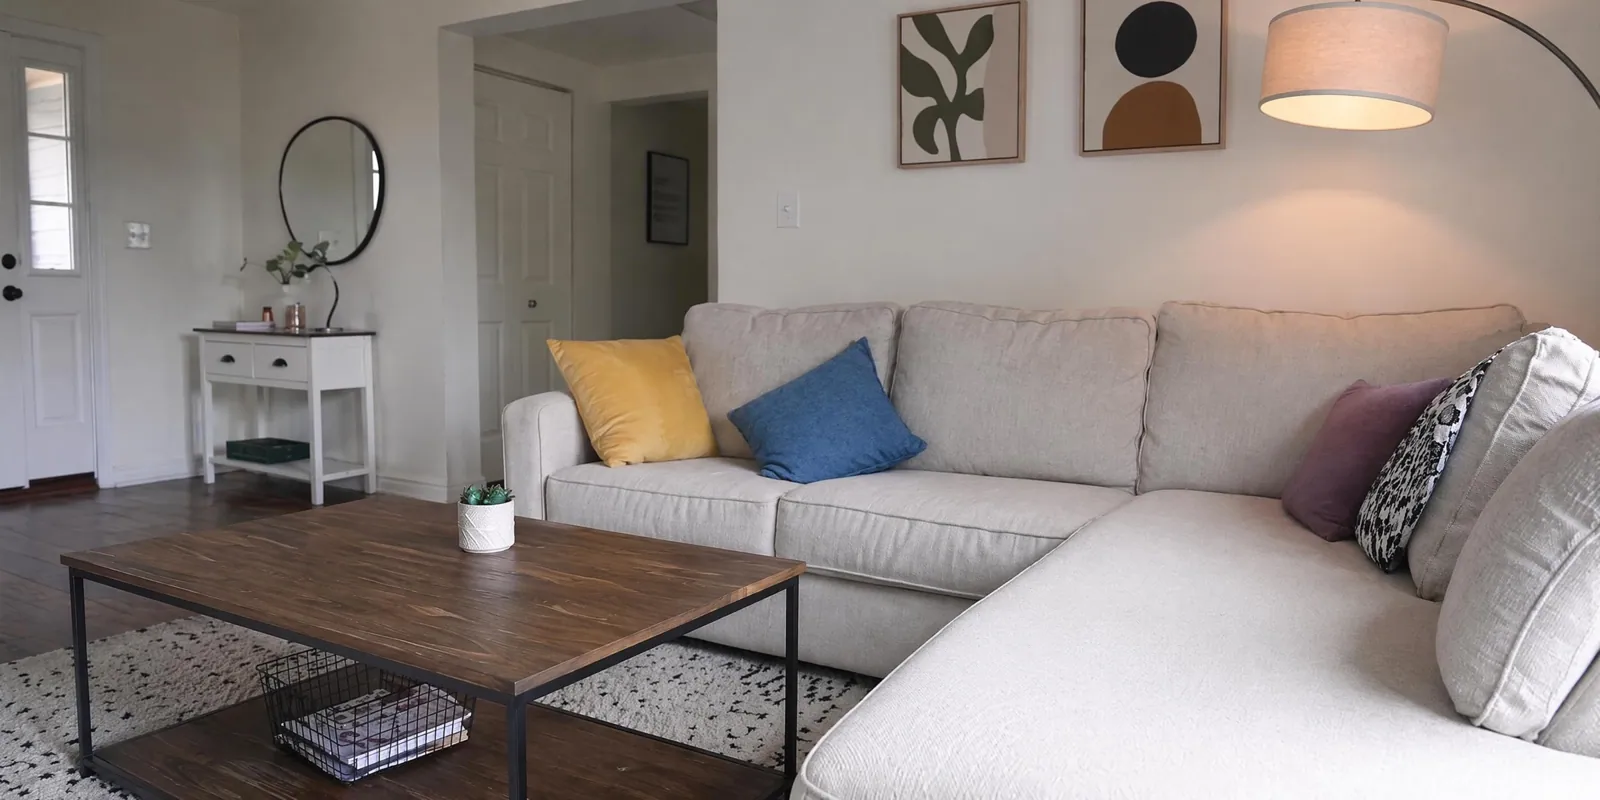
  • Tidy living room with a light sectional sofa, a wooden coffee table and no loose objects on the floor

    Rental and real-estate listings

    Clear bins, toys, cables, piles of paper and other loose objects so rooms and driveways look tidy, and buyers notice the space rather than the mess.

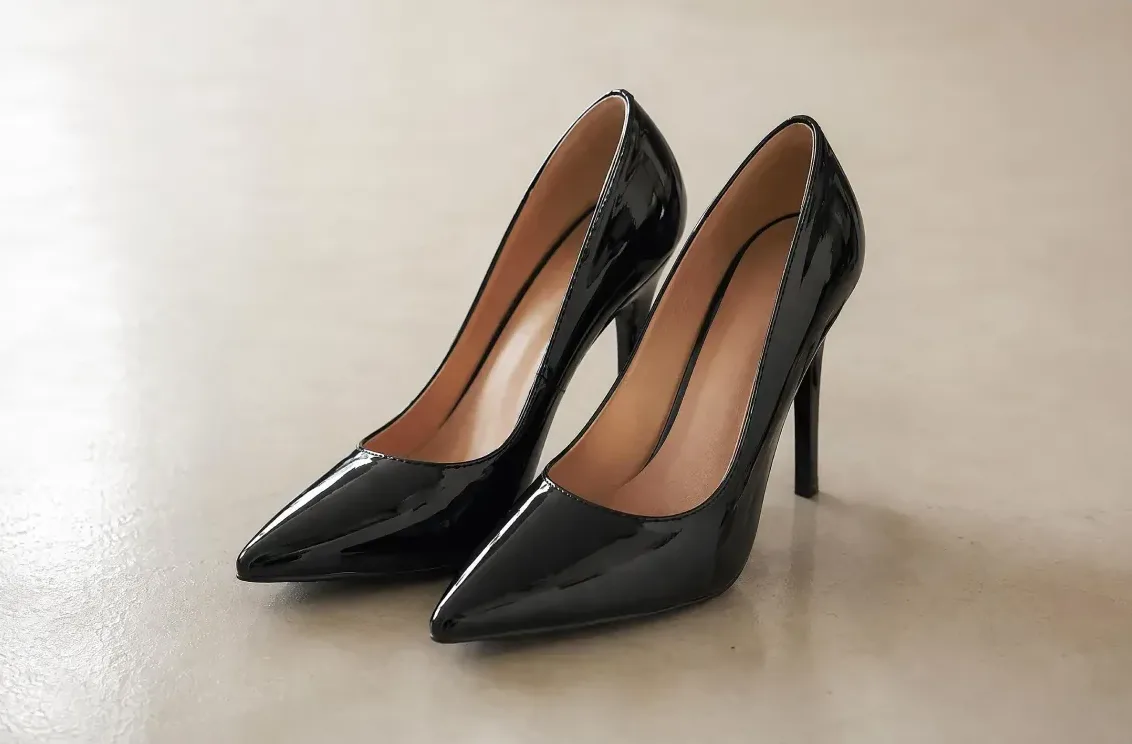
  • Pair of black patent high heels alone on a plain light floor, with no other objects around them

    Product and marketplace shots

    Use the Object Remover to erase price tags, chargers, dust and props that crept into the frame, so the product is the only object in focus.

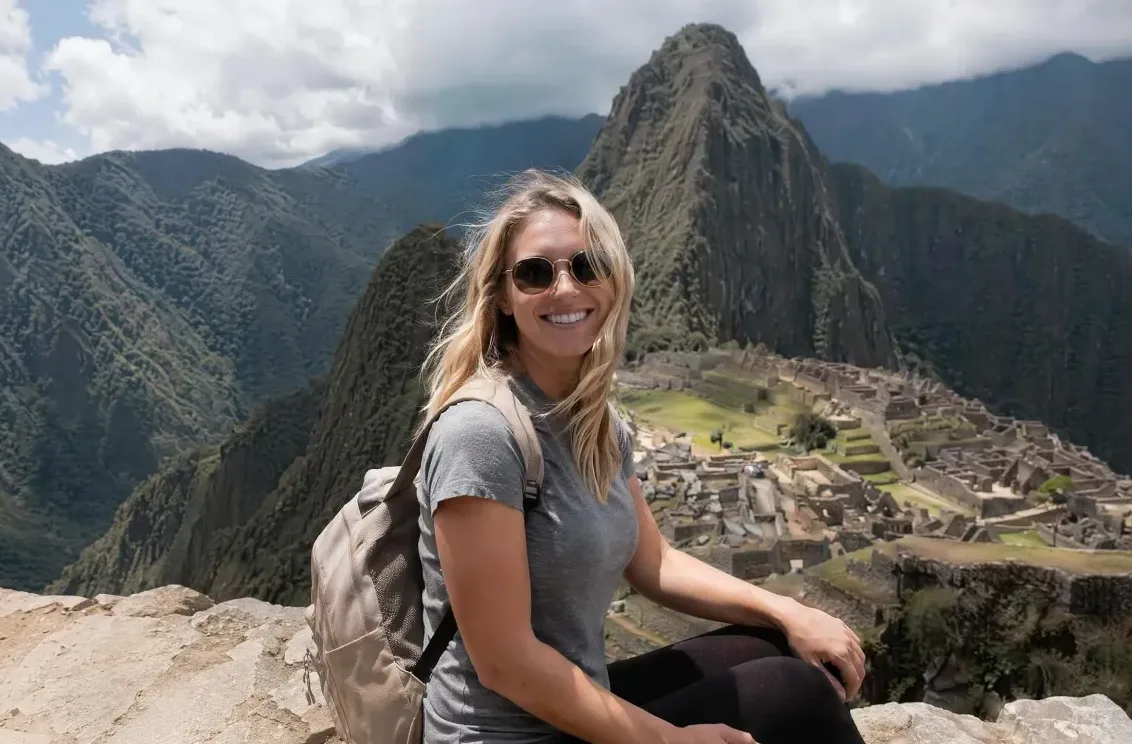
  • Smiling hiker sitting on a rock above mountain ruins, with no signpost or crowd beside her

    Landscapes and travel

    Objects such as signposts, traffic cones, construction fences and parked cars can spoil a view. The Object Remover takes them out and keeps the sky and scenery intact.

  • Family of four on the driveway in front of their house, with no bins by the garage

    Home and family photos

    Objects like a wheelie bin by the garage or toys on the lawn can spoil the yearly photo in front of the house. Clear them with the Object Remover and everyone stays where they stood.

Tips for erasing an object without a trace

  • Be specific about each object and its location; "the blue car on the left" works better than "remove the cars".
  • Say what should replace each object: "continue the brick wall", "plain sky" or "empty wooden floor".
  • Mention shadows and reflections, so a removed object such as a bin does not leave its shadow on the pavement.
  • Large objects that fill much of the frame leave more for the AI to invent; crop or retake if the result looks off.
  • Removing a person rather than an object? Use Remove People from Photo. For words or captions on your own images, try Remove Text from Image.
  • Starting over? Run the Object Remover on the original file again, not on an edited copy, so small errors do not pile up from one pass to the next.

Which AI model removes objects from photos best

Each of the six models can run the object remover and erase a distraction. These three fit object removal best.

  • Nano Banana

    Google

    The original Nano Banana is the dependable all-rounder for natural, realistic changes, and object removal is one of its strengths: bins, cars, cones and other objects go, and the floor or wall behind them closes over the gap.

    About Nano Banana
  • Flux

    Black Forest Labs

    Choose Flux when only the listed objects may change, such as a styled product shot or a room photo you have already color-graded. It is built for precise control and tends to leave everything you did not mention alone.

    About Flux
  • Nano Banana Pro

    Google

    For the hardest object remover jobs: a fence across the whole frame, small objects on patterned tiles or brickwork, mixed indoor light. Pro handles fine texture and lighting best. The model can go up to 4K, but EditPic currently outputs 1K or 2K.

    About Nano Banana Pro

Object remover from photo: getting a seamless fill

Why some objects disappear cleanly, how to write a removal list, a checklist for the object remover, and the mistakes that leave a visible patch.

Why some objects vanish cleanly and others do not

With any object remover, the fill is only as good as the context around it. An object sitting on plain sky, sand, grass or a painted wall leaves a gap the AI can close by continuing one simple texture. Repeating patterns such as floorboards, tiles or bricks also work, as long as enough of the pattern shows on both sides of the object.

Trouble starts when the object hides structure: the corner of a building, a table edge, the leg of a chair, a door frame. The AI has to guess where those lines go. An object that touches your subject is harder again, because the subject’s outline has to be redrawn as well. Expect those photos to need a second prompt.

Writing an object list the AI can follow

Treat the prompt for the Object Remover as a short checklist. Name each object with a color or material and a position: "the green wheelie bin left of the garage", "the black cable along the skirting board". Then say what fills the space, and finish with what must not change.

Group objects that sit on the same surface into one pass and split the rest. Clearing the floor in one edit and the walls in a second usually beats a ten-object prompt. Mention shadows, reflections and the marks objects leave behind, such as a dent in a cushion or a ring on a table, or they will still be there when the object is gone.

Fixing smudges and bent lines where an object was

A blurry or overly smooth patch means the AI ran short of texture around the object. Ask it to "continue the wood grain with the same plank width" or "match the grain of the concrete". Bent edges appear where a line ran behind the object, so name the line: "keep the edge of the countertop straight".

If the whole photo turned slightly warmer or cooler, run the Object Remover again from the original and add "keep the colors and white balance exactly as in the original". Now and then a removed object reappears as a faint copy somewhere else, so look over the whole frame, not just the spot you cleaned.

Pairing the Object Remover with other EditPic tools

Some photos need more than one kind of cleanup. Use Remove People for passers-by, since people need different handling from objects, and Remove Text from Image for a caption or a date stamp on your own picture. When the background is too cluttered to save, the Background Changer replaces it in a single edit, and Blur Background softens what is left so the subject stands out.

Run the Object Remover and any other tool one at a time, and check each result before you start the next, so any problem is easy to trace back. Keep the original file until you are happy with the final version.

Before you start: an object remover checklist

Five quick checks save most reruns. First, use the original file rather than a screenshot, since compression blurs the texture around each object. Second, crop away the edges you do not need, so the object remover spends its effort on the part you keep. Third, list every object by color and position, and decide what should show in its place. Fourth, look for the shadows, reflections and marks those objects leave, and add them to the list. Fifth, pick the aspect ratio closest to your original in the editor (1:1, 3:4, 4:3, 9:16 or 16:9), so nothing has to be stretched or trimmed.

If one object covers more than about a quarter of the frame, think about a retake instead. The bigger the gap, the more the AI has to invent.

Five object removal mistakes that leave a patch

The first mistake is a bare "remove it": without a named surface, the fill turns smooth and shapeless. The second is cramming ten things into one prompt, so the AI skips some and blends others. The third is forgetting the shadow, and the bin vanishes while its dark outline stays on the pavement. The fourth is erasing an object that holds up part of the scene, such as the post a sign hangs from, which leaves the sign floating. The fifth is judging the result as a thumbnail.

Each one has a simple fix in the Object Remover: name the surface, split the list into passes, mention shadows, remove the whole connected object, and check the frame at full size before you share it.

Object remover FAQ

  1. Is this object remover from photo tool free?

    You can try the object remover free once after you sign up, right in the browser. Further edits use credits, and the editor shows how many your chosen model needs before you run it; paid plans add credits for regular cleanup work.

  2. Do I need to brush over the objects?

    No. The Object Remover edits from a text prompt, so you describe which object to erase and where it is. Clear names and positions, such as "the orange cone in front of the gate", help the AI pick the right one.

  3. What kinds of objects can the object remover erase?

    You can remove unwanted objects from photos such as wires, poles, bins, cars, cones, cables, tags, litter and general clutter. Small and medium objects on a plain or repeating background give the most natural result; huge objects are harder.

  4. Will the rest of my photo change when an object is removed?

    The object remover aims to leave areas you do not mention as they are, but generated pixels can nudge nearby textures or colors. Look at the edges where each object used to be and rerun with "leave the rest untouched" if something drifted.

  5. Can it remove watermarks or people?

    People have their own page, Remove People from Photo, with prompts and tips written for them; the Object Remover is for things. Watermarks and logos are a different matter: please do not use EditPic to strip them from images you do not own. Clean up only pictures that are yours to edit.

  6. How do I remove unwanted objects from photos without leaving a blur?

    Tell the object remover what the surface should look like: "continue the oak floorboards", "plain blue sky", "the same rough plaster". A described texture gives it something to copy, which avoids the smooth, smudged patch a bare "remove it" can produce. Removing one object per pass also keeps each fill sharper.

  7. Is it fine to remove objects from photos of items I am selling?

    Clearing the objects around an item is fine: a charger, a box, a messy shelf. Do not erase scratches, stains or other defects on the item itself, because buyers rely on the photo and many marketplaces forbid misleading pictures. Show the product as it really is.

  8. Can it remove glare or reflections on glass?

    Often, when you tell the Object Remover what should show through: "remove the lamp reflected in the window and show the garden behind it". Strong glare that hides detail completely is harder, because the AI has to invent what was under it. Compare the result with the original before you use it.

  9. How do I remove an object from a photo without Photoshop?

    Upload the photo here, write one sentence that names the object and its position, and say what should fill the space, for example "remove the red bucket on the left and continue the sand". The Object Remover handles the selection and the fill in one step, so there are no layers, brushes or clone stamps to learn.

  10. Can the object remover erase large objects like a parked car?

    Yes, but check those results more closely. A large object such as a car, a tent or a market stall hides a big piece of the scene, and the AI has to invent everything behind it. Describe that hidden part ("continue the cobblestone street and the shop fronts"). If the fill still looks off, crop tighter or switch to Nano Banana Pro, which handles complex scenes best.

  11. Why did a new object appear where the old one was?

    When a prompt only says what to remove, the AI sometimes fills the gap with a similar object, such as a smaller bin or a different plant. Say what the space should show instead: "leave an empty patch of lawn" or "a plain stretch of wall". Running the object remover again from the original with that line added usually clears it.

Try the object remover on your photo

Upload a picture, list each object that has to go and get a cleaner frame back, with your subject left exactly where it was.