New: Nano Banana 2 & GPT Image 2

Try it

Updated 2026-11-16

AI Upscale Image Online – Bigger, Sharper Photos

Use our AI upscale image tool to turn small, soft or pixelated pictures into larger, crisper versions. Upload a photo, pick 1K or 2K output, and EditPic rebuilds edges, texture and fine detail instead of just stretching pixels.

AI upscale image examples

Pixel blocks, soft focus and compression bands in portraits, pets, food and beach shots, each upscaled with cleaner detail. Drag the slider to compare, then upscale image online with the same prompt on a file of your own.

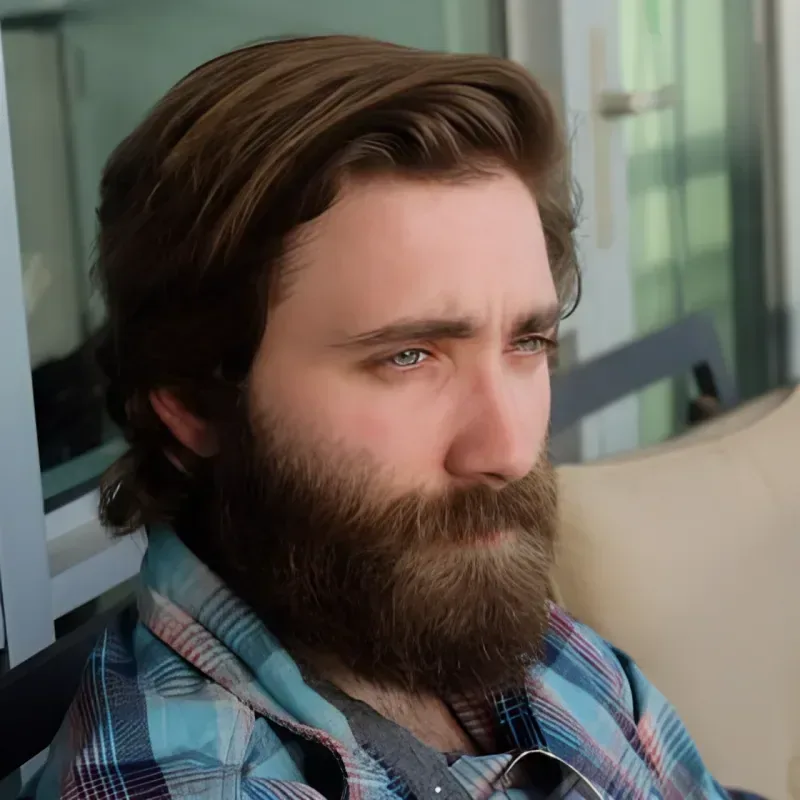
  • Bearded man’s portrait before and after upscaling, pixels replaced by clear facial detail — AfterBearded man’s portrait before and after upscaling, pixels replaced by clear facial detail — Before

    Low-res portrait upscaled with real skin texture

    “Upscale this low-resolution portrait. Remove the blocky pixels, sharpen the eyes, eyebrows and beard, and keep his face shape and expression exactly the same.”

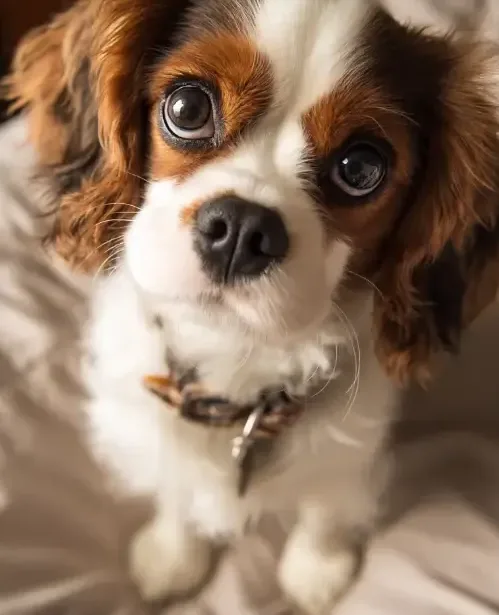
  • Cavalier spaniel puppy looking up, pixelated before and upscaled with clear fur detail after — AfterCavalier spaniel puppy looking up, pixelated before and upscaled with clear fur detail after — Before

    Blocky puppy photo upscaled, fur and eyes restored

    “Upscale this low-resolution puppy photo. Replace the pixel blocks with soft, natural fur, make the eyes and nose glossy and sharp, and keep the collar, the pose and the cream blanket unchanged.”

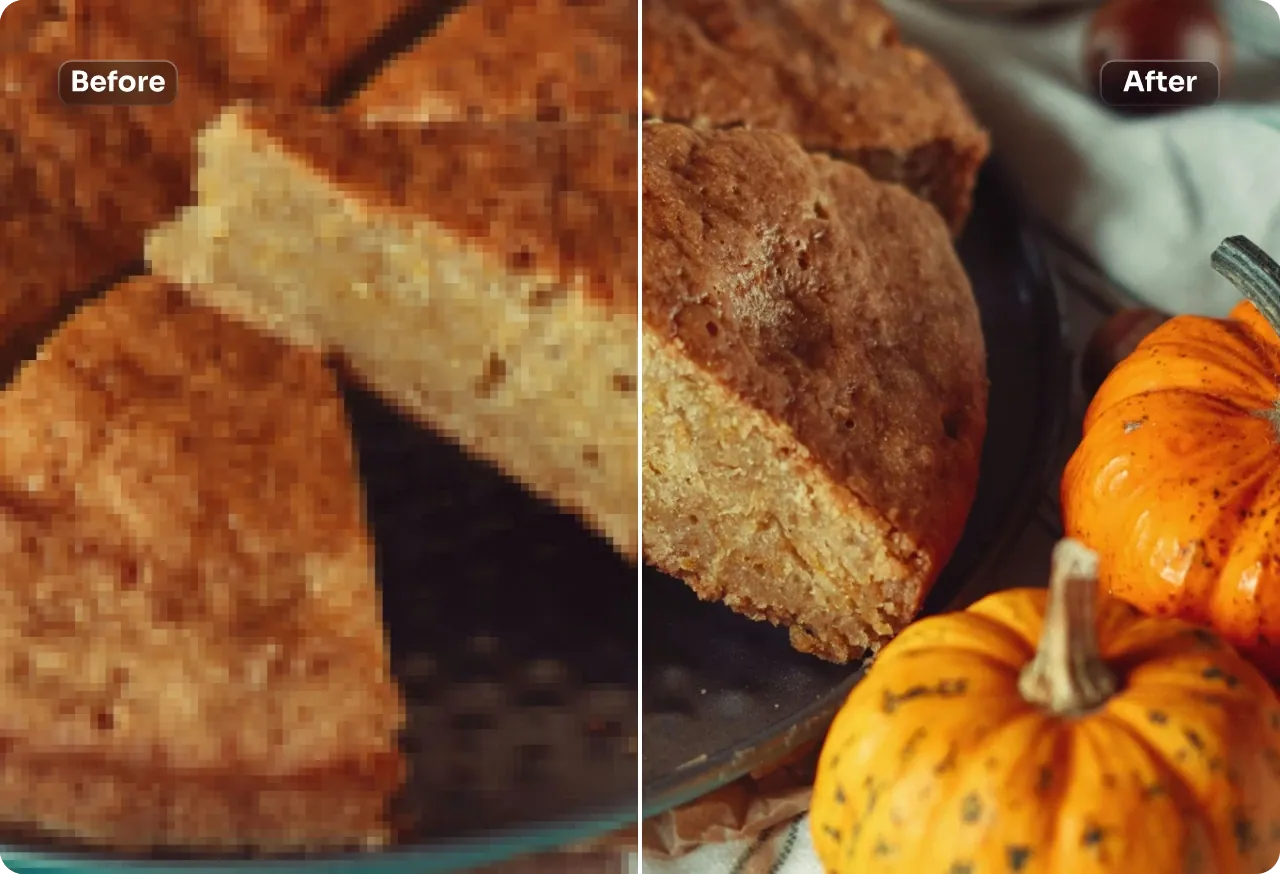
  • Slices of golden cake beside small orange pumpkins, pixelated on the left and upscaled with crisp crumb detail on the right

    Blocky close-up of homemade cake made appetizing

    “Upscale this pixelated food photo. Rebuild the crumb and the golden crust of the cake slices and the ridges of the small pumpkins, and keep the warm autumn colors and the plate.”

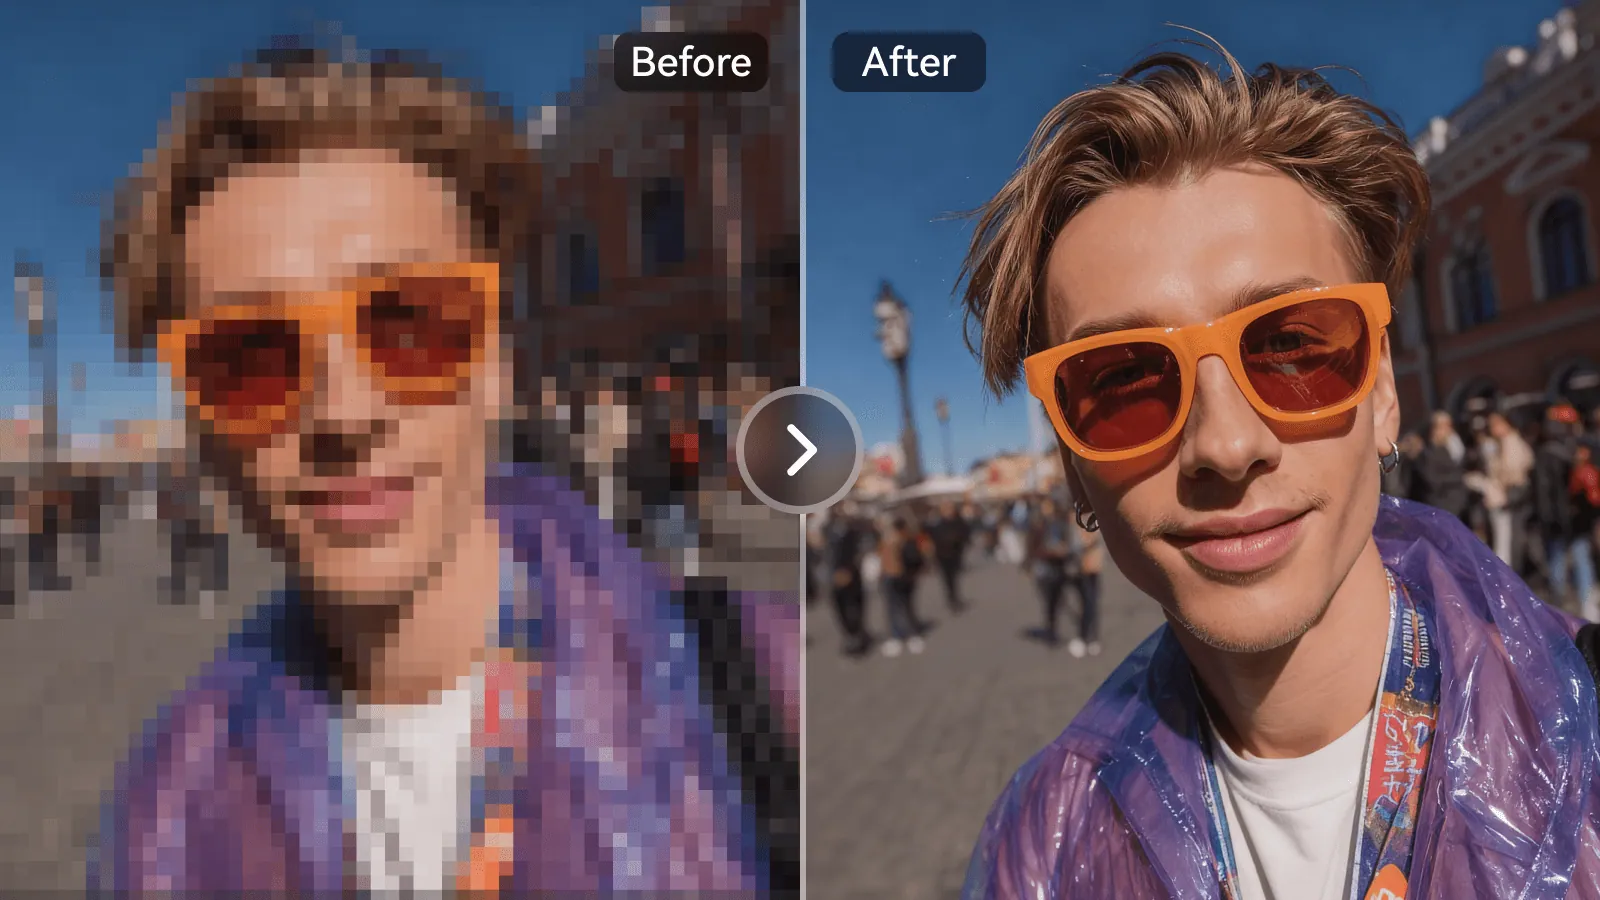
  • Young man in orange sunglasses on a busy street, pixelated half next to a sharp, upscaled half

    Pixelated street selfie upscaled and made sharp

    “Upscale this heavily pixelated selfie. Rebuild his face, hair and orange sunglasses with clean edges, and keep the crowded street behind him and his expression exactly as they are.”

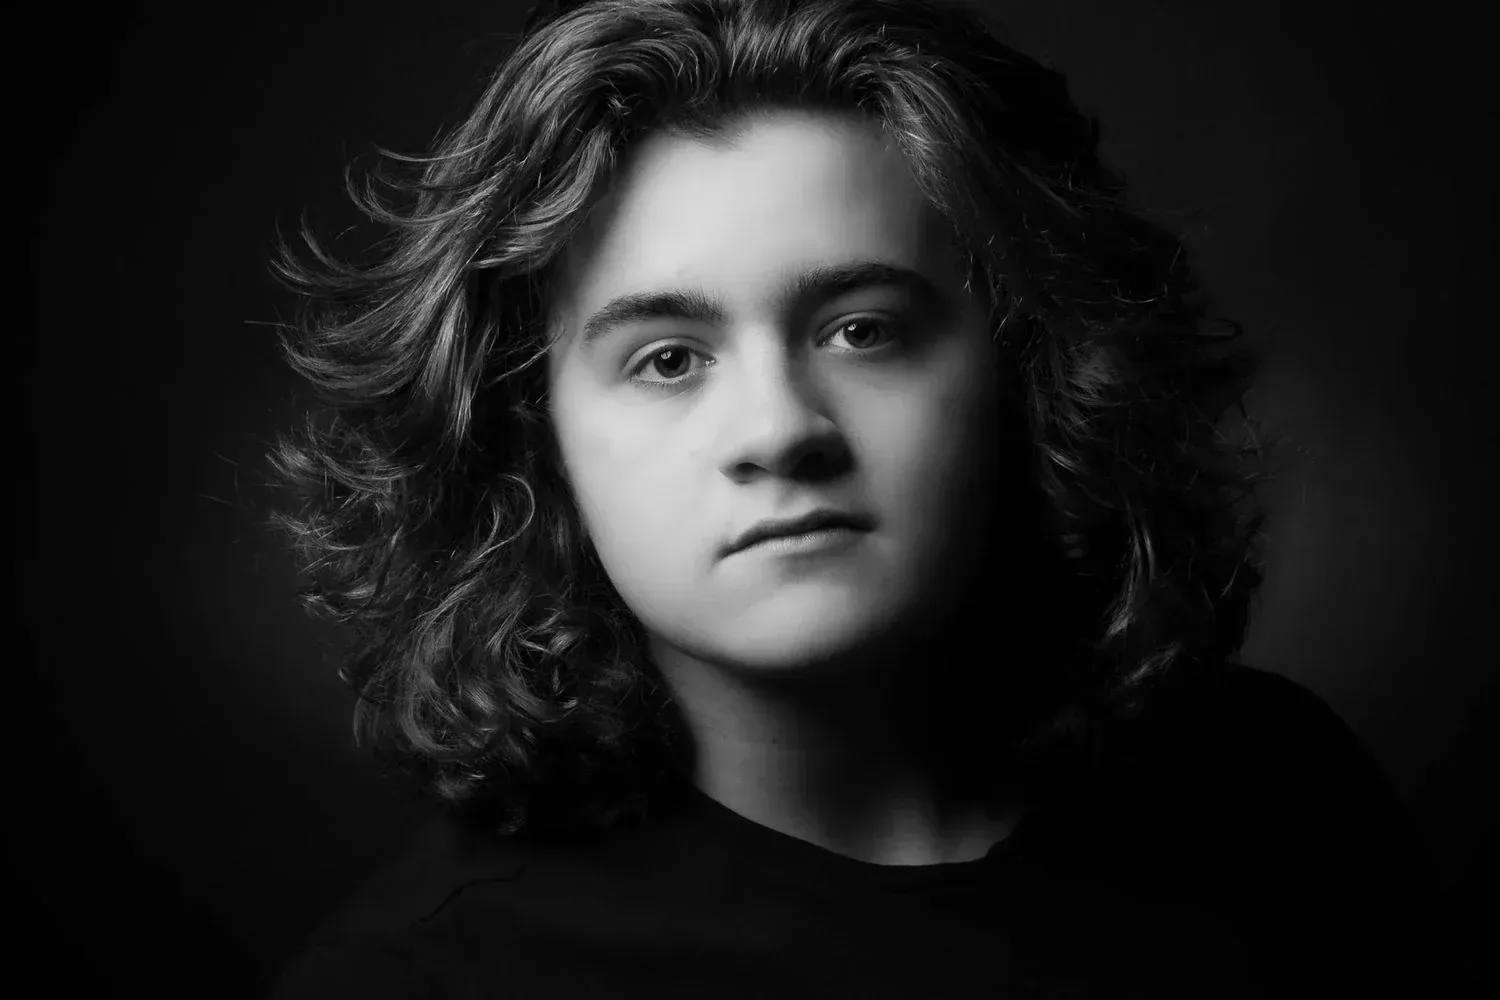
  • Black-and-white portrait upscaled from a blurry, blocky source to a clear image — AfterBlack-and-white portrait upscaled from a blurry, blocky source to a clear image — Before

    Black-and-white portrait with clear features

    “Upscale this black-and-white portrait, clear the pixel blocks and bring back natural detail in the eyes, lips and curly hair. Keep it monochrome and the face unchanged.”

  • Two sun loungers under a parasol on a white beach, blurry before and crisp after upscaling — AfterTwo sun loungers under a parasol on a white beach, blurry before and crisp after upscaling — Before

    Soft beach thumbnail upscaled for a banner

    “Upscale this small beach photo. Make the parasol fabric, the slats of both loungers and the wave line crisp, and keep the turquoise sea and the soft sky.”

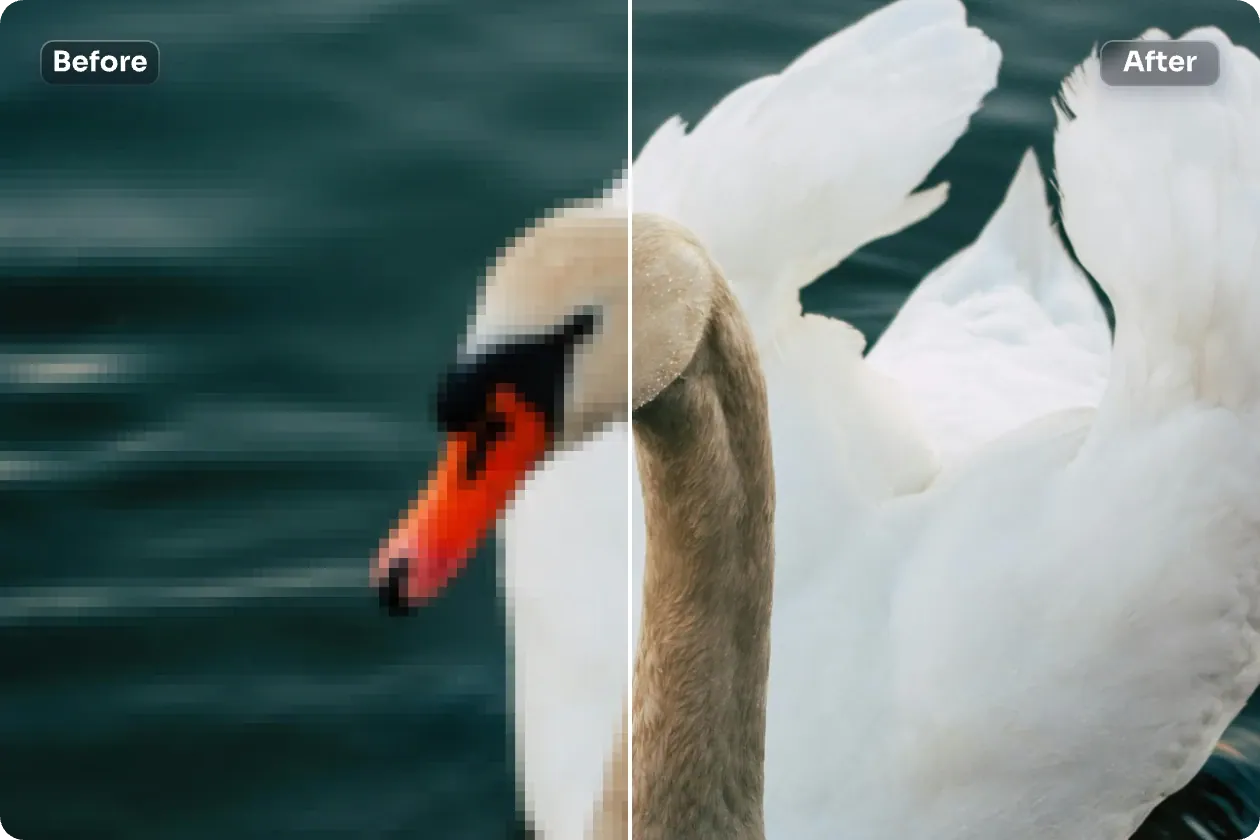
  • White swan on dark water, pixelated on the left and upscaled with smooth feather detail on the right

    Pixel-block swan with clean feathers

    “Upscale this pixelated swan photo. Draw smooth feather texture on the neck and wings, a sharp orange beak and calm dark water, without adding anything new to the scene.”

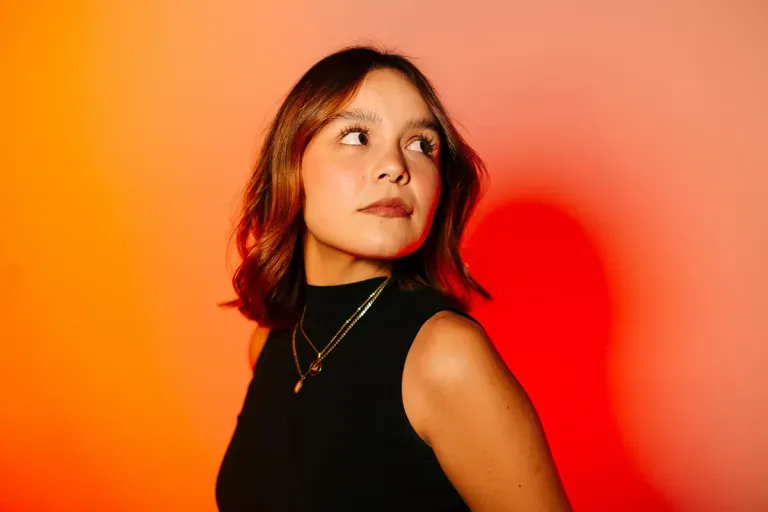
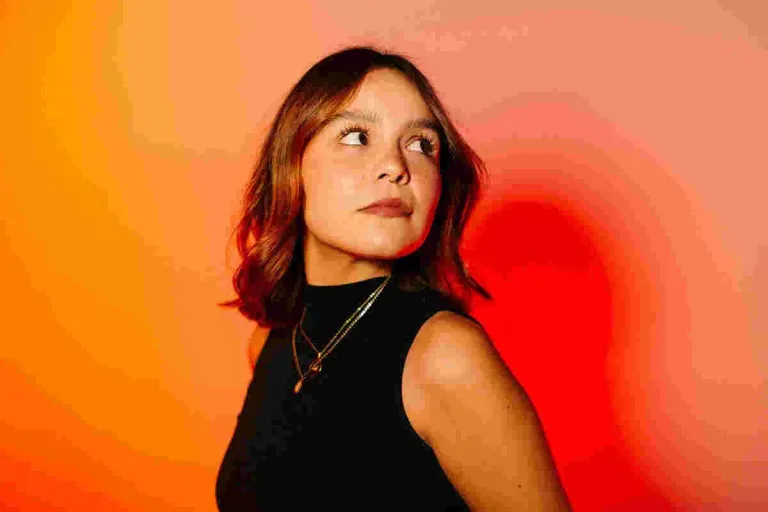
  • Woman against an orange and red backdrop, banded compression before and a smooth, upscaled gradient after — AfterWoman against an orange and red backdrop, banded compression before and a smooth, upscaled gradient after — Before

    Compressed portrait with a smooth backdrop again

    “Upscale this compressed portrait and remove the color banding in the orange-to-red background. Keep her pose, hair and necklace, and turn the backdrop into one smooth gradient.”

Example images are for illustration only. Each prompt is a starting point for a similar edit on your own photo.

How to upscale image online

  1. Step 1

    Upload the small image

    Add a JPG, PNG or WebP of up to 20 MB. It pays most to upscale an image that is a thumbnail, an old web picture, a screenshot or a crop that looks soft when shown large.

  2. Step 2

    Pick 1K or 2K

    Open the ratio menu and choose the upscaled output size. Keep the prompt, or name what matters most, like “sharp lettering on the sign” or “natural skin, no plastic look”.

  3. Step 3

    Compare and download

    Check faces, lettering and fine patterns in the upscaled image against the original. If the upscaler smoothed too much or invented detail, ask for a lighter touch and run it again.

Ready-made AI upscale image prompts

Each prompt below targets one kind of small image; send it to the editor, pick 2K, adjust the details and upscale your image.

  1. 01

    Supplier thumbnail for a product zoom view

    Upscale this small product photo of a leather handbag. Rebuild the grain of the leather, the stitching and the metal buckle, keep the white background clean and do not change the shape or color of the bag.

  2. 02

    AI-generated artwork for a desktop wallpaper

    Upscale this AI-generated fantasy landscape. Add fine detail to the rocks, trees and clouds, keep the painted style and the color palette, and avoid adding new objects or changing the composition.

  3. 03

    One face cropped out of a group photo

    Upscale this tight crop of one face taken from a larger group photo. Rebuild the eyes, the hairline and the shirt collar, keep the original expression and skin tone, and add no makeup or retouching.

  4. 04

    Still frame grabbed from a home video

    Upscale this still frame from an old home video. Remove the interlacing lines and video noise, sharpen the child and the birthday table, and keep the warm indoor colors and the slightly soft background.

  5. 05

    Room photo for a printed flyer

    Upscale this small photo of a living room for a printed flyer. Make the window frames, floorboards and cushion fabric crisp, keep vertical lines straight, and do not add furniture or change the light.

  6. 06

    Flat illustration enlarged for a poster

    Upscale this flat vector-style illustration of a city skyline. Keep every edge clean and every color area perfectly flat, with no texture, grain or extra detail added anywhere.

  7. 07

    Old website photo full of JPEG blocks

    Upscale this old website photo of a café terrace saved as a heavily compressed JPEG. Remove the square artifacts around the chairs and the awning, restore the floor tile pattern, and keep the evening light.

  8. 08

    Distant wildlife shot cropped tight

    Upscale this distant wildlife crop of a deer in a meadow. Rebuild natural fur and the outline of the antlers, keep the grass texture believable, and do not make the animal larger in the frame.

  9. 09

    Jar label that has to stay readable

    Upscale this small photo of a jam jar and keep the label lettering exactly as written. Sharpen the glass reflections and the fruit pieces, and leave every word, color and the label layout unchanged.

  10. 10

    Watercolor scan for a larger print

    Upscale this scanned watercolor painting of a harbor. Keep the paper texture and the soft pigment edges, bring out the outlines of the boats, and do not turn the watercolor into a photo-like image.

Who needs to upscale images

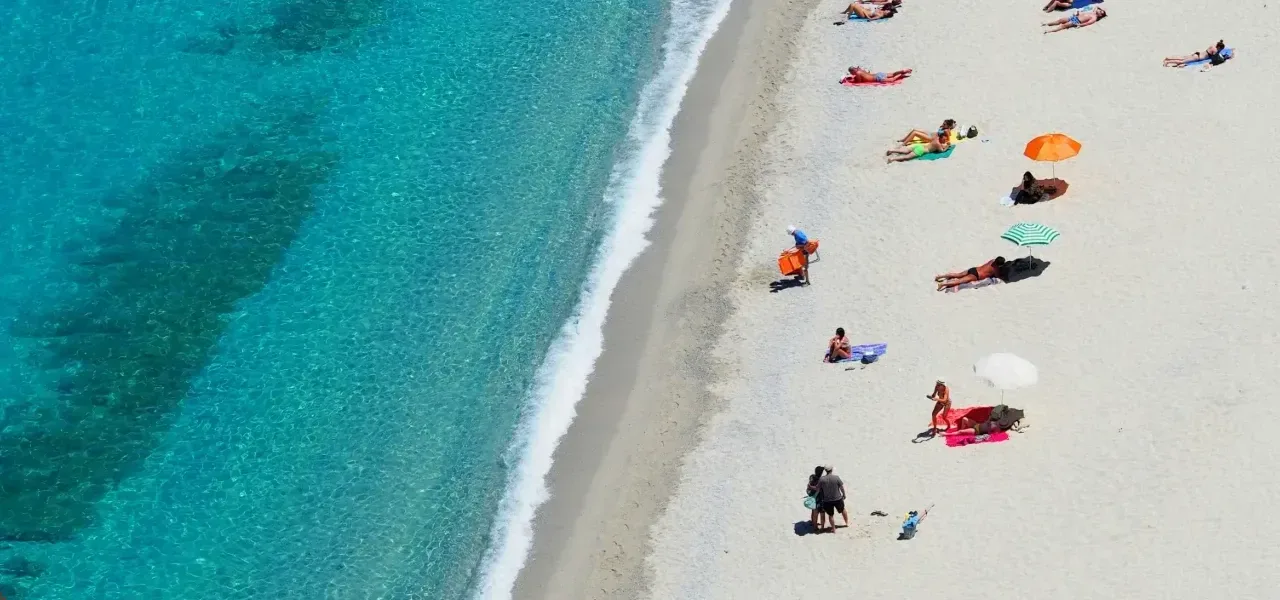
  • Aerial view of a turquoise sea meeting a beach dotted with umbrellas and swimmers

    Prints and photo books

    Upscale a phone photo or an early digital snapshot so it holds up better on a framed print, a canvas or a photo book page.

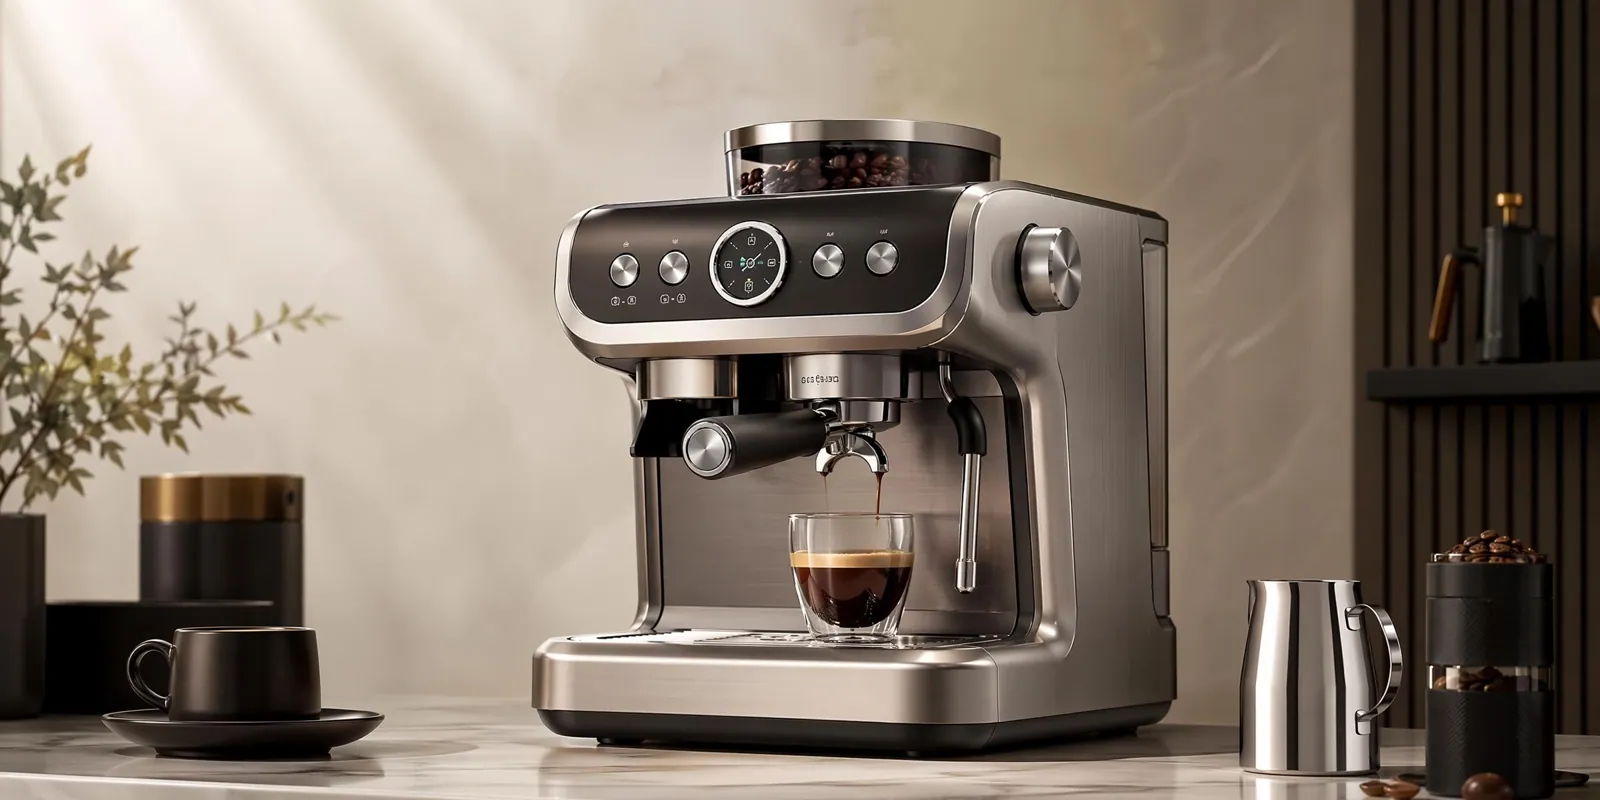
  • Stainless espresso machine with a fresh cup of coffee on a kitchen counter

    Online store images

    Supplier pictures are often tiny. Upscale the images so zoom views and product pages show texture instead of mushy pixels.

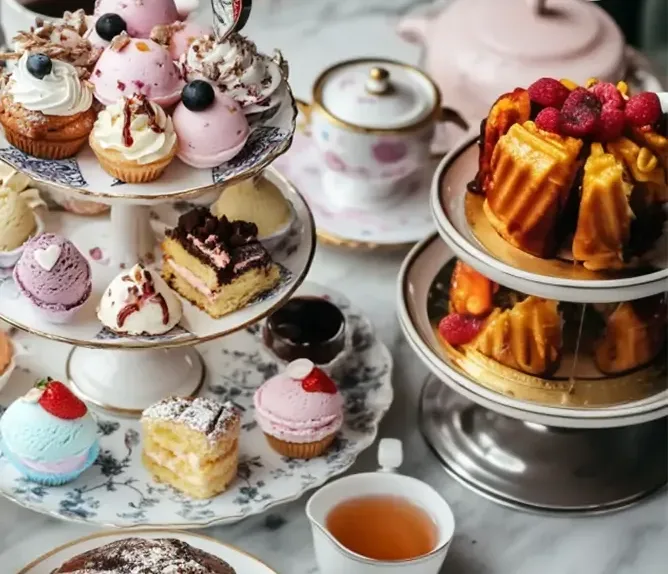
  • Tiered stands of cupcakes, tarts and cakes next to a teapot and a cup of tea

    Slides, thumbnails and banners

    Upscale a small food shot or crop for a wide menu banner, a slide or a video thumbnail without visible blocks at full screen.

  • Hand-drawn line-art sun with wavy rays on a terracotta background

    AI art and illustrations

    Generated or hand-drawn images often come out small. Upscale them for wallpapers or prints while keeping the line work clean.

Tips to upscale an image cleanly

  • Start from the best copy you have before you upscale the image; an original file beats a screenshot of a screenshot.
  • If your photo is already larger than 2K, the editor won’t make it bigger, so save the upscaler for small or soft images.
  • For faces, add “keep the identity and expression unchanged” so the upscale sharpens rather than redraws.
  • Text and logos are the hardest part when you upscale an image; check every letter and redo the edit if any changed.
  • Nano Banana Pro is preselected because it handles fine texture well; you can switch models in the editor.
  • Blurry from motion or missed focus rather than low resolution? The Unblur Image tool is the better fit.

Which model to upscale images with

All six models can upscale an image; these three handle it best, in this order.

  • Nano Banana Pro

    Google

    The best fit for most upscales: it is built for fine texture such as hair, fabric and foliage, and keeps lighting steady. The model itself can render up to 4K, but EditPic currently outputs 1K or 2K.

    About Nano Banana Pro
  • Flux

    Black Forest Labs

    Choose Flux to upscale an image that must stay exactly as it is, only bigger and cleaner. It changes only what you describe, which suits illustrations, flat graphics and a set of images that need one look.

    About Flux
  • GPT Image 2

    OpenAI

    Pick GPT Image 2 to upscale an image that carries words you need to read, such as a product label, a shop sign or a menu board. It keeps lettering legible better than the others, though every word still needs a check.

    About GPT Image 2

A closer look at how AI upscaling works

What the model does with your pixels when you upscale an image, how to choose a size, and how to catch mistakes before they reach a print.

Why AI upscaling redraws instead of stretching

A classic resize spreads each existing pixel over a larger area and blends the gaps, which is why enlarged photos look soft and stepped. An AI upscale treats the small image more like a sketch: it recognizes skin, bark, knitwear or tiles and paints matching detail at the new size.

That is also its limit. The added texture is a plausible guess, not information the camera recorded. In flat areas such as sky or painted walls it is almost always convincing. In faces, lettering and tiny repeating patterns it can drift, so those are the places to inspect first. The smaller and more damaged the source, the more the model has to invent.
Picking a 1K or 2K upscale, and the right ratio

The editor offers two output sizes. When you upscale an image for social posts, chat apps and most web pages, 1K is plenty; 2K suits banners, slides, product zoom views and small prints. Nothing here goes beyond 2K, even with Nano Banana Pro selected, so a photo that is already larger gains nothing from an upscale here.

The result also comes in one of five ratios: 1:1, 3:4, 4:3, 9:16 or 16:9. Choose the one closest to your source before you upscale the image. A 3:2 or 2:3 photo has no exact match, so its edges may be trimmed or extended; compare the borders with the original before you download.

Fixing the four usual upscale mistakes

Waxy skin: the model smoothed the pores away. Add “keep natural skin texture and pores, no retouching”.

Invented pattern: brick, grass or fabric turns into a repeating texture that was never there. Ask it to “only sharpen what is visible and add no new pattern”.

Bent lettering: a sign or label gains wrong letters. Switch to GPT Image 2, or crop the text area and upscale it on its own.

Halos and crunchy edges: bright outlines appear around hair or rooftops. Ask for “a softer, photographic finish without over-sharpening”.

When one spot keeps failing, name it in the prompt, for example “the lettering on the left jar”, so the model gives it extra attention.

Where upscaling fits with your other edits

Make content changes while the image is still small, and upscale last. Remove a stray object, replace a background or correct a color cast first, then upscale the finished version, so the new detail is drawn once, on the final picture.

Use a different tool when size is not the real problem. Blur from a moving hand or a missed focus point responds better to Unblur Image. Dull, dark or noisy pictures need the Photo Enhancer. Scratched or creased prints belong in Restore Old Photos, and you can upscale the repaired scan afterwards. If a print shop expects a specific pixel size, ask them before you choose between 1K and 2K.

Upscale image checklist: before you press Edit

A minute of preparation saves a second run. Before you upscale an image, find the largest copy you have: the original camera file, the full download from a cloud album or the asset a supplier sent, not a thumbnail saved from a web page. Crop away borders and empty space, so every pixel you upscale is one you actually need.

Then decide three things and put them in the prompt: what kind of picture it is (photo, flat illustration, painting), what must not change (a face, a label, the shape of a logo), and how far to go (“light, natural sharpening” or “rebuild fine texture”). Last, pick the ratio closest to the source, and 2K if the result will be printed or zoomed.

Upscaling for a shop, a slide deck or a print

Each destination wants something different from the upscaled file. Product photos for an online shop need faithful material and color: ask for the stitching, the label and the exact shade to stay as they are, then check the zoom view on a phone. Slides and video thumbnails are seen big but briefly, so clean edges and gradients without blocks matter more than tiny texture.

For print, pixels set the limit, and the FAQ below shows the quick sum. A poster seen from a few steps away needs fewer pixels per inch, but EditPic stops at 2K, so ask the print shop before you order anything large. Whatever the destination, view the upscaled image at 100 percent before you publish it; problems that hide in a preview show up at full size.

AI image upscaling FAQ

  1. Is image upscale free on EditPic?

    You can sign up and try it free once on your own picture. After that, each upscale uses credits; the amount depends on the model and is shown before the edit, and paid plans make sense if you upscale images regularly.

  2. Can I get an image upscaler 4K result?

    In this editor you choose 1K or 2K. The Nano Banana Pro model itself can render up to 4K, but EditPic currently outputs 1K or 2K only, so plan around 2K as the largest size you can download here.

  3. AI upscale image vs. a simple resize: what’s the difference?

    Resizing stretches existing pixels, so edges turn soft and blocky. An AI model predicts the missing detail, such as hair strands, brick texture or fabric weave, and draws it at the larger size.

  4. Will the AI change my photo?

    When you upscale an image, the AI aims to keep everything the same and only add clarity. Because it generates detail, very small or damaged areas, faces and lettering can come out slightly different, so compare both versions before you use the result.

  5. Which sizes and formats can I upscale?

    You can upscale images in JPG, PNG and WebP up to 20 MB. The biggest gains come from small images, roughly under 1,000 pixels wide; photos already above 2K won’t get larger here.

  6. How do I upscale image online for printing?

    Choose 2K, then check the pixel width of the downloaded file: divided by 300, it gives the print width in inches at photo quality. That covers small prints and photo-book pages. For posters, ask your print shop what size they need first, since EditPic outputs 1K or 2K.

  7. Can I upscale illustrations, anime-style art or AI images?

    Yes. Before you upscale the image, say what it is, such as “flat vector illustration” or “anime-style drawing”, and ask to keep the line work and colors. Without that hint the model may add photo-like texture to clean artwork, which is hard to undo later.

  8. Can I upscale the image twice to make it bigger?

    It won’t help. A second pass can’t push the file past 2K, and each run stacks fresh guesses on top of the last, which tends to produce waxy skin and invented patterns. Start from the original file every time you re-run.

  9. How do I upscale an image without losing quality?

    Start from the original file, pick 2K, and tell the model what kind of picture it is and what must stay the same. Ask for “natural sharpening, no invented texture” so the upscale adds clarity without a plastic finish. Every AI upscale redraws some detail, so compare faces, text and patterns with the source before you use it.

  10. Can I upscale image files with text, like a screenshot or a poster?

    You can, and GPT Image 2 is the best pick for it, because it keeps lettering more legible than the other models. Small or blurred characters may still change, so read every word in the upscaled version. If only the text matters, crop it out and upscale that part on its own.

  11. Is it better to upscale before or after other edits?

    After. Remove objects, change the background or fix colors on the small version first, then upscale the finished picture once. Upscaling early means every later edit works on a large file and may redraw the new detail; upscaling last keeps that detail as the final touch.

  12. What is the best way to upscale images for a website?

    Pick 1K for most web pages and 2K for hero banners or zoomable product photos, then compress the downloaded file in your usual image tool so the page still loads quickly. If several pictures sit side by side, upscale images one by one with the same prompt and model so their sharpness matches.

Upscale your image now

Upload a small photo, choose 2K and let the AI upscale image detail while you compare it with the original.