
New: Nano Banana 2 & GPT Image 2

Try it

Updated 2026-11-16

Photo Enhancer AI for Sharper, Cleaner Pictures

Photo enhancer AI from EditPic takes a dull, grainy or slightly soft picture and gives it back cleaner: crisper detail, less noise, balanced light and truer color. Upload, keep the ready prompt and check the enhanced result against your original.

Photo enhancer AI examples

Close-ups, a dim restaurant, selfies, a neon-lit portrait, wildlife and a hazy landscape, each enhanced with a prompt you can reuse. Drag the divider, then give your own picture the same fix in the AI photo enhancer.

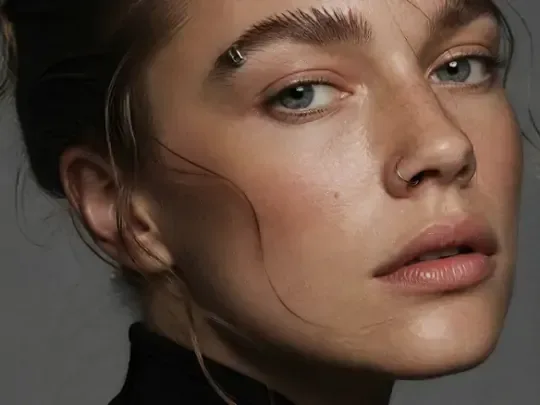
  • Close-up of a woman’s face, hazy before and enhanced with sharp eyes and skin texture after — AfterClose-up of a woman’s face, hazy before and enhanced with sharp eyes and skin texture after — Before

    Soft close-up brought back into crisp focus

    “Enhance this soft close-up portrait: sharpen her eyes, brows and lashes, bring back natural skin texture and freckles, and keep the warm light and her calm expression.”

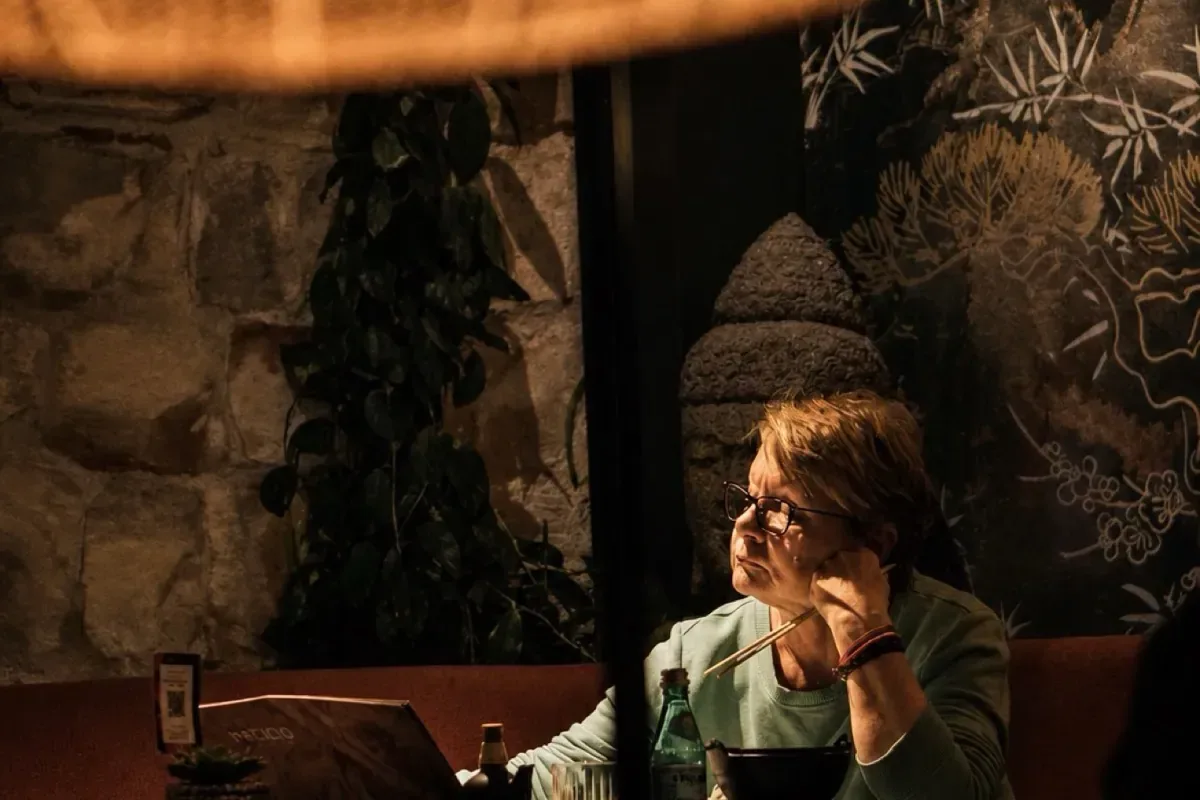
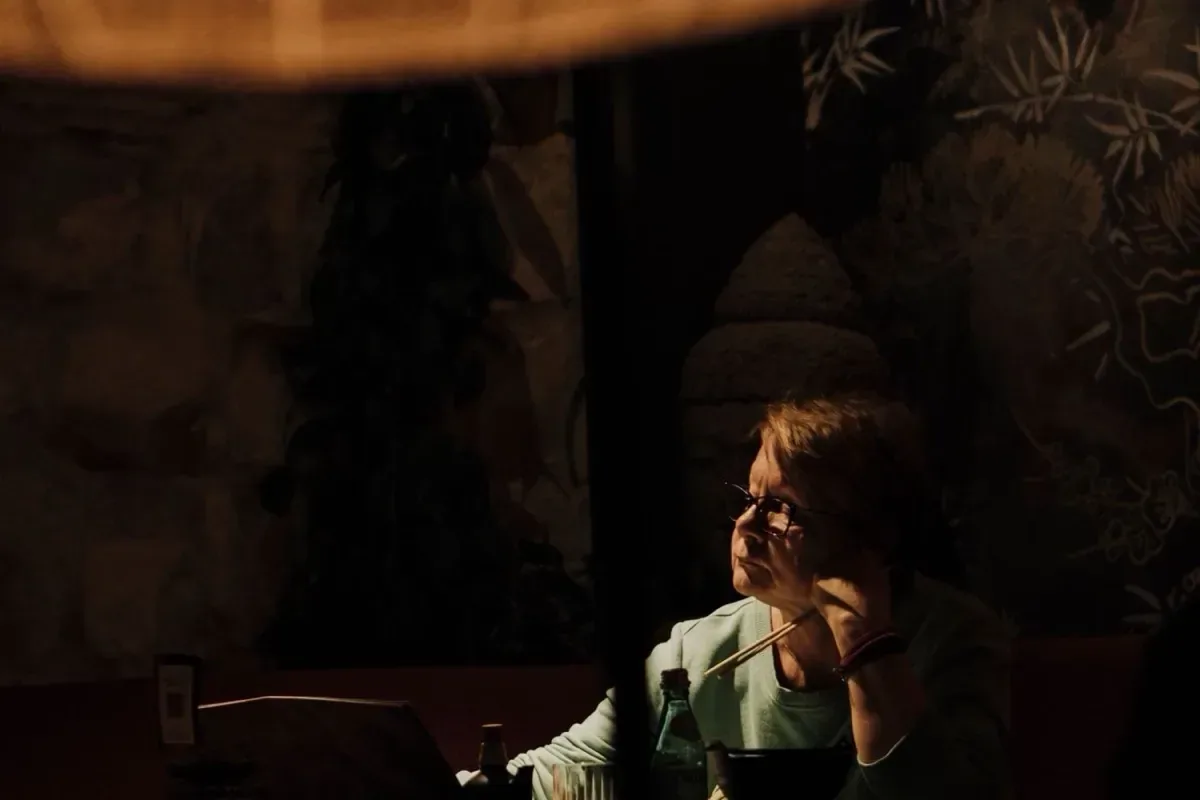
  • Woman sitting in a dark restaurant, dim before and enhanced to a brighter scene after — AfterWoman sitting in a dark restaurant, dim before and enhanced to a brighter scene after — Before

    Dim restaurant shot enhanced and brought into the light

    “Enhance this dark restaurant photo: brighten it and lift the shadows so the woman and the room are visible. Keep the warm lamp glow and reduce the noise.”

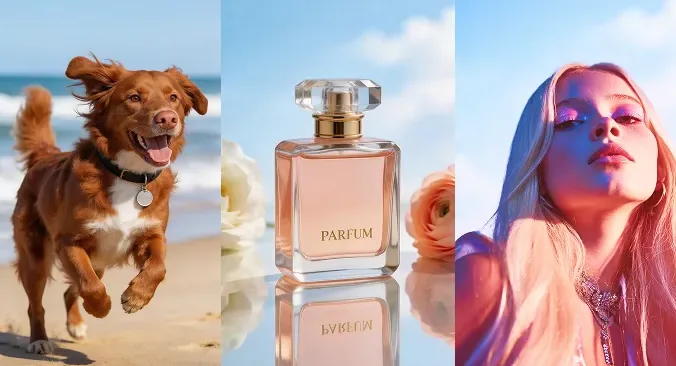
  • Collage of a running dog, a perfume bottle and a portrait, blurry before and sharp after enhancing — AfterCollage of a running dog, a perfume bottle and a portrait, blurry before and sharp after enhancing — Before

    Three soft shots enhanced in one go

    “Enhance this collage of three photos: sharpen the running dog’s fur, the glass edges of the perfume bottle and the woman’s hair, and keep each photo’s colors and framing.”

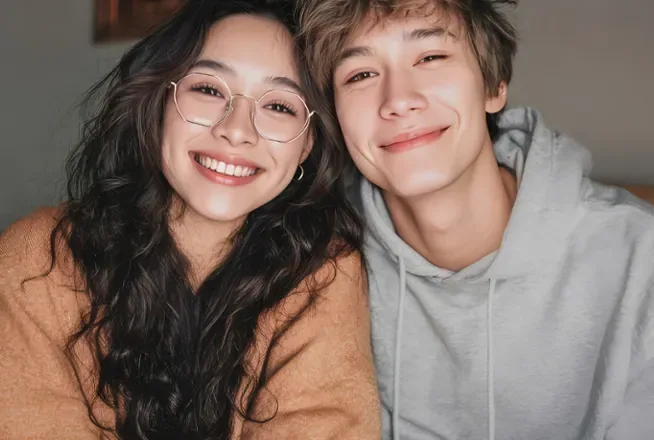
  • Smiling couple taking a selfie indoors, soft before and enhanced with sharp faces after — AfterSmiling couple taking a selfie indoors, soft before and enhanced with sharp faces after — Before

    Couple selfie with clear faces and glasses

    “Enhance this indoor couple selfie: sharpen both faces, her glasses and the knit of their sweaters, reduce the soft haze, and keep their smiles and the warm room light.”

  • Woman in a red sweater under neon lights, blurry and blocky before, sharp after the enhancement — AfterWoman in a red sweater under neon lights, blurry and blocky before, sharp after the enhancement — Before

    Neon-lit portrait cleaned of blur and blocks

    “Enhance this portrait in neon light: remove the blur and blocky compression on her face and hair, sharpen the eyes and lips, and keep the red sweater and the glowing bokeh behind her.”

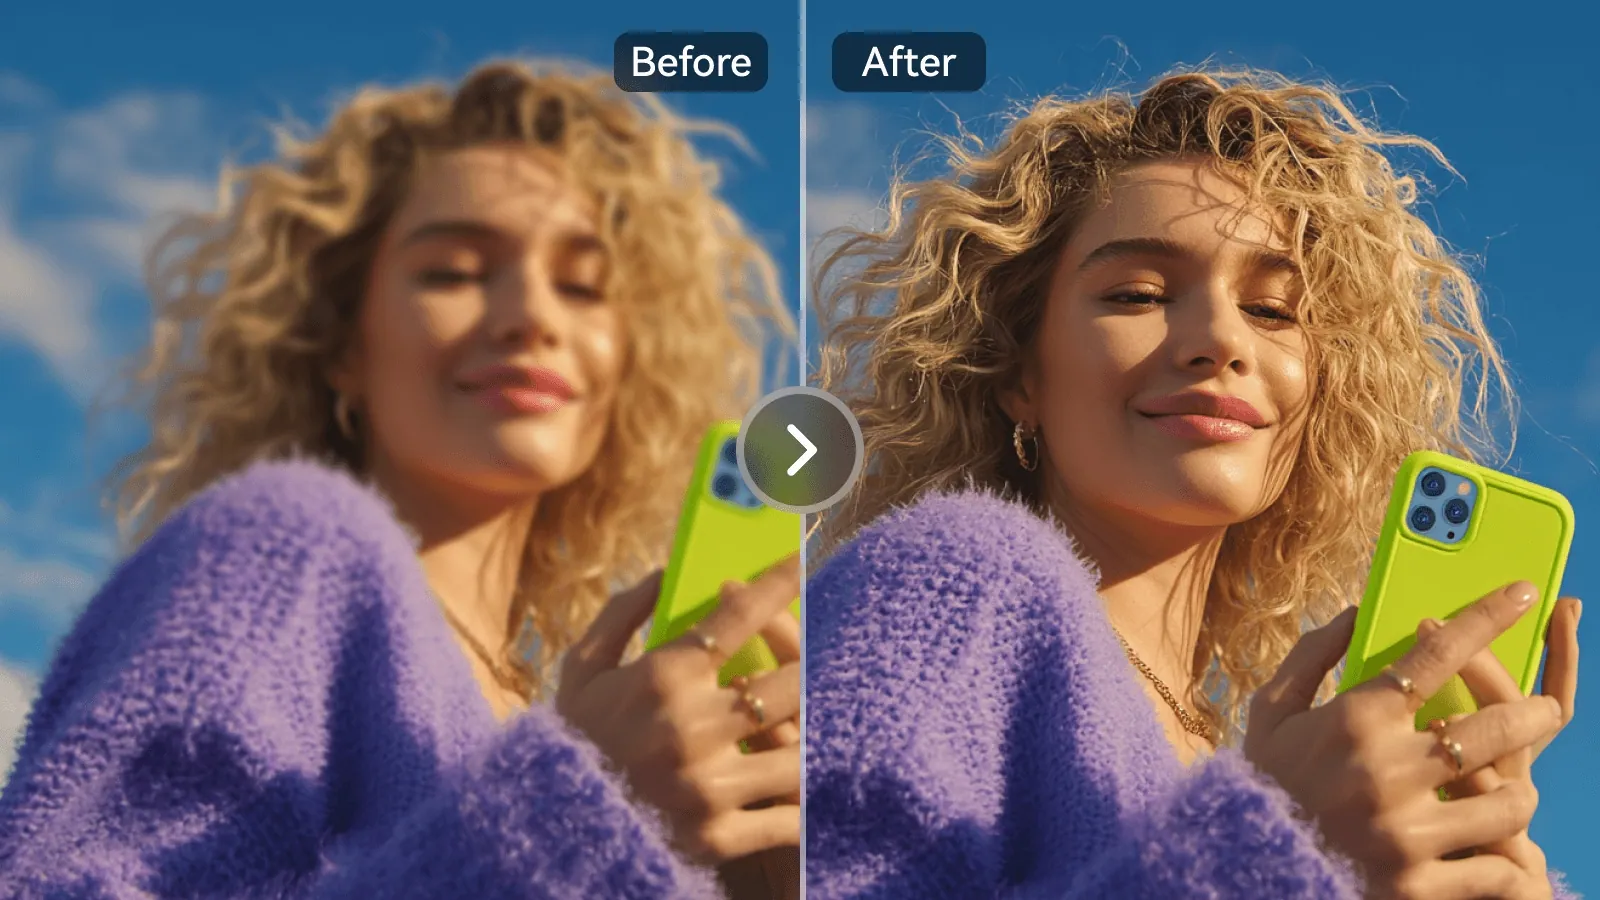
  • Curly-haired woman holding a green phone against a blue sky, soft half and enhanced half side by side

    Sunny phone selfie with sharper curls

    “Enhance this sunny selfie: sharpen her curly hair, the fluffy sweater and the green phone case, deepen the blue sky a little, and keep her face and smile unchanged.”

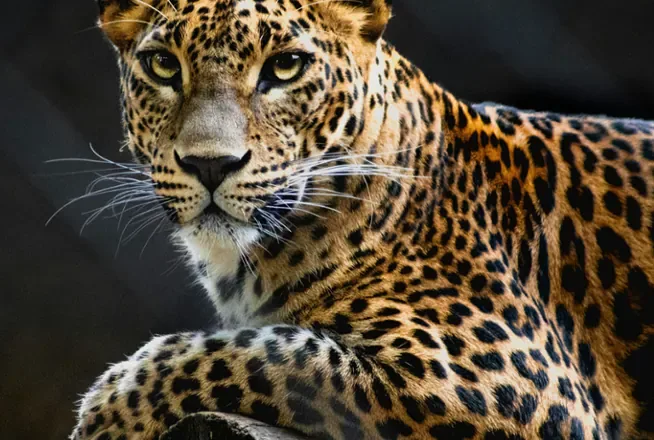
  • Leopard lying against a dark background, soft fur before and crisp, enhanced rosettes after — AfterLeopard lying against a dark background, soft fur before and crisp, enhanced rosettes after — Before

    Leopard fur with every rosette defined

    “Enhance this leopard photo: sharpen the whiskers, the eyes and each rosette in the fur, clear the soft haze, and keep the dark background and natural colors.”

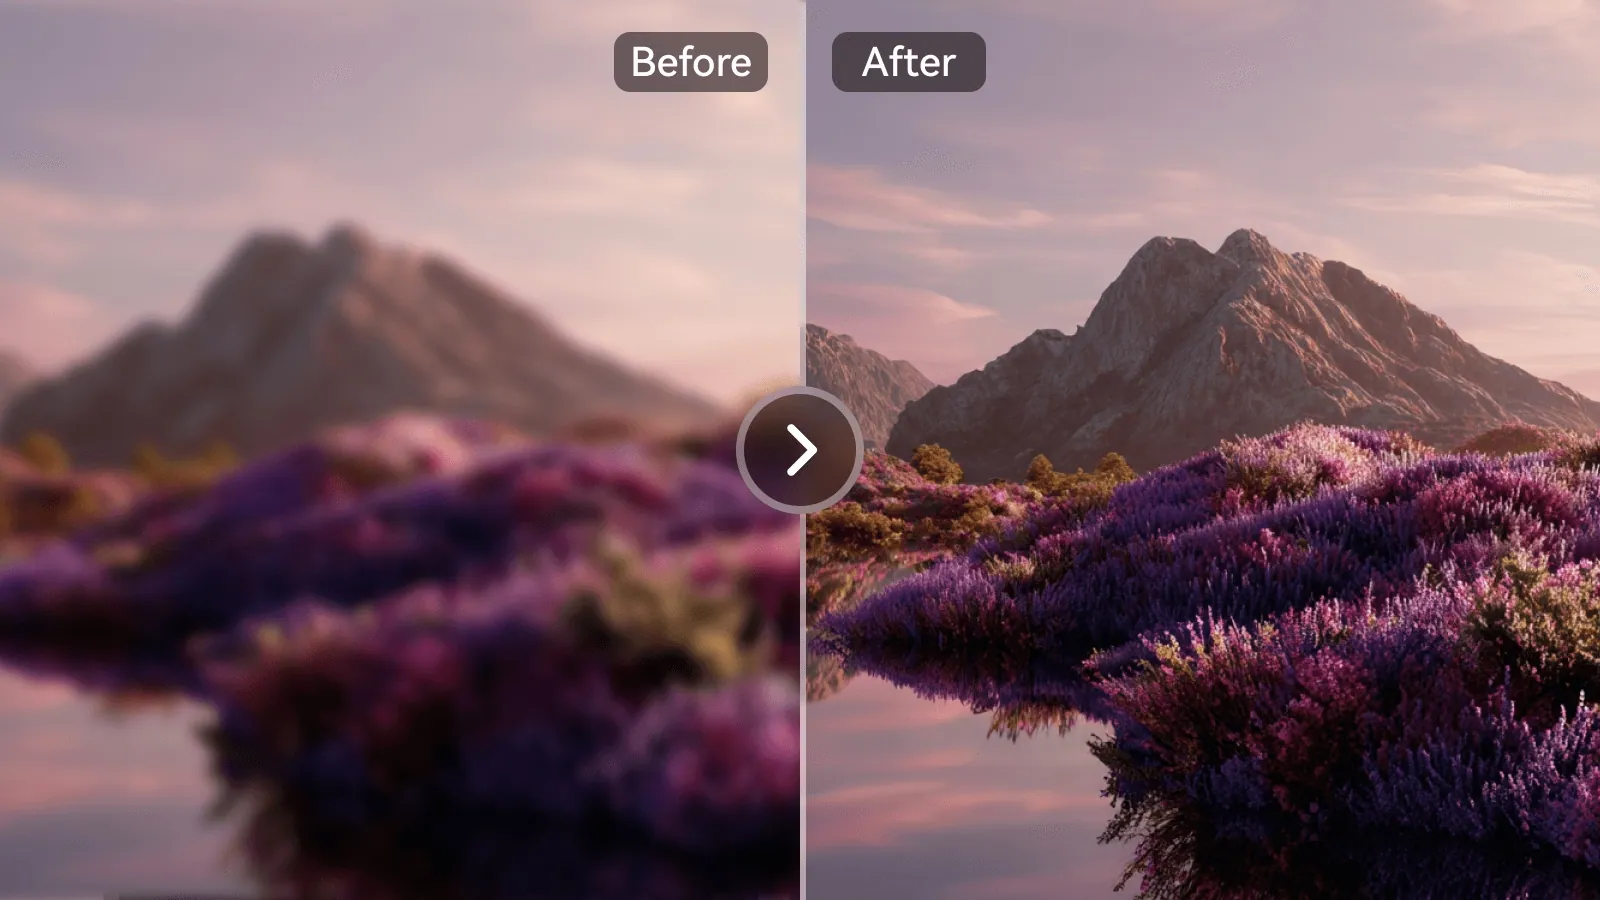
  • Lavender-covered hills below a mountain at dusk, hazy half next to an enhanced, clear half

    Hazy lavender hillside made clear

    “Enhance this hazy landscape: clear the blur from the lavender bushes and the mountain ridge, add gentle contrast, and keep the soft pink evening sky.”

Example images are for illustration only. Each prompt is a starting point for a similar edit on your own photo.

How to enhance photo quality in three steps

  1. Step 1

    Add your picture

    Drag a JPG, PNG or WebP of up to 20 MB into the AI photo enhancer, or tap Upload. Phone snaps, screenshots and scanned prints can all be enhanced.

  2. Step 2

    Keep or tweak the prompt

    The AI photo enhancer prompt is already filled in. Add what bothers you most, such as "too dark", "grainy sky" or "soft eyes", so the enhancement focuses there.

  3. Step 3

    Compare and save

    Press Edit Image, look at the enhanced version next to the original and download it. Too strong? Ask for "a lighter, more natural enhancement" and run it again.

Photo enhancer AI prompts for specific problems

Pick the prompt that names your photo’s main flaw, send it to the AI photo enhancer and change the subject details to match.

  1. 01

    Backlit face against a bright window

    Enhance this backlit portrait taken against a bright window. Lift the shadows on her face so the eyes and skin tone are visible, keep the window glow soft, and do not turn the scene into a flat HDR look.

  2. 02

    Yellow cast from indoor bulbs

    Correct the strong yellow-orange cast from indoor bulbs in this kitchen photo. Make the white cabinets look neutral white, keep natural skin tones on the two people, and leave the room layout unchanged.

  3. 03

    Grainy concert photo from the crowd

    Reduce the heavy grain in this concert photo taken from the crowd. Keep the stage lights, the colored haze and the singer’s silhouette, and avoid smoothing everything into a painted look.

  4. 04

    Grey, underexposed snow scene

    Enhance this snowy mountain photo that came out grey and dark. Make the snow bright white without losing its texture, deepen the blue sky slightly, and keep the skiers small in the frame.

  5. 05

    Green tint in an aquarium shot

    Remove the green tint from this aquarium photo taken through glass. Restore the true orange and blue of the fish, reduce the glass reflections a little, and keep the bubbles and the coral sharp.

  6. 06

    Flat wedding photo on an overcast day

    Enhance this overcast outdoor wedding photo that looks flat. Add gentle contrast and warmth, let the white dress keep its lace detail without glowing, and keep every guest’s face exactly as it is.

  7. 07

    Product on a table that looks grey

    Enhance this product photo of a ceramic mug on a white table that looks grey. Brighten the table to a clean white, keep a soft natural shadow under the mug, and keep its glaze color accurate.

  8. 08

    Sunset with a blown-out sky and dark faces

    Enhance this sunset beach photo where the sky is too bright and the people are too dark. Recover color in the clouds, lift the faces gently, and keep the warm orange mood of the scene.

  9. 09

    Team photo under office fluorescent tubes

    Enhance this team photo lit by office fluorescent tubes. Remove the greenish tint on skin, reduce the noise in the dark carpet, and keep everyone’s faces, clothes and positions unchanged.

Where a photo enhancer AI makes a difference

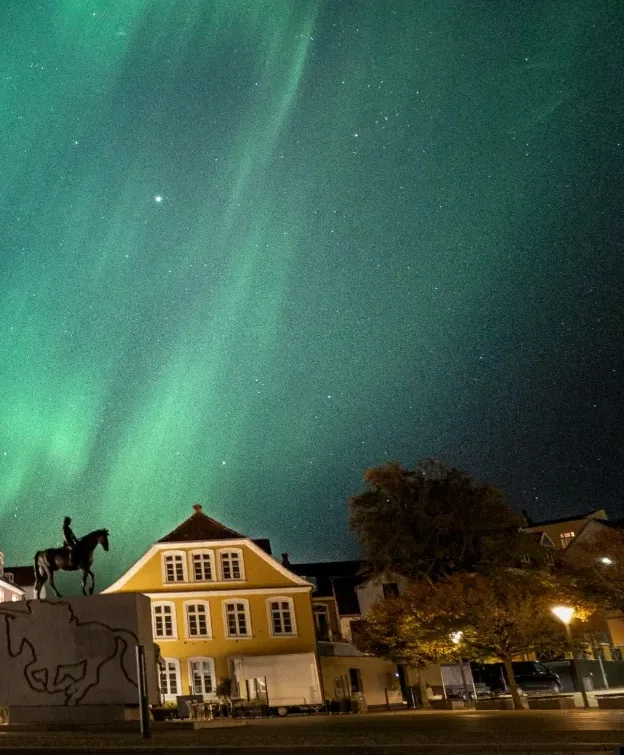
  • Green northern lights over a yellow house and a statue on a dark town square

    Low-light phone shots

    Restaurant, concert and night-sky photos often come out murky. The AI photo enhancer lifts the shadows and cleans the grain while keeping the mood of the scene.

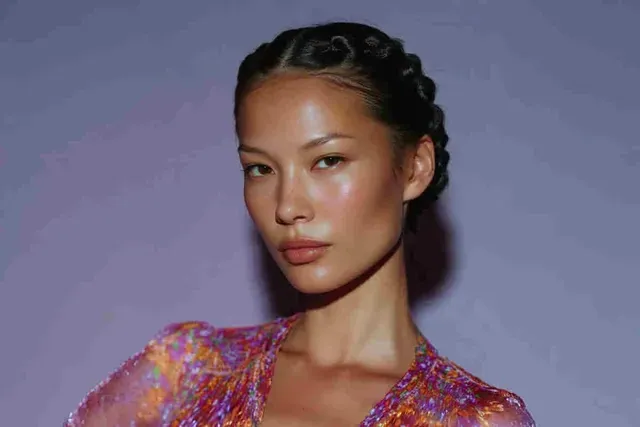
  • Portrait of a woman with braided hair and glowing skin against a lilac backdrop

    Profile and social pictures

    Enhance a selfie or portrait with clearer eyes, less noise and better color before it goes on a profile, a post or a team page.

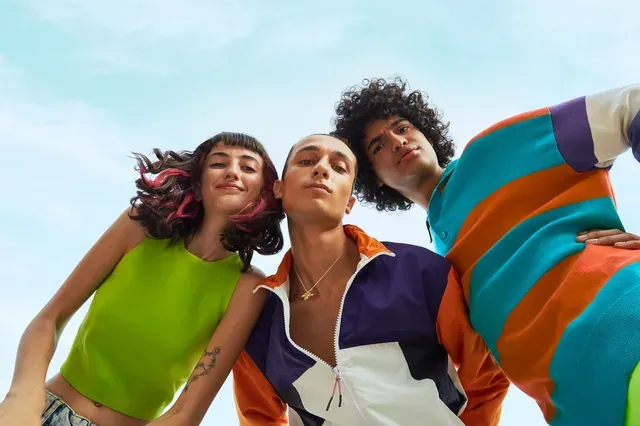
  • Three friends in bright green, orange and purple outfits leaning into the camera under a blue sky

    Images squeezed by chat apps

    Pictures forwarded through messaging apps lose detail with every hop. An enhancement pass reduces the blocky artifacts and color banding so they look fresh again.

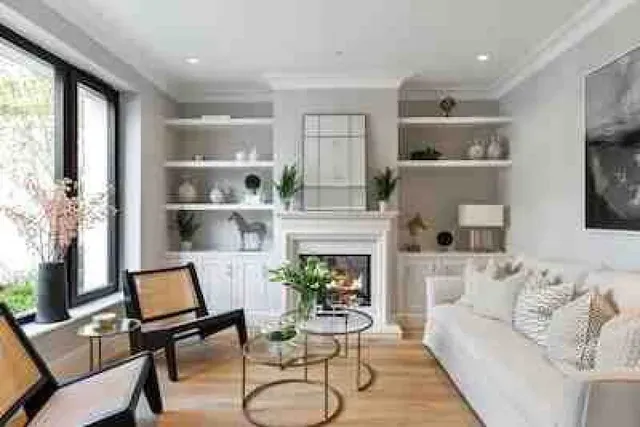
  • Bright living room with a white sofa, built-in shelves and a fireplace

    Portfolios and listings

    Artists, sellers and hosts can enhance photo quality on older shots for a portfolio, a shop or a rental listing without booking a new photo session.

Photo enhancer AI tips for a natural look

  • Start from the largest original you have; a screenshot of a photo has already lost detail that the AI photo enhancer can only guess.
  • Name the main problem when you prompt the AI photo enhancer — noise, darkness, haze or soft focus — instead of asking for everything at once.
  • Add "keep the face unchanged" for portraits so features, skin tone and expression stay true to the person.
  • Ask for a subtle enhancement first; you can always run a second, stronger pass on the output.
  • Need more pixels for print? Run the AI Image Upscaler after the enhancement. For strong focus or motion blur, Unblur Image is the better fit.

Which model to enhance photo quality with

All three can drive the AI photo enhancer. Try the top recommendation first; move down the list when the photo is harder or you want to compare options.

  • Nano Banana 2

    Google

    The AI photo enhancer’s default for everyday jobs: fast, natural results on phone photos, selfies and interiors. It also keeps the same person looking consistent when you enhance several photos from one event, one after another.

    About Nano Banana 2
  • Nano Banana Pro

    Google

    Use it for the hard cases: very dark scenes, mixed light sources and fine texture such as hair, lace or foliage. Its more accurate lighting matters when you lift deep shadows without bringing up noise.

    About Nano Banana Pro
  • Seedream

    ByteDance

    A good choice for trying several looks side by side, such as a warmer and a cooler version of the same shot, before settling on one and enhancing it further with a stronger model.

    About Seedream

Getting a natural result from the photo enhancer AI

How to diagnose a weak photo, handle tricky light, protect faces, plan the enhancement for where the picture will be used, and know when another tool will do better.

Name the flaw before you write the prompt

Most dull photos have one dominant problem, and the AI photo enhancer does better when the prompt names it. Look at the picture at full size and ask: is it too dark, too grainy, tinted by the light, or simply flat? Grain shows as speckles in dark areas. A color cast shows on things you know are white or grey. Flatness means no true blacks and no bright highlights.

Write that problem first, then add what must not change. “Lift the shadows, keep the candlelight warm” works better than “make it better”, because the model then knows which part of the image is wrong and which part is the mood you wanted.
Low light, mixed light and color casts

Dark photos tempt you to ask for maximum brightness, but that brings up noise and a grey, washed-out look. Ask for the shadows to be lifted “gently” and say which light should stay, such as lamp glow or a dusk sky.

Mixed light is harder: a window on one side, warm bulbs on the other. Tell the AI photo enhancer which source should look neutral, for example “the daylight from the window is correct, reduce the orange from the lamps”. For a single cast, point to a reference object: white plates, a grey wall or a white shirt. If the result swings too far the other way, ask for half the correction.

Keeping people recognizable

Every AI photo enhancer likes to beautify. Skin gets smoother, eyes brighter and teeth whiter than in real life, and after one pass a portrait can drift away from the person. For a natural look, add “keep pores, freckles and skin tone, no retouching” and “same eye color”.

Check three things at full size: the shape of the eyes and mouth, the hairline, and any jewelry or glasses, because small objects are often redrawn. In group photos, look at the people at the edges, where detail is weakest. If one face changed, run the enhancement again on the original with that person named in the prompt, rather than editing the edited version.

What the AI photo enhancer won’t fix

The photo enhancer AI improves light, color and noise. It is not the right fix for three common problems. A picture that is simply too small needs the AI Image Upscaler, ideally after you enhance it. Strong motion blur or a missed focus point needs Unblur Image, which is built to redraw smeared edges. Physical damage on a scanned print, such as cracks, stains and creases, belongs in Restore Old Photos.

Before you post or print the enhanced version, look at it on a second screen or on a phone. Over-brightened images often look fine on a laptop and washed out everywhere else, so a second look catches it early.

Photo enhancer AI walkthrough: a dim birthday photo

Here is a typical photo enhancer AI job from start to finish. A birthday photo shot indoors at night came out dark, grainy in the shadows and orange from the ceiling light. Upload the original file, not the copy that came back through a group chat. In the prompt, list the enhancements in order of importance: “lift the shadows gently, reduce the grain on the back wall, make the white tablecloth neutral, keep the candle glow”.

After the first run, check three spots: the faces, the darkest corner and the tablecloth. Waxy faces call for “natural skin texture”; a room gone grey calls for “a little more contrast”. Two short enhancement passes, each started from the original, usually beat one long prompt, and the enhanced photo keeps the warm mood of the evening.

Enhancing photos for a shop, a social feed or a print

Where the enhanced photo will end up changes what you should ask for. For an online shop, accuracy beats mood: ask the AI photo enhancer to keep the product’s true color, a clean white surface and a soft shadow, and to add no glow. For a social feed, a touch of extra warmth and contrast reads well on a small screen, but keep skin natural, because people notice over-retouched faces.

For print, enhance gently and pick 2K in the editor, since ink shows noise and sharpening halos more than a screen does. For anything larger than a small frame, run the AI Image Upscaler after the enhancement. Whatever the destination, keep the original next to the enhanced version so you can go back when a later edit goes too far.

Photo enhancer AI FAQ

  1. What does the photo enhancer AI actually change?

    It sharpens soft detail, lowers noise and compression blocks, and evens out exposure and color. Because the edit is generative, tiny details such as text or jewelry may be redrawn, so compare with the original before you share it.

  2. Can I use it as a free photo enhancer?

    Yes, as a free photo enhancer to start: sign up and you can try it free once on your own picture. After that, each enhancement uses credits; the amount depends on the model and is shown before every edit, and paid plans add credits for regular use.

  3. Will the AI photo enhancer make my photo bigger?

    Not necessarily. The result comes out at 1K or 2K, whichever you pick in the editor, so a small photo may come back larger and a big camera file smaller. Enhancement targets light, color and noise rather than pixel count; to enlarge a picture for print, run the AI Image Upscaler afterwards.

  4. Can the photo enhancer AI fix a really blurry photo?

    It handles mild softness and haze well. Strong camera shake or a missed focus point needs a dedicated pass, so try Unblur Image. No tool can recover detail that was never captured; the AI predicts it, so check faces and small text.

  5. Which files can I upload to the AI photo enhancer?

    Any JPG, PNG or WebP file of up to 20 MB. The enhanced result comes back as a regular image file rather than a transparent PNG, and you can download it straight from the editor.

  6. Can the AI photo enhancer fix a picture that is too dark?

    Yes, within limits. It lifts shadows and evens out exposure while trying to keep the mood of the scene. Very dark shots hold little real detail, so the model fills some in; expect more invented texture in the blackest areas and check faces closely.

  7. Will a free photo enhancer make skin look fake?

    Any AI photo enhancer can over-smooth skin if the prompt leaves it free to beautify. Ask for “natural skin texture, no retouching” and keep the strength subtle. Then compare the result with the original at full size before you post it.

  8. Can I enhance several photos the same way?

    There is no batch upload, so you enhance one photo per edit. Reuse the same prompt for each picture and keep Nano Banana 2 selected; it is good at keeping the same people consistent across a series from one shoot or event.

  9. How is an AI photo enhancer different from an auto-enhance button?

    An auto-enhance button applies roughly the same brightness, contrast and saturation boost to every picture. The AI photo enhancer reads the scene first, so it can lift a dark face while keeping a bright window, or clean grain in the shadows without blurring hair. You can also steer it in plain words, which a one-tap filter cannot do.

  10. Does the photo enhancer AI work on screenshots and scans?

    Yes, as long as the file is a JPG, PNG or WebP under 20 MB. A screenshot has already lost detail, so expect a cleaner picture rather than new sharpness. If a scanned print has cracks or stains, repair it with Restore Old Photos first and enhance the repaired file afterwards.

  11. How do I enhance photo quality without changing the colors?

    Say so in the prompt: “enhance detail and reduce noise only, keep the colors and white balance exactly as they are.” Without that line the AI photo enhancer may also correct the color, which helps a tinted shot but spoils one whose look you chose on purpose, such as a warm film filter.

  12. Can the AI photo enhancer improve photos from an old phone?

    Often, yes. Early phone cameras left soft detail, heavy noise and washed-out color, which is what an enhancement pass targets. Start from the largest copy you can find, ask for “natural detail, no over-sharpening”, and compare faces with the original, because the AI fills in some of what the old sensor missed.

Enhance photo quality now

Upload a picture to the AI photo enhancer, keep the ready-made prompt and get a clearer, brighter, enhanced version to compare with the original.