



New: Nano Banana 2 & GPT Image 2

Try it

Updated 2026-11-16

Blur Background of Photo with AI

Blur background of photo uploads in one step: EditPic keeps the subject crisp and melts busy streets, crowds and rooms into soft, lens-like bokeh. Choose a gentle softening or a strong portrait-mode look.

Blur background of photo examples

Street portraits, a café, a bird, a dog, a handbag and a serum bottle with their distracting backdrops softened. Drag a slider to watch the depth of field change, or compare the side-by-side shots, then use the same prompt to blur the background of your own picture.

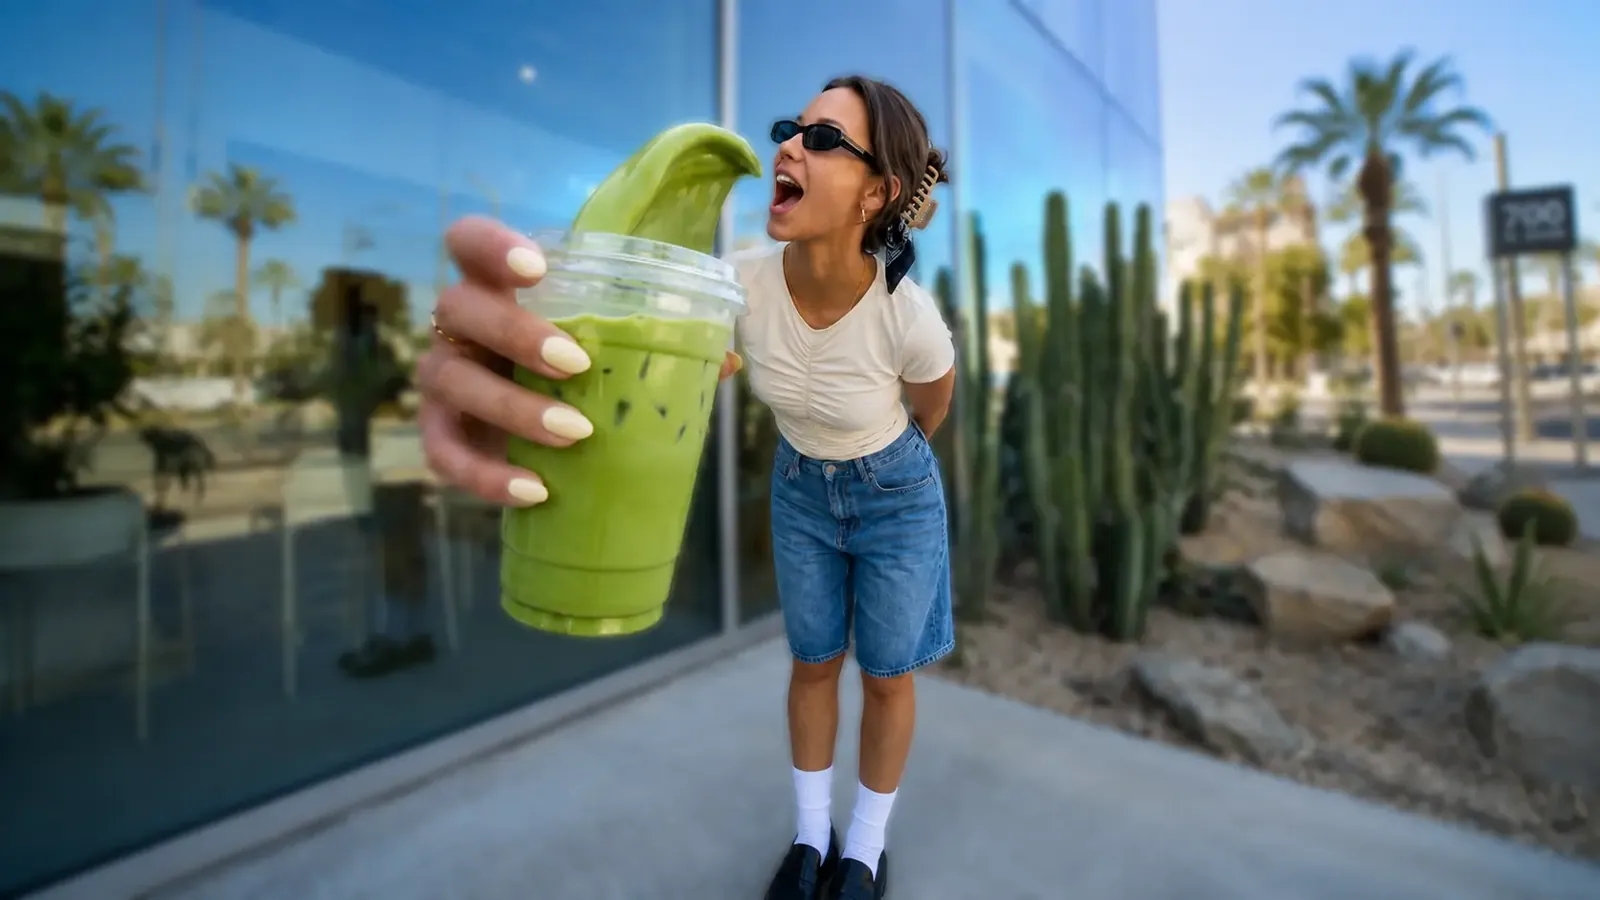
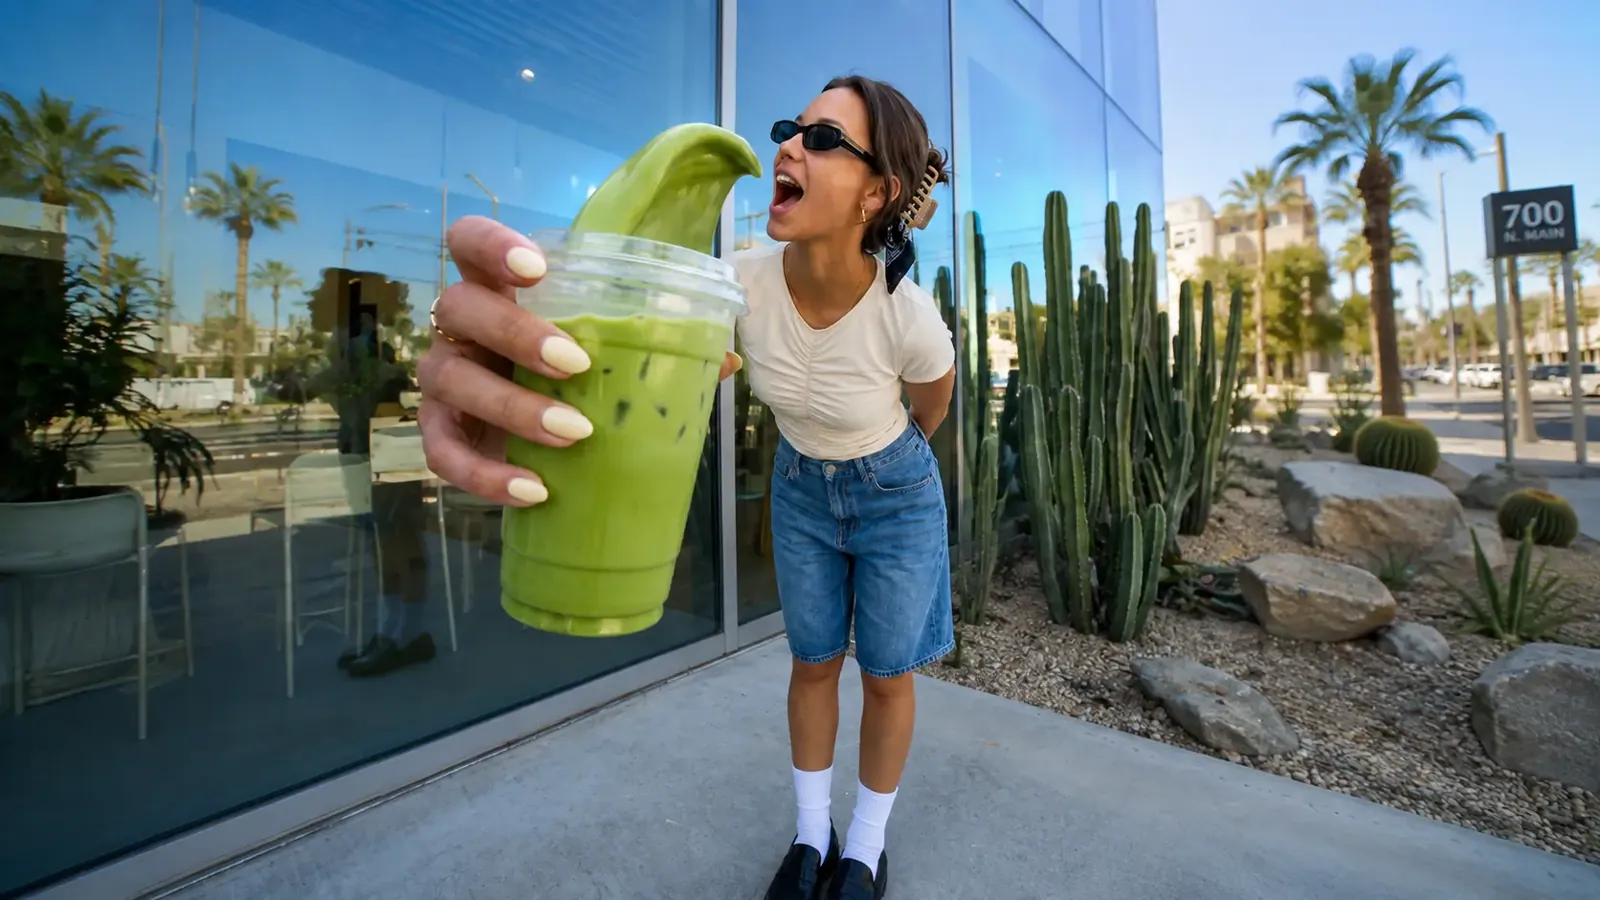
  • Woman holding a green drink toward the camera, with the glass wall and cactus garden behind her blurred — AfterWoman holding a green drink toward the camera, with the glass wall and cactus garden behind her blurred — Before

    Background blur for a sunny sidewalk selfie

    “Blur the glass wall, palm trees and cactus garden behind the woman with strong, even bokeh. Keep her face, sunglasses, the green drink in her hand and her outfit fully sharp.”

  • Small blue and yellow bird on a frosty branch, background branches softened — AfterSmall blue and yellow bird on a frosty branch, background branches softened — Before

    Winter bird with the branches melted away

    “Blur the frosty branches behind the small blue tit into a smooth, cool-toned bokeh. Keep the bird, its feathers and the branch it sits on sharp.”

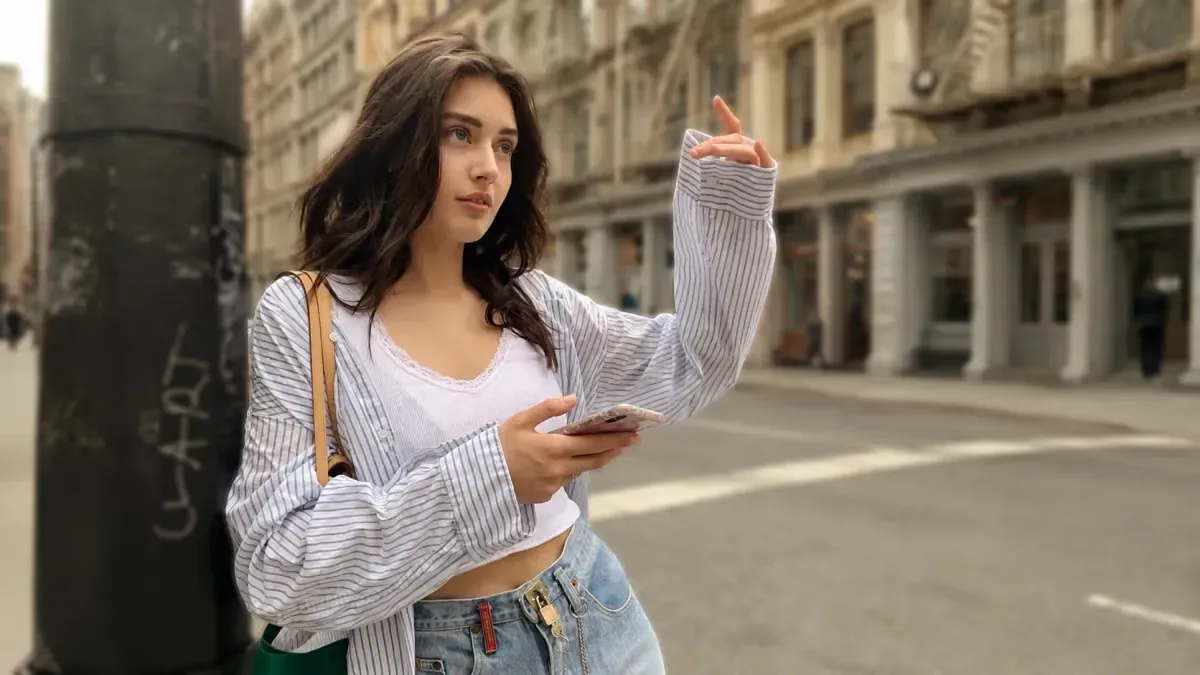
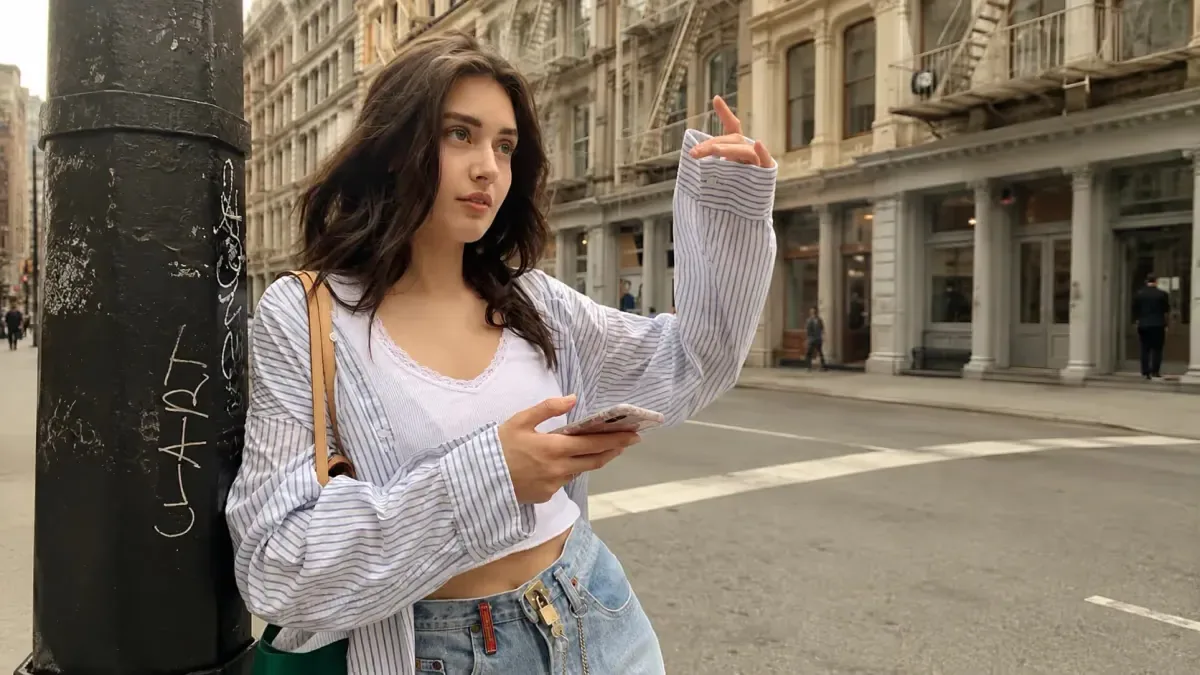
  • Woman by a lamp post on a city street with the buildings softly blurred — AfterWoman by a lamp post on a city street with the buildings softly blurred — Before

    Gentle background blur for a street portrait

    “Add a gentle background blur to the buildings and road behind the woman, like a 50 mm lens at f/2. Keep her face, raised hand and shirt crisp.”

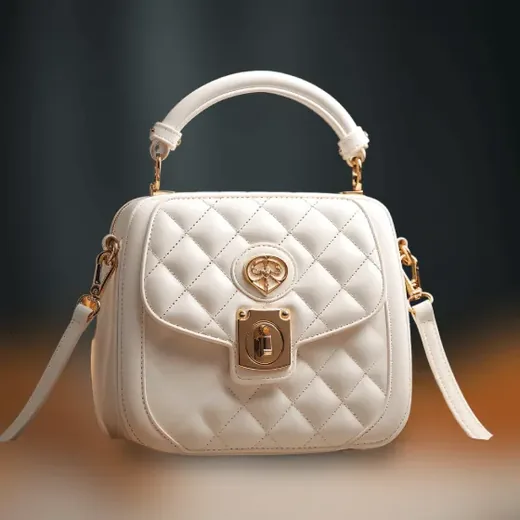
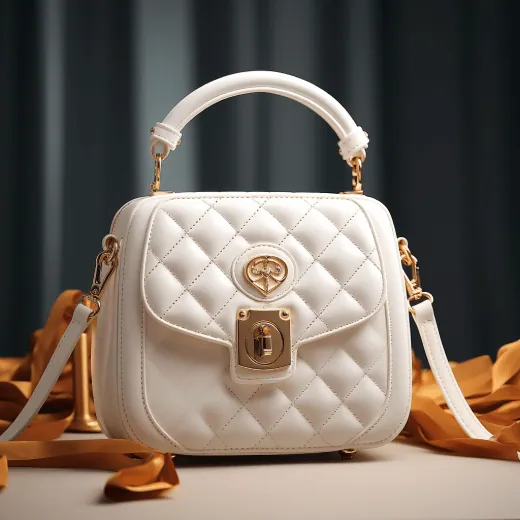
  • White quilted handbag in front of dark curtains, background blurred — AfterWhite quilted handbag in front of dark curtains, background blurred — Before

    Quilted handbag with a creamy studio blur

    “Soften the dark curtains and the orange satin behind the white quilted handbag into a creamy blur. Keep the stitching, clasp and handle crisp.”

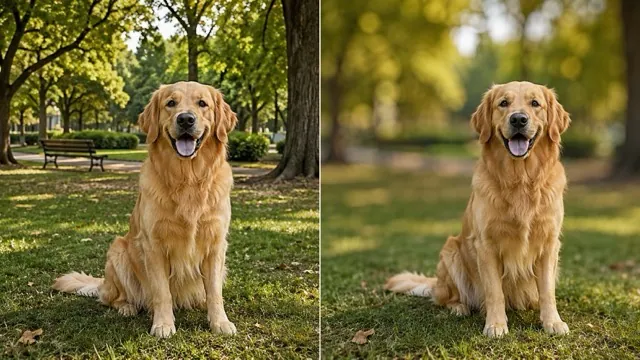
  • Golden retriever sitting in a park, shown before and after the background was blurred

    Golden retriever in a softened park

    “Blur the trees, path and bench behind the golden retriever so the park turns into warm green bokeh. Keep its fur, face and the grass it sits on sharp.”

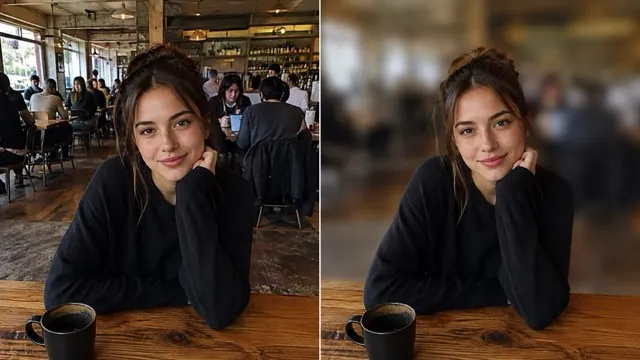
  • Woman resting her chin on her hand in a busy café, before and after the background blur

    Busy café turned into soft bokeh

    “Blur the crowded café and the people behind the young woman at the table. Keep her face, hair, sweater and the coffee cup in front of her sharp.”

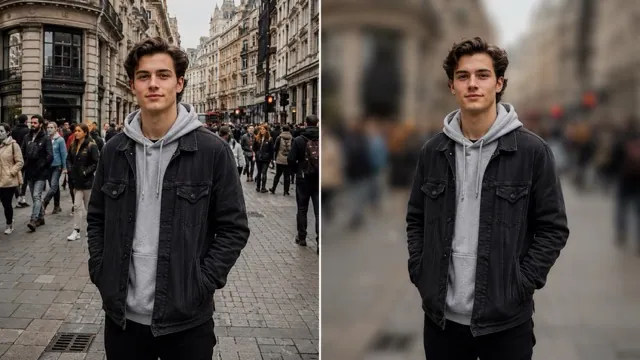
  • Young man in a dark jacket and gray hoodie on a busy street, before and after the crowd behind him was blurred

    Crowded street softened behind a portrait

    “Blur the shoppers and stone buildings behind the young man in a dark jacket and gray hoodie with a strong, even depth of field. Keep him sharp from hair to shoes.”

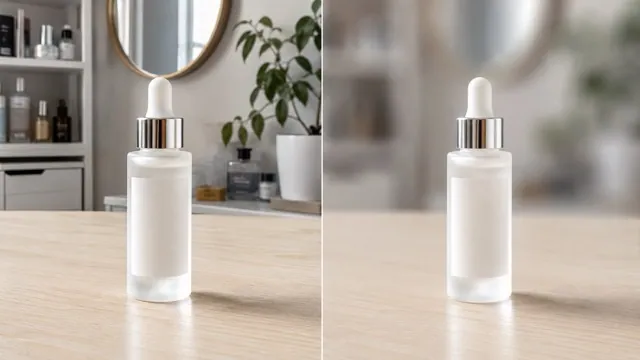
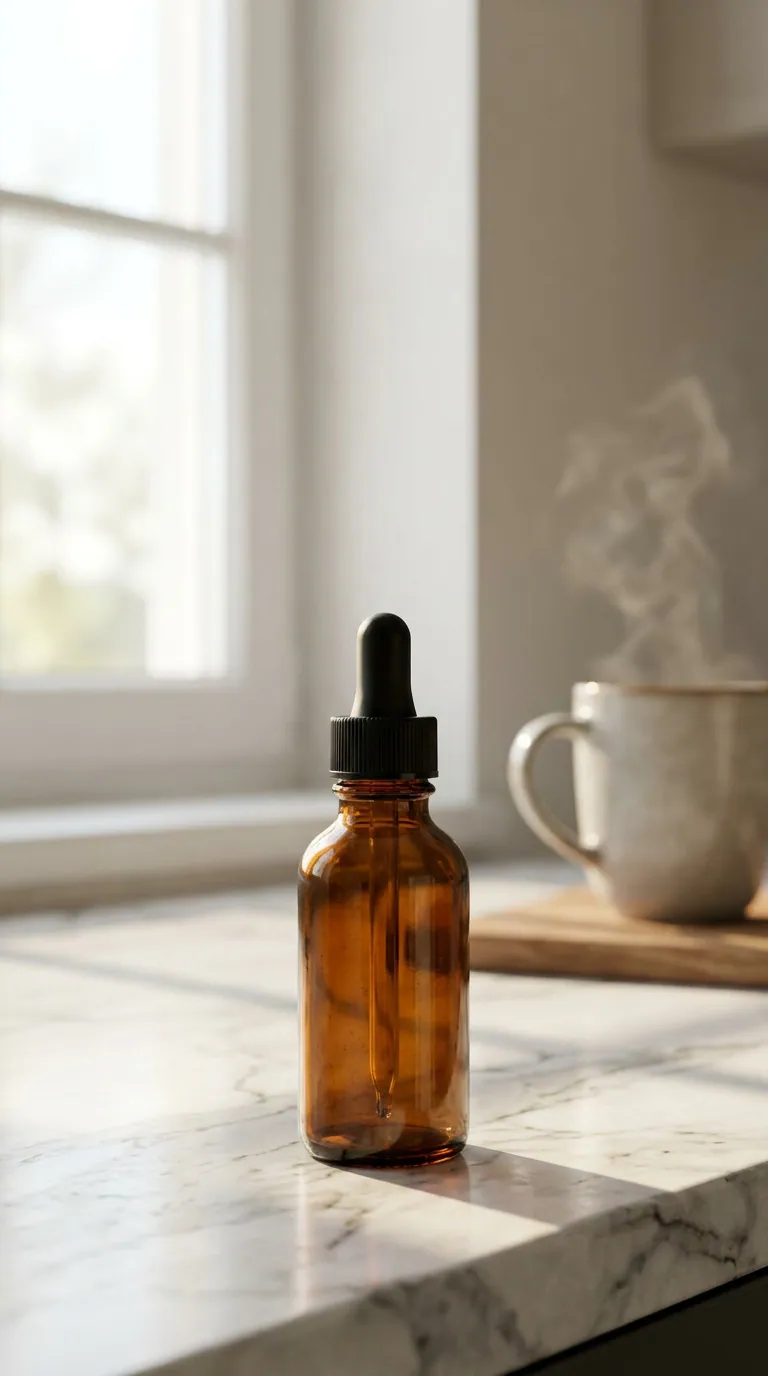
  • Serum bottle on a counter shown before and after the bathroom background was blurred

    Product shot with a soft bathroom backdrop

    “Soften the bathroom shelves and mirror behind the serum bottle into a light, creamy blur. Keep the bottle, dropper cap and reflections sharp.”

Example images are for illustration only. Each prompt is a starting point for a similar edit on your own photo.

How to blur photo background in three steps

  1. Step 1

    Upload an in-focus shot

    Choose a photo where the subject is already in focus. JPG, PNG and WebP files up to 20 MB are accepted, from quick phone snaps to camera exports.

  2. Step 2

    Set the blur strength

    The default prompt gives a natural portrait-mode background blur. Write “light blur” to keep the place recognizable, or “strong bokeh with round light spots” for a cinematic look.

  3. Step 3

    Review edges and save

    Look closely around hair, fingers and glasses, where blur most often bleeds in. If an edge looks soft, ask to sharpen it again, then download the finished picture.

Blur background prompts for every kind of shot

Nine more ways to blur the background, from a first dance to a tilt-shift town square. Adjust the strength words to taste.

  1. 01

    Three graduates on campus

    Blur the campus lawn and the crowd behind the three graduates in caps and gowns. Keep all three faces, the tassels and the diplomas sharp, with the blur growing stronger toward the buildings.

  2. 02

    First dance under string lights

    Soften the guests and tables behind the bride and groom during their first dance into warm bokeh. Keep both faces, her veil and his suit sharp, and turn the string lights into round glowing spots.

  3. 03

    Ramen bowl close-up

    Blur the restaurant behind the bowl of ramen into soft warm tones, as if shot close up at f/2.8. Keep the noodles, the soft-boiled egg, the rising steam and the chopsticks sharp.

  4. 04

    Young soccer player mid-kick

    Blur the stands and the far side of the field behind the young soccer player mid-kick. Keep the player, the ball and the boots sharp, and add a slight sideways sense of motion to the background.

  5. 05

    Video-call profile picture

    Lightly blur the home kitchen behind the woman for a video-call profile picture, so the room is still just recognizable. Keep her face, earrings and blouse sharp and the colors unchanged.

  6. 06

    A single tulip, macro style

    Blur the garden behind the single red tulip into smooth green and pink tones, like a macro lens. Keep the petals, the water drops on them and the stem sharp.

  7. 07

    Unrecognizable faces in a café

    Blur the people sitting at the tables behind the man so their faces can’t be recognized. Keep him, his laptop and his coffee cup sharp and leave the lighting unchanged.

  8. 08

    Couple under night streetlights

    Turn the streetlights and car headlights behind the couple into large, round bokeh circles at night. Keep their faces, scarves and coats sharp and the warm skin tones unchanged.

  9. 09

    Tilt-shift miniature town

    Add a tilt-shift effect to the town square seen from above: keep a horizontal band through the middle sharp and blur the top and bottom of the frame so the scene looks like a miniature model.

When to blur the background of a photo

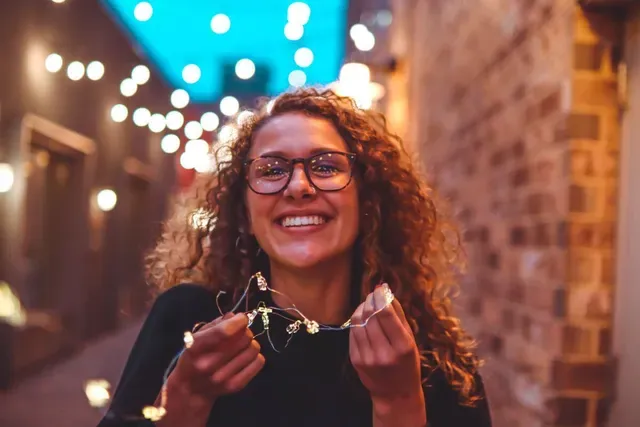
  • Smiling woman with curly hair holding fairy lights, the street lights behind her blurred into bokeh

    Portraits without a fast lens

    Phone and kit-lens photos often keep everything sharp. A soft background blur gives profile and dating photos the look of a dedicated portrait lens.

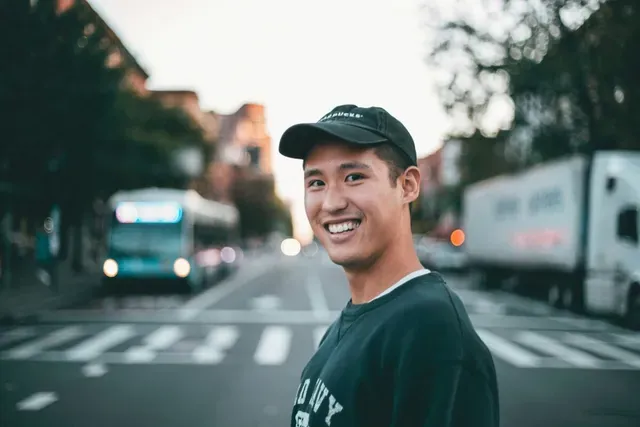
  • Smiling man in a cap with the street, bus and truck behind him blurred

    Hiding clutter and strangers

    When you blur the background, a messy room calms down and passers-by and traffic become unrecognizable in seconds, without the work of removing every person or object.

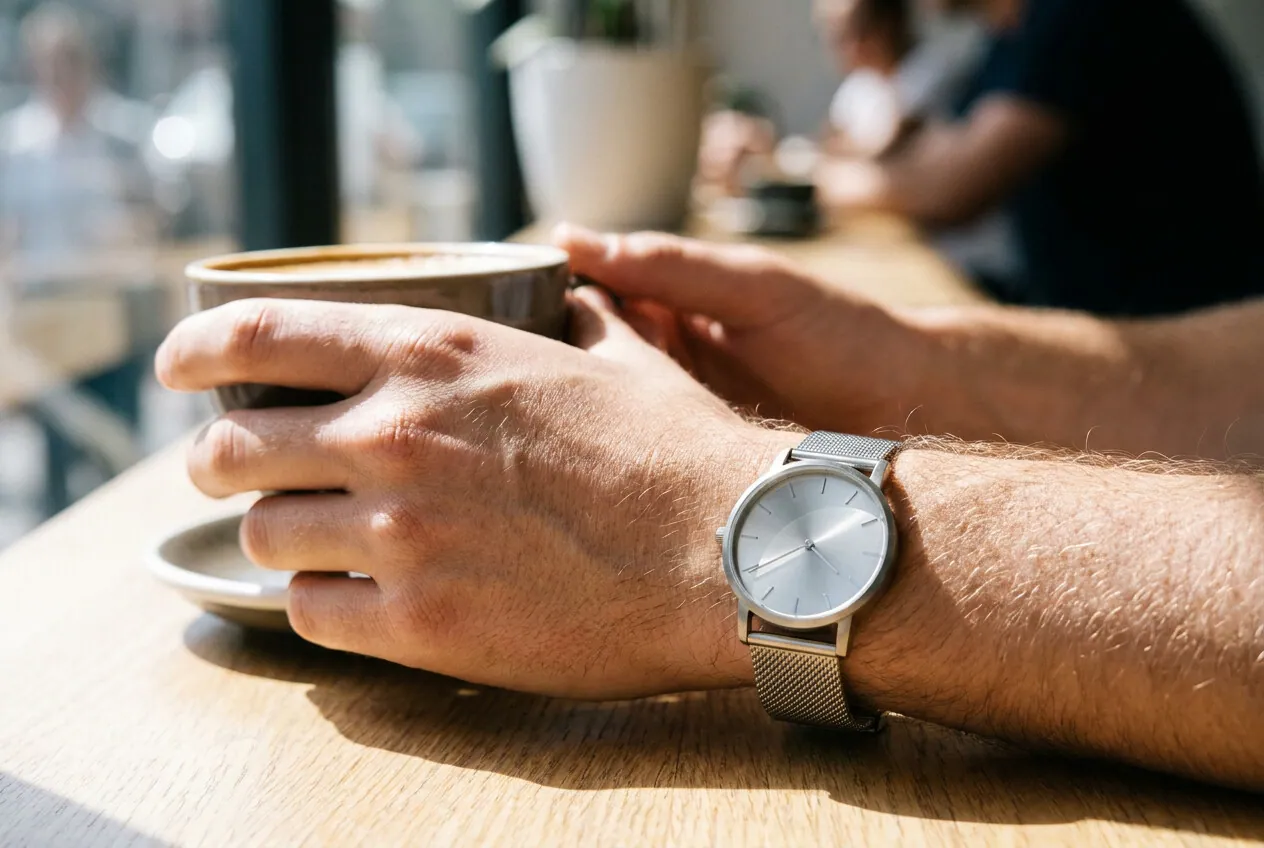
  • Hand with a silver watch around a coffee cup, the café behind softly blurred

    Product and food shots

    A creamy blur behind a bottle, plate, watch or gadget keeps eyes on the item and makes a home counter or café table look like a styled set.

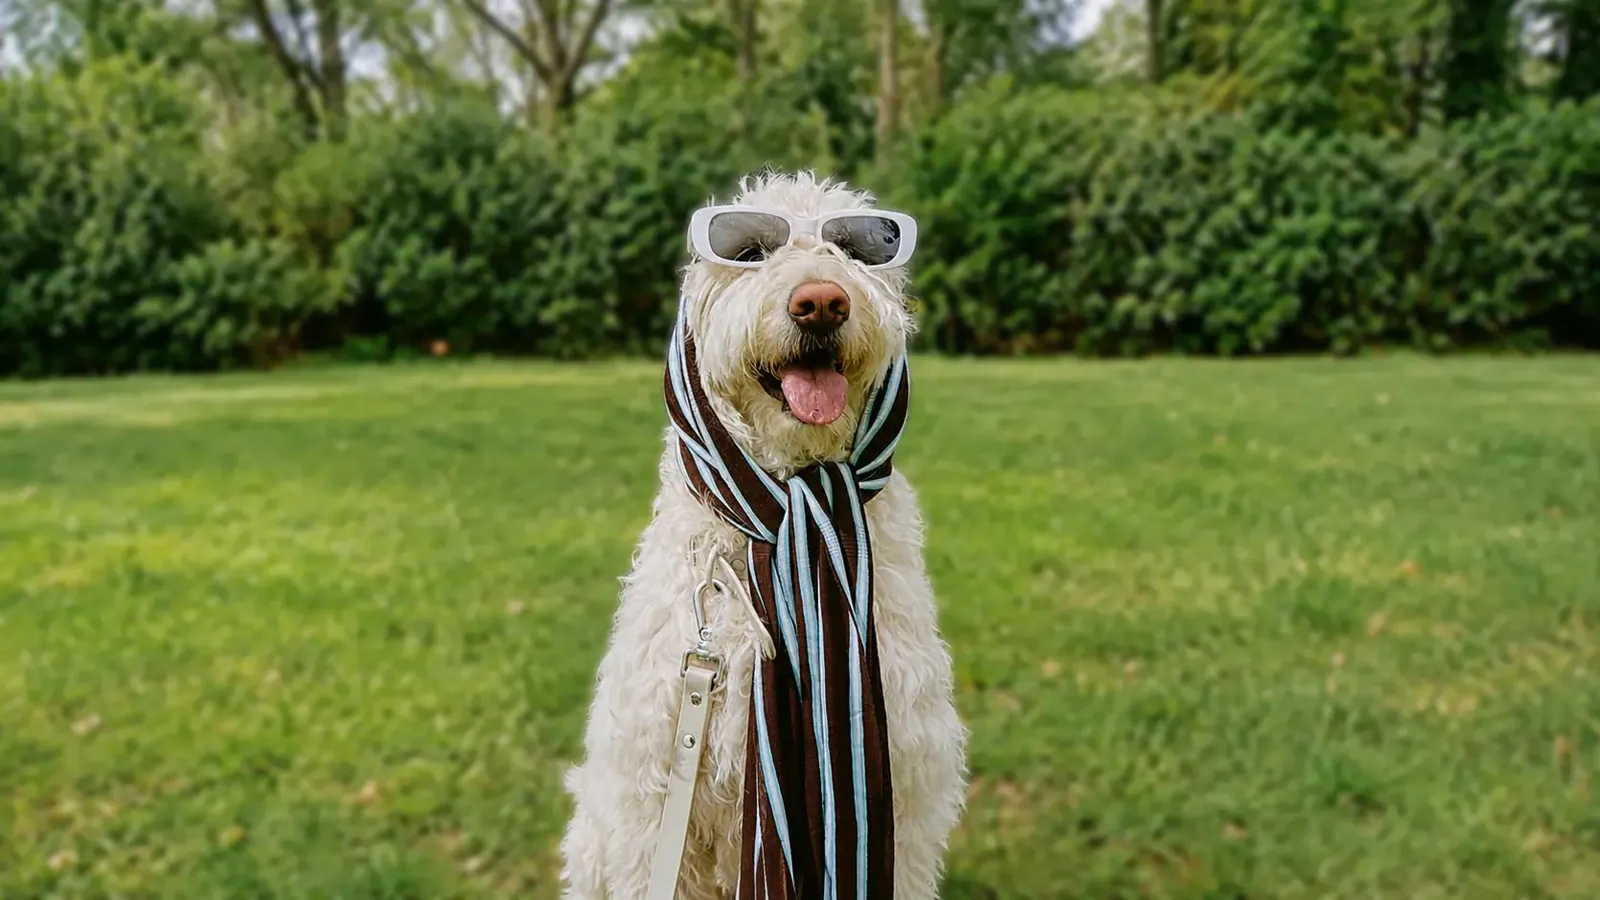
  • Fluffy dog in sunglasses and a striped scarf with a blurred lawn and hedge behind

    Pet photos

    Fur and whiskers pop when the yard behind your dog or cat turns into soft color instead of sharp grass blades and fences.

Tips for a natural background blur

  • Real lenses blur more with distance; ask for “more blur further back” so the ground near the subject stays sharper.
  • Name the fine details to protect, such as flyaway hair, glasses frames, whiskers or a raised hand.
  • Start mild. Heavy blur on a wide-angle shot can look fake, and you can always ask for more.
  • A good background blurer also respects light, so ask to keep windows and streetlights as soft round highlights.
  • Rather than blur the background, want to swap the scene entirely? The Background Changer does that.

Which model gives the best background blur

Background blur looks simple but punishes sloppy edges. These three picks handle it well, best first.

  • Nano Banana 2

    Google

    The default in the editor and a quick, reliable choice for portrait-mode background blur on everyday photos. It keeps the same person looking like themselves, which matters when you soften a whole set of profile or event pictures.

    About Nano Banana 2
  • Flux

    Black Forest Labs

    Flux changes only what you describe, so it is the pick when the subject must stay untouched and only the backdrop should soften. It also keeps the look steady when you blur a series in the same style.

    About Flux
  • Nano Banana Pro

    Google

    Best for demanding scenes: night lights that should become round bokeh, hair against a bright sky, or fine textures such as lace and fur. It is the most careful with light. EditPic lets you save the result at 1K or 2K.

    About Nano Banana Pro

Blur background of photo: getting a lens-like result

Why some attempts to blur the background look like a real camera and others like a filter, and how to steer the AI toward the first.

How a real lens blurs, and how to describe it

A camera keeps one distance sharp and blurs everything else more the farther it is from that plane. That means the ground at a person’s feet stays fairly crisp while the far wall melts, and anything close to the lens in front of the subject blurs too. Ask for that gradient (“blur increasing with distance”) and the result looks optical rather than painted.

Photographers’ terms work as prompt words. “f/1.4” or “f/1.8” reads as strong blur, “f/2.8” as moderate and “f/4” as gentle. “85 mm portrait lens” suggests a tight, compressed background, while “35 mm” keeps more of the place in view. Bright points turn into round discs, so mention “round bokeh” when lights are in the frame.

Choosing the right blur strength for each photo

Strength should follow the framing when you blur the background of a photo. Close head-and-shoulder portraits can take strong blur, because a real fast lens would produce exactly that. Full-body shots and group photos look more natural with a lighter touch, since the people stand at different distances and heavy blur makes the edges of the back row look cut out.

For travel pictures, keep the landmark readable: “light blur, the tower still recognizable”. Product and food shots usually suit a medium, creamy blur that keeps the table surface near the item in focus. When in doubt, start light and ask for more in the next step; overly strong blur on a wide-angle phone photo is the quickest way to make it look fake.

Fixing smeared edges, soft subjects and too-smooth blur

Edges fail in predictable places: flyaway hair against a bright sky, the arms of glasses, fingers held up in front of the face and objects the subject is holding. If one of them went soft, name it in a follow-up (“keep the raised hand and the phone sharp”). If the far shoulder or the back of a chair turned blurry, that may be realistic; ask to sharpen it only if it bothers you.

A blurred area that looks plastic next to a grainy subject is another giveaway. Ask to “keep the same film grain across the whole photo”. And if the face changes even slightly, add “keep the face identical to the original” and compare with the slider.

Blur, replace or remove?

Choosing to blur the background keeps the real place and only quiets it, which is honest and usually looks the most natural. When the place itself is wrong, Background Changer swaps it for a new scene, and Remove Background puts the subject on a flat color. If one stranger or object is the real problem, Remove People or Object Remover takes it out and keeps everything else sharp.

The tools combine well. Remove a bright trash can first, then blur, so it doesn’t turn into a distracting blob. For a noisy night shot, Photo Enhancer before the blur gives cleaner bokeh. This tool adds blur; if your photo is already blurry and you want it sharper, use Unblur Image.

Walkthrough: background blur for a team-page portrait

Say a colleague was photographed at their desk, with monitors, sticky notes and a coffee machine behind them. Upload the shot and pick 3:4 if the team page uses tall cards. Then write one clear sentence: “blur the office background like f/2.8, screens and notes no longer readable, keep his face, glasses and shirt collar sharp”.

Check three spots in the result: the glasses frames, the hairline against a bright window and the shoulder line, where blur most often creeps in. If the monitors still show legible text, ask for a stronger blur on that side only. Once one portrait looks right, reuse the exact same prompt and model for everyone on the team, so the whole page shares one depth of field; Flux is a good fit when the style has to stay steady across a set.

Background blur for shop listings, social posts and print

Each destination wants a slightly different blur. For shop listings, a medium blur behind a bottle or bag turns a kitchen counter into a lifestyle shot, but keep labels, stitching and the surface right under the item sharp. Many marketplaces ask for a plain white main image, so use Product Photo Background for that one and keep the blurred version for the gallery.

For stories and reels covers in 9:16, a strong blur leaves calm space where text overlays stay readable. For prints and cards, remember that EditPic saves results at 1K or 2K depending on the model: that suits small prints, while a heavy blur cannot hide a soft subject, so start from your sharpest original.

Background blur FAQ

  1. Can I blur background of photo files for free?

    Yes, once: sign up and try it free. Further blurs draw credits from your balance, and the editor shows the cost for the chosen model before you run each one. Paid plans cover regular use.

  2. How is this different from portrait mode on my phone?

    Portrait mode decides the blur when you press the shutter. Here you add the background blur afterwards to any photo, set the strength in words and redo it as often as you like from the same original.

  3. Will the subject’s edges look cut out?

    The AI paints the blur with a gradual falloff rather than a hard mask, so edges usually look natural. Hair against a bright sky is the hardest case; mention it in the prompt for extra care.

  4. Can I blur only part of the background?

    Yes, describe it: “blur the people on the left but keep the building sharp” or “blur only the far background”. Results are less exact than a hand-painted mask, so compare and refine.

  5. Does the background blurer change anything else?

    It aims to touch only the background. Because the edit is generative, small details such as text on signs can shift, so add “keep everything else unchanged” and compare before you download.

  6. Can I blur photo background in group or full-body shots?

    Yes. Say how many people should stay sharp and ask for a lighter blur, for example “keep all four people sharp, light blur behind them”. People standing at different distances look more natural when the background softens gradually rather than all at once.

  7. Can I blur background faces or number plates for privacy?

    You can ask for it: “blur the faces of the people behind me so they can’t be recognized”. Check every face and plate yourself before you post, because the strength may vary across the frame. For a stronger result, take those people out with Remove People instead.

  8. Can I make the background blur lighter after the edit?

    Start again from the original rather than editing the blurred result, since detail lost to blur can’t be brought back reliably. Change the strength words, such as “light blur” or “like f/4”, and keep the original file so you can try several versions.

  9. Can I blur the background of a photo taken on a phone?

    Yes, phone shots are the most common case. Export the picture as JPG, PNG or WebP (up to 20 MB) and upload it. If the phone already applied portrait mode, ask for only a light extra blur, so the existing soft edges around hair don’t double up.

  10. What blur strength works best for a profile picture?

    A moderate blur, roughly what “f/2.8” describes, keeps the room readable but quiet, which suits LinkedIn or a company page. Strong bokeh fits dating and creative profiles. Either way, keep the face, hairline and glasses sharp and judge the result at the small size people will see.

  11. Can I blur the background of a product photo for my shop?

    Yes. A medium blur behind a bottle, bag or plate makes a home photo look styled; ask to keep labels, edges and the surface under the item sharp. For the plain white main image many marketplaces require, Product Photo Background is the better tool.

Blur background of photo now

Upload a picture, keep the ready prompt and blur photo background clutter in a few seconds.